Colore Jardin de Botanique en Deshaies
This is the most scenic place we’ve visited so far this winter. The mountains rise all around us, and there is the pristine little village of Deshaies nestled against the protective shore in this northwest corner of Guadeloupe. The pretty church tower rises above all the other buildings in the village, and the whole vista seems like an illustration from a fairy tale. I must not be the only one who thinks this, since this is the place where the popular crime series, “Death in Paradise,” is filmed. I haven’t seen any of the episodes yet. Isn’t it cruel that I will have to wait until I get home to watch a tv show about the place I am currently visiting!
Guadeloupe is two islands sitting very close together with a small opening between the two. One island is very steep with volcanic mountains, and the other island is quite flat. Seen from above the two island together look like a lopsided butterfly. Ironically the mountainous island is called Basse Terre, and the flat island is called Grande Terre.
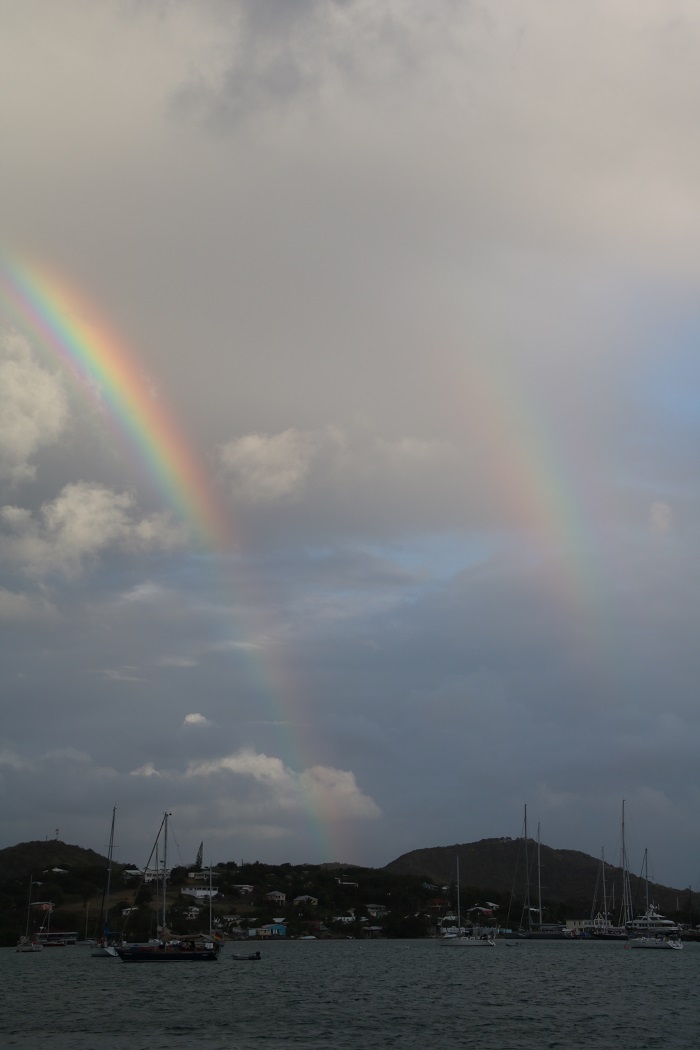
Guadeloupe is one of several island called “the islands that brush the clouds,” along with Antigua and Dominica. The clouds are full of moisture which contribute to daily rain showers and lush greenery that includes rainforests. There are some significant waterfalls on Guadeloupe.
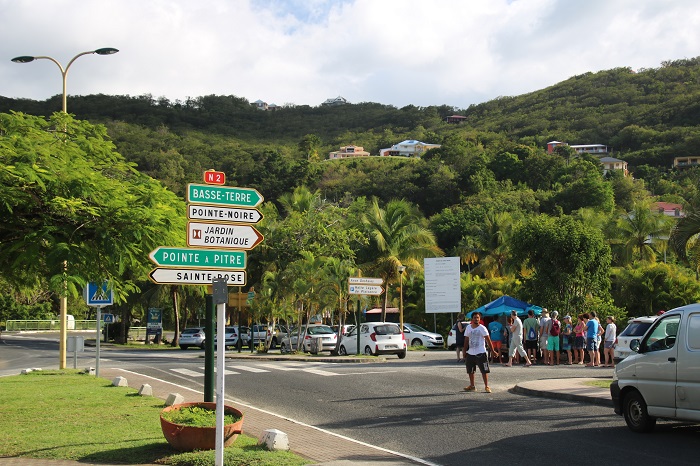
When we found out that there is a botanical garden in Deshaies, we were determined to visit. You can walk up the very steep road to the garden, or you can call them and they will send a van to pick you up. Since we do not speak French, we were lucky to have a shop owner call for us. The van met us at the main crossroad that heads out of the village.
It was quite an experience! The gardens are well maintained and wonderfully designed. There are tropical plants in abundance, and also plants from other exotic places around the world.
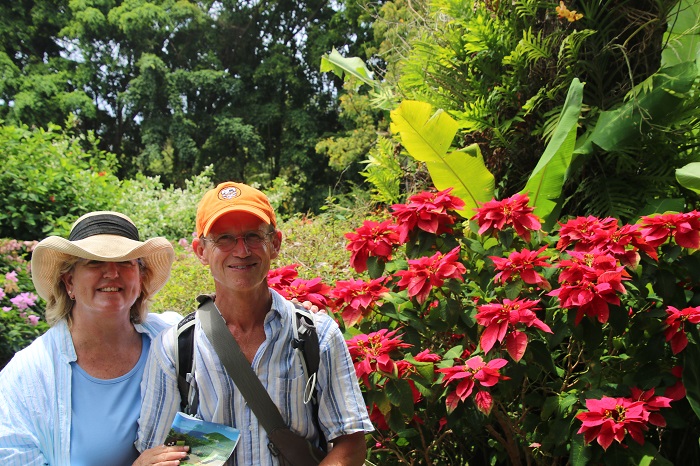
We met some fellow cruisers, originally from Colorado, who live aboard their boat Hi Flite. It turns out we have many cruising friends in common, and have been hearing each other on various SSB networks–that is, before our SSB died. It was nice to finally meet them, and they took this photo of Bob and me standing in front of a large specimen poinsettia!
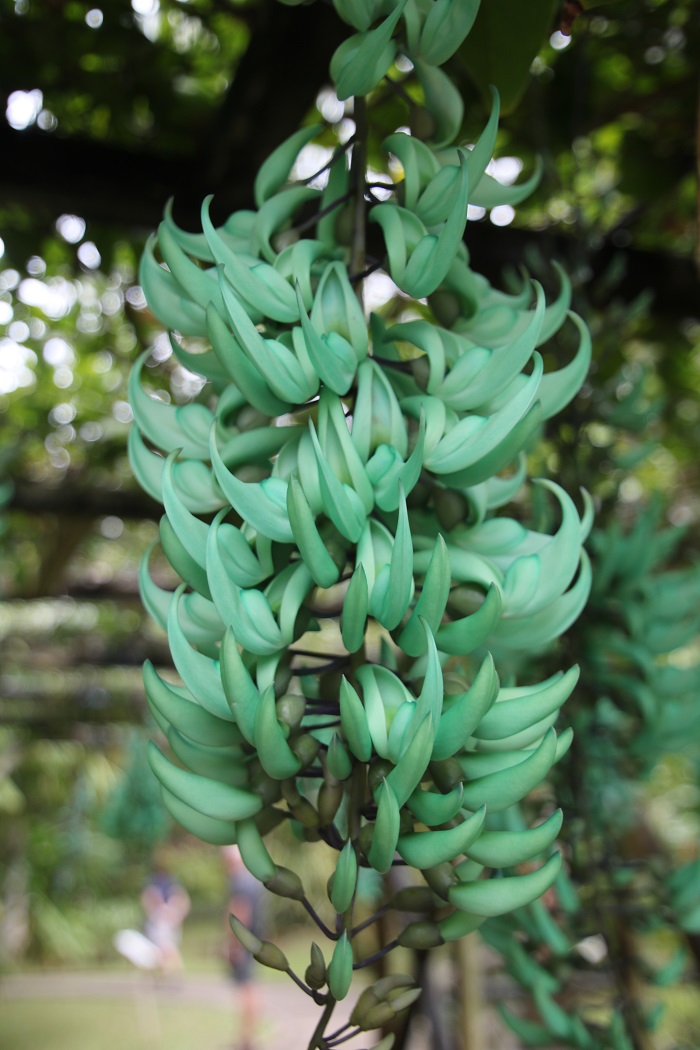
The same was true of rex begonias and angel wing begonias–they grow as big as hedges in their natural habitat! There were all kinds of large specimen growth plants that I’ve only ever known as potted plants…. deiffenbachia, schlefferia, phalaenopsis and paphiopedilum orchids, bromeliads–well, if I named them all I’d never stop typing. The plant that impressed me most is a vine from some region of Africa that I see every time I visit the New York Botanical Gardens (the one in the Bronx, not Brooklyn). It is a lush vine that has long drooping flowers in a truly nasty, unnatural shade of aqua. But, of course it is perfectly natural. Whenever I visit the gardens in New York someone always has to have their photo taken in the midst of these strangely colored flowers.

There were some beautifully designed landscapes.
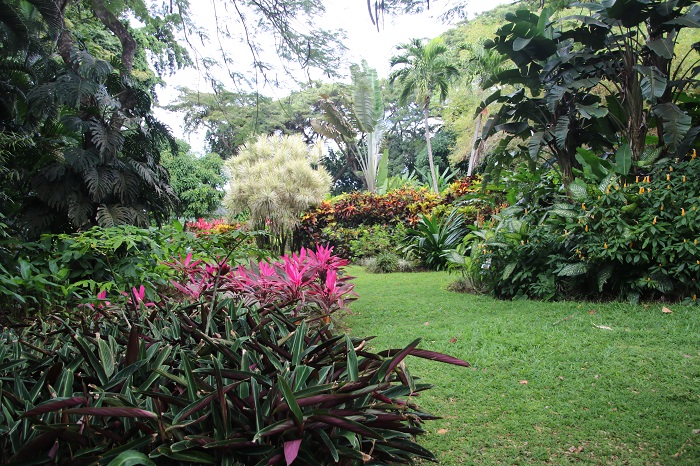
some with secluded places to sit to admire the views.

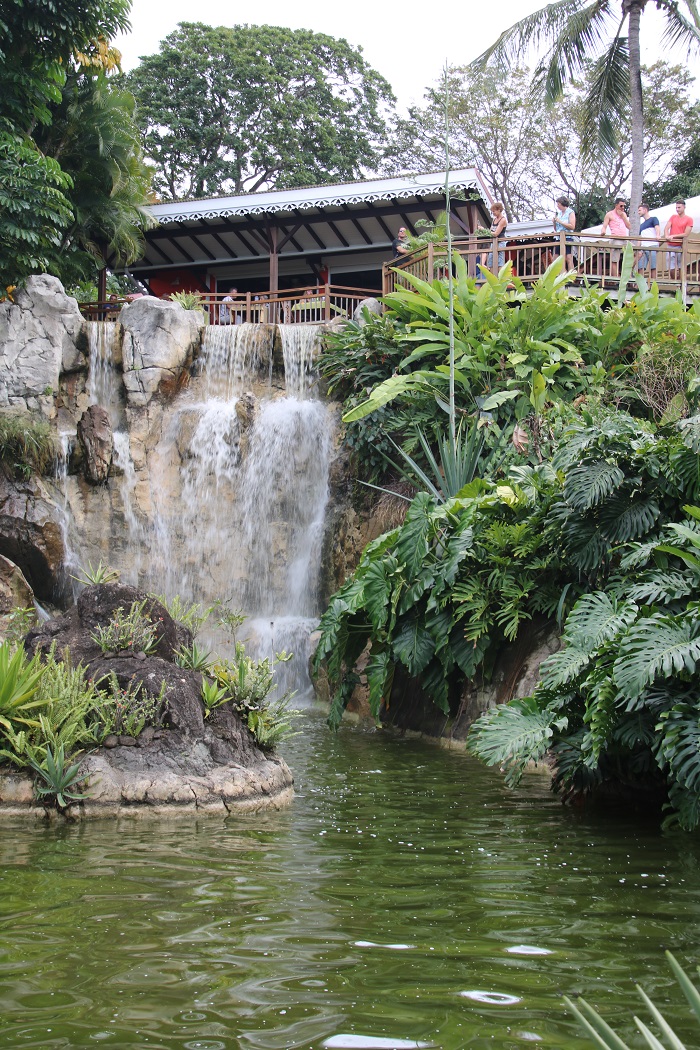
The water features were run by electric pumps, but the water came from a natural spring and was wonderfully icy cold in this tropical climate!

We made plans to meet our new acquaintances from Hi Flite for lunch at the restaurant at the top of this waterfall and spent some time getting to know each other and finding all the connections we had in common.
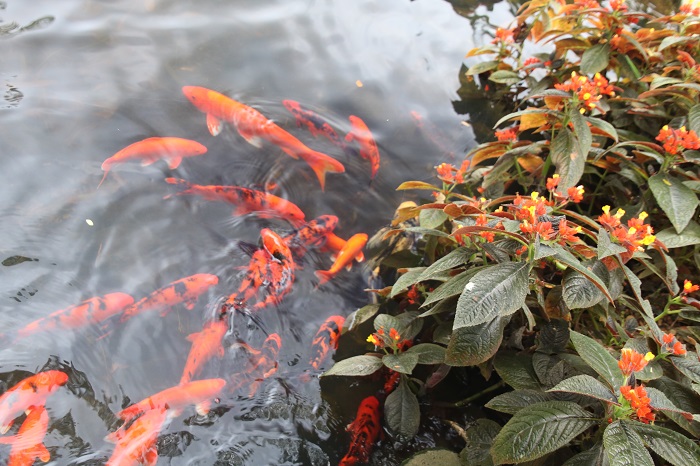
The coi match the plants at the edge of the pond–a familiar potted plant in northern nurseries. At the moment I can’t remember the name, but you will know it.
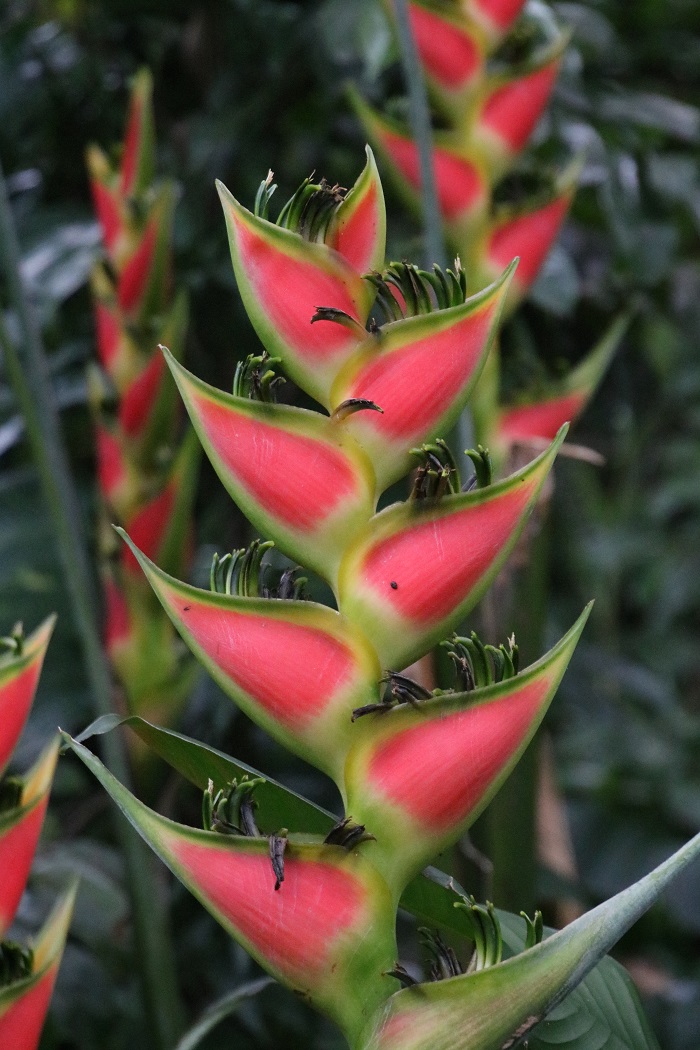
All through the gardens there were stands of this bromeliad that is well known for it’s colorful flower stalks. The flowers were all spent but the plant is better known for the stalk than the flowers anyway.
Here is a banana in flower and starting to make fruit.

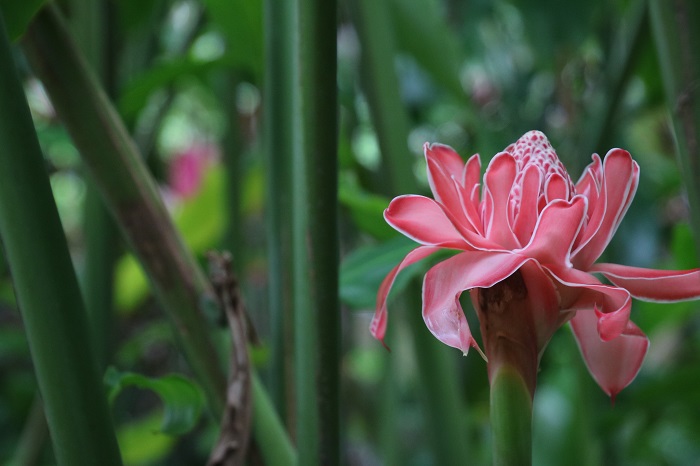
There were several stands of these large plants, and you could walk into them, like walking into a grove a bamboo. But these were not anything like bamboo. They were starting to flower with large pink flowers on tall stalks–chest high. I wanted to make a point of remembering the name of this impressive plant, but now that name is long gone! It’s a ‘rosa something.’ The flower is larger than a baseball….maybe larger than a grapefruit. Stunning.
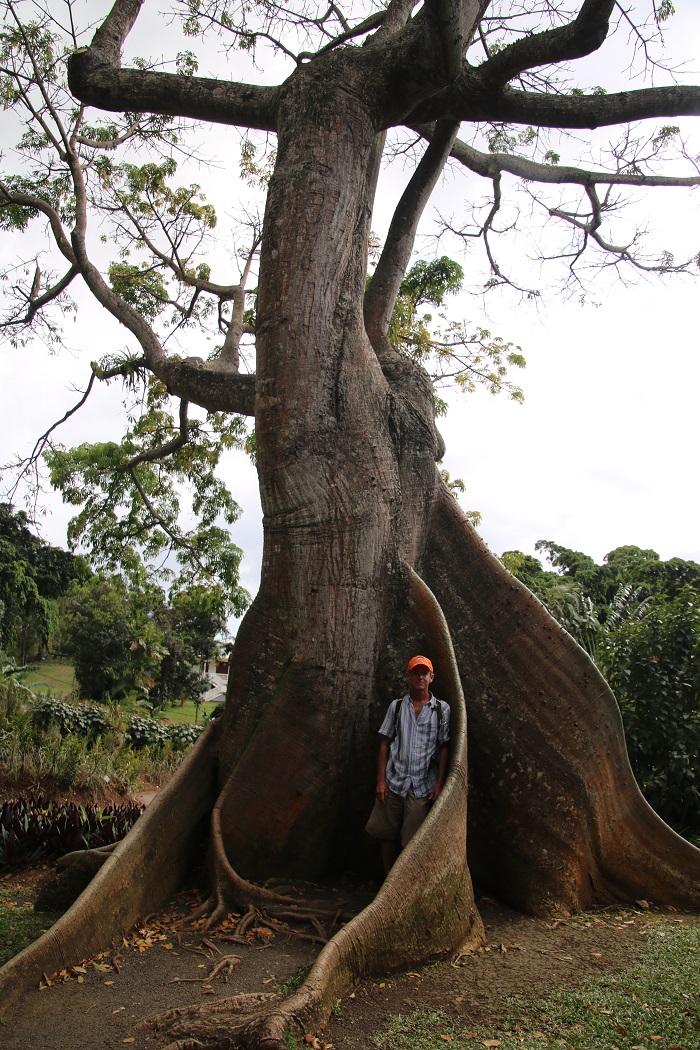
Here is Bob standing in the midst of a kapok tree. Remember kapok?
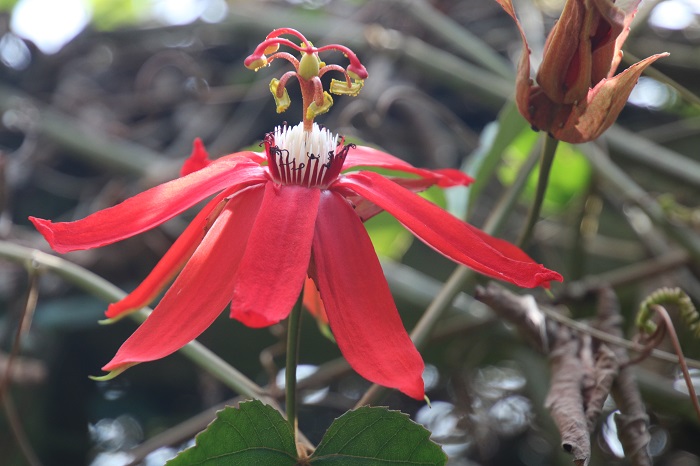
There was an entire arbor of red passion flowers, just coming into bloom.
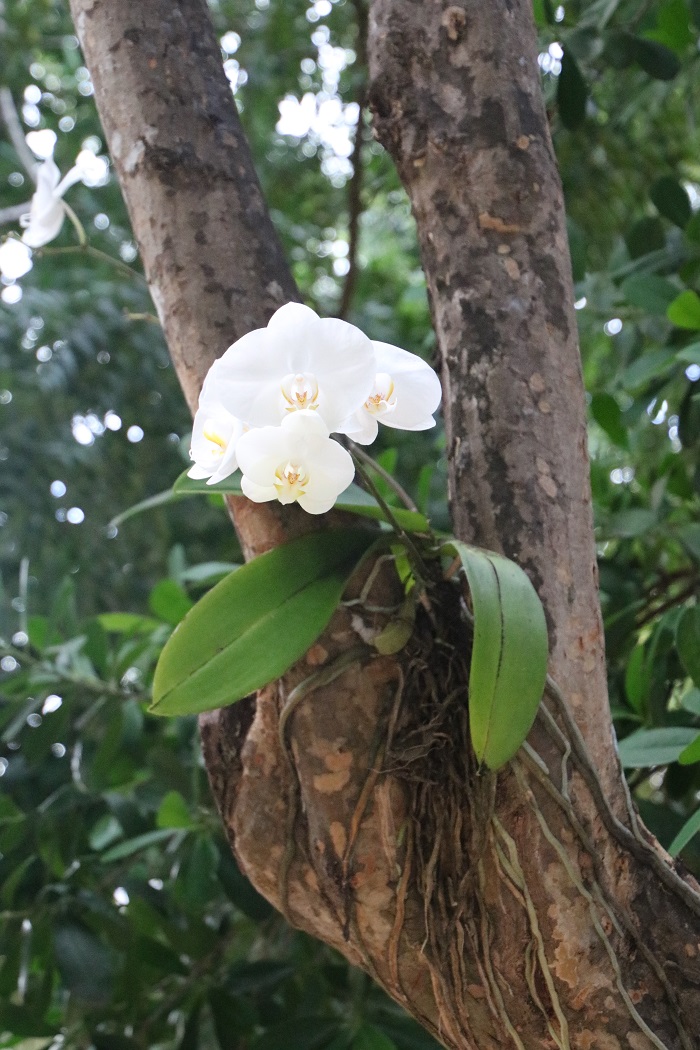
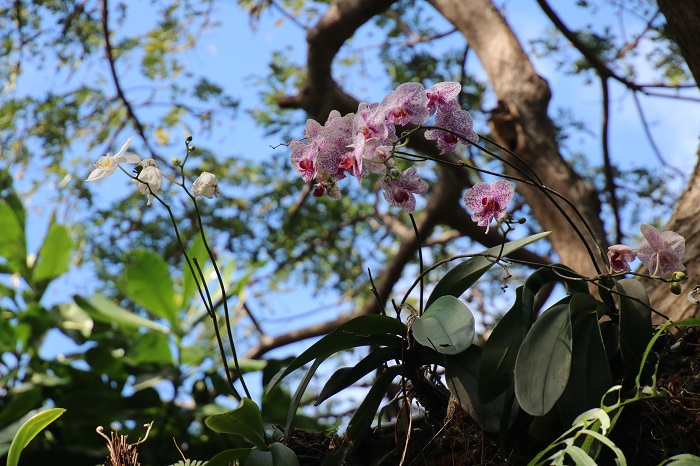
And there were so many phalaenopses and bromeliads growing on trees. Some of the phalaenopses were clearly meri-clones of new hybrids that have become so popular–with strange color breaks that have never occurred in nature. It did not seem natural to see them in a garden setting, but then neither did that strange aqua flowered vine that does occur in nature.
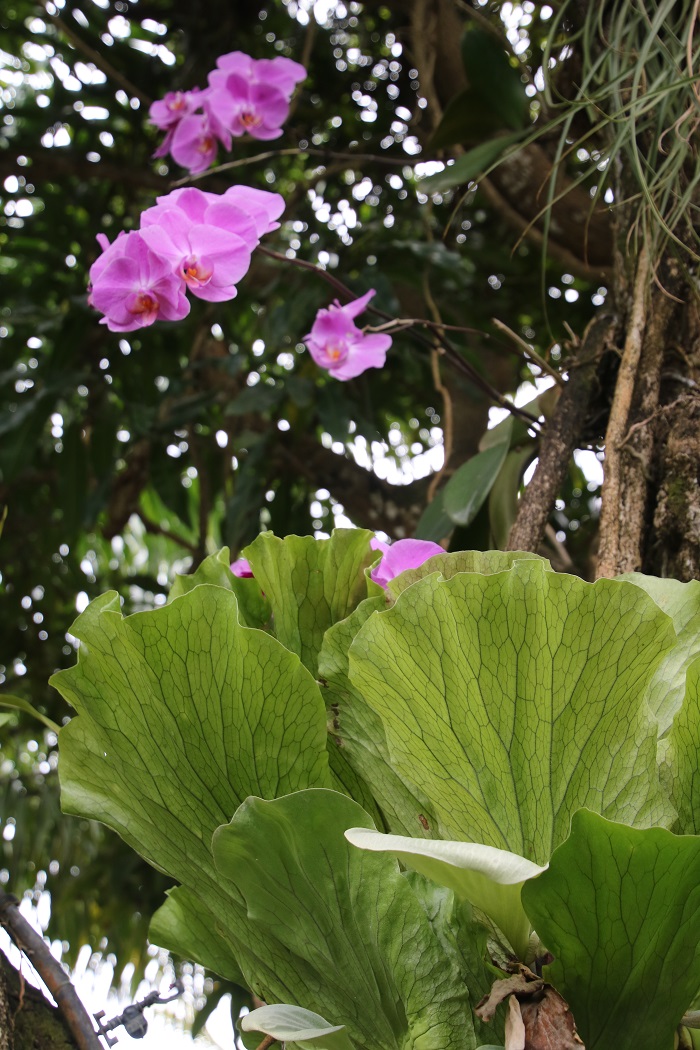
This is the healthiest staghorn fern I have ever seen. I wanted to take a piece…actually, I was terribly tempted to take many things. I don’t have any plants onboard this year and I am sorely missing a little greenery. There was plenty to choose from here, but I could not do it! I was holding out that there would be plants for sale in the gift shop.
And the birds! What a feast of color! There was a large aviary full of ‘parakeets’ like these. They were such a delight flying all over and around us. They’d swoop down right next to anyone on the path–no fear at all. They sang beautifully too. Very mesmerizing.

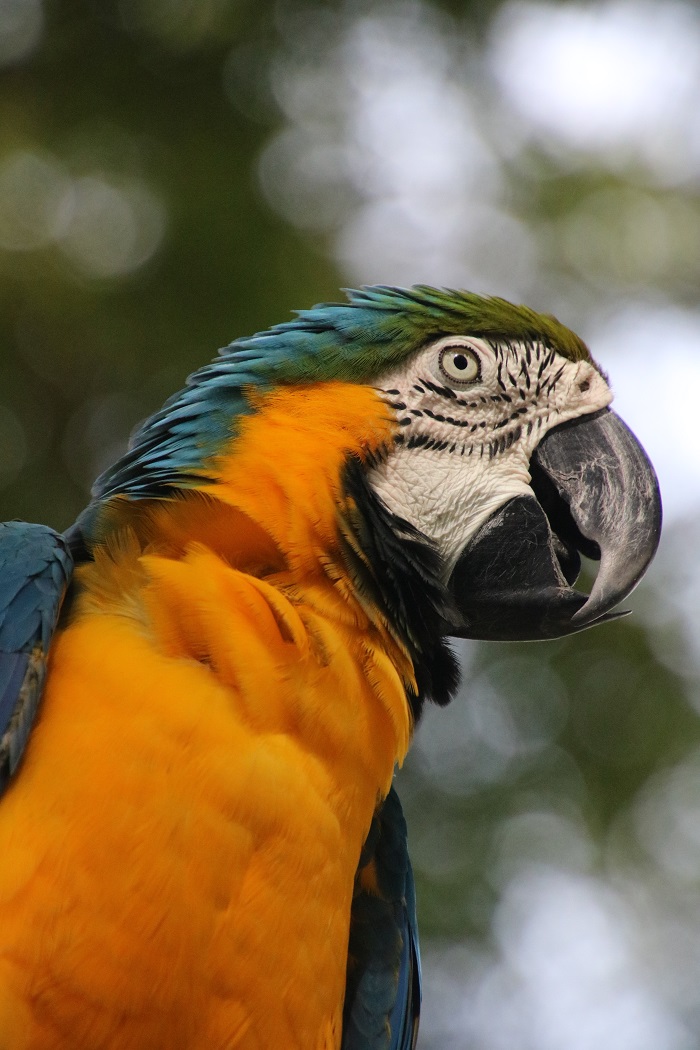
Then there were very large parrots outside at another part of the garden. What keeps them in the park? Having their wings clipped? What amazing colors. I thought of all the feather tapestries I saw at the pre-Columbian textile exhibit at Yale last summer. How many birds would it take to make one of those tapestries?
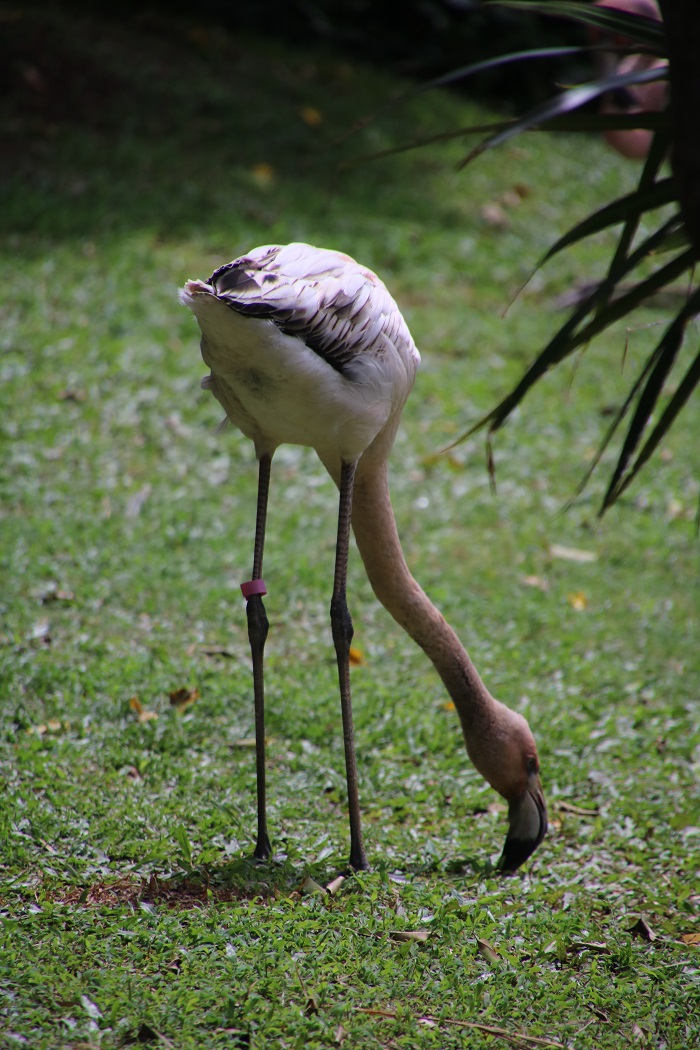
And there was a flock of not so colorful flamingoes. Maybe there aren’t enough live shrimp for them on this island? Still, they are beautiful birds, whether deep coral or slightly off-pink.
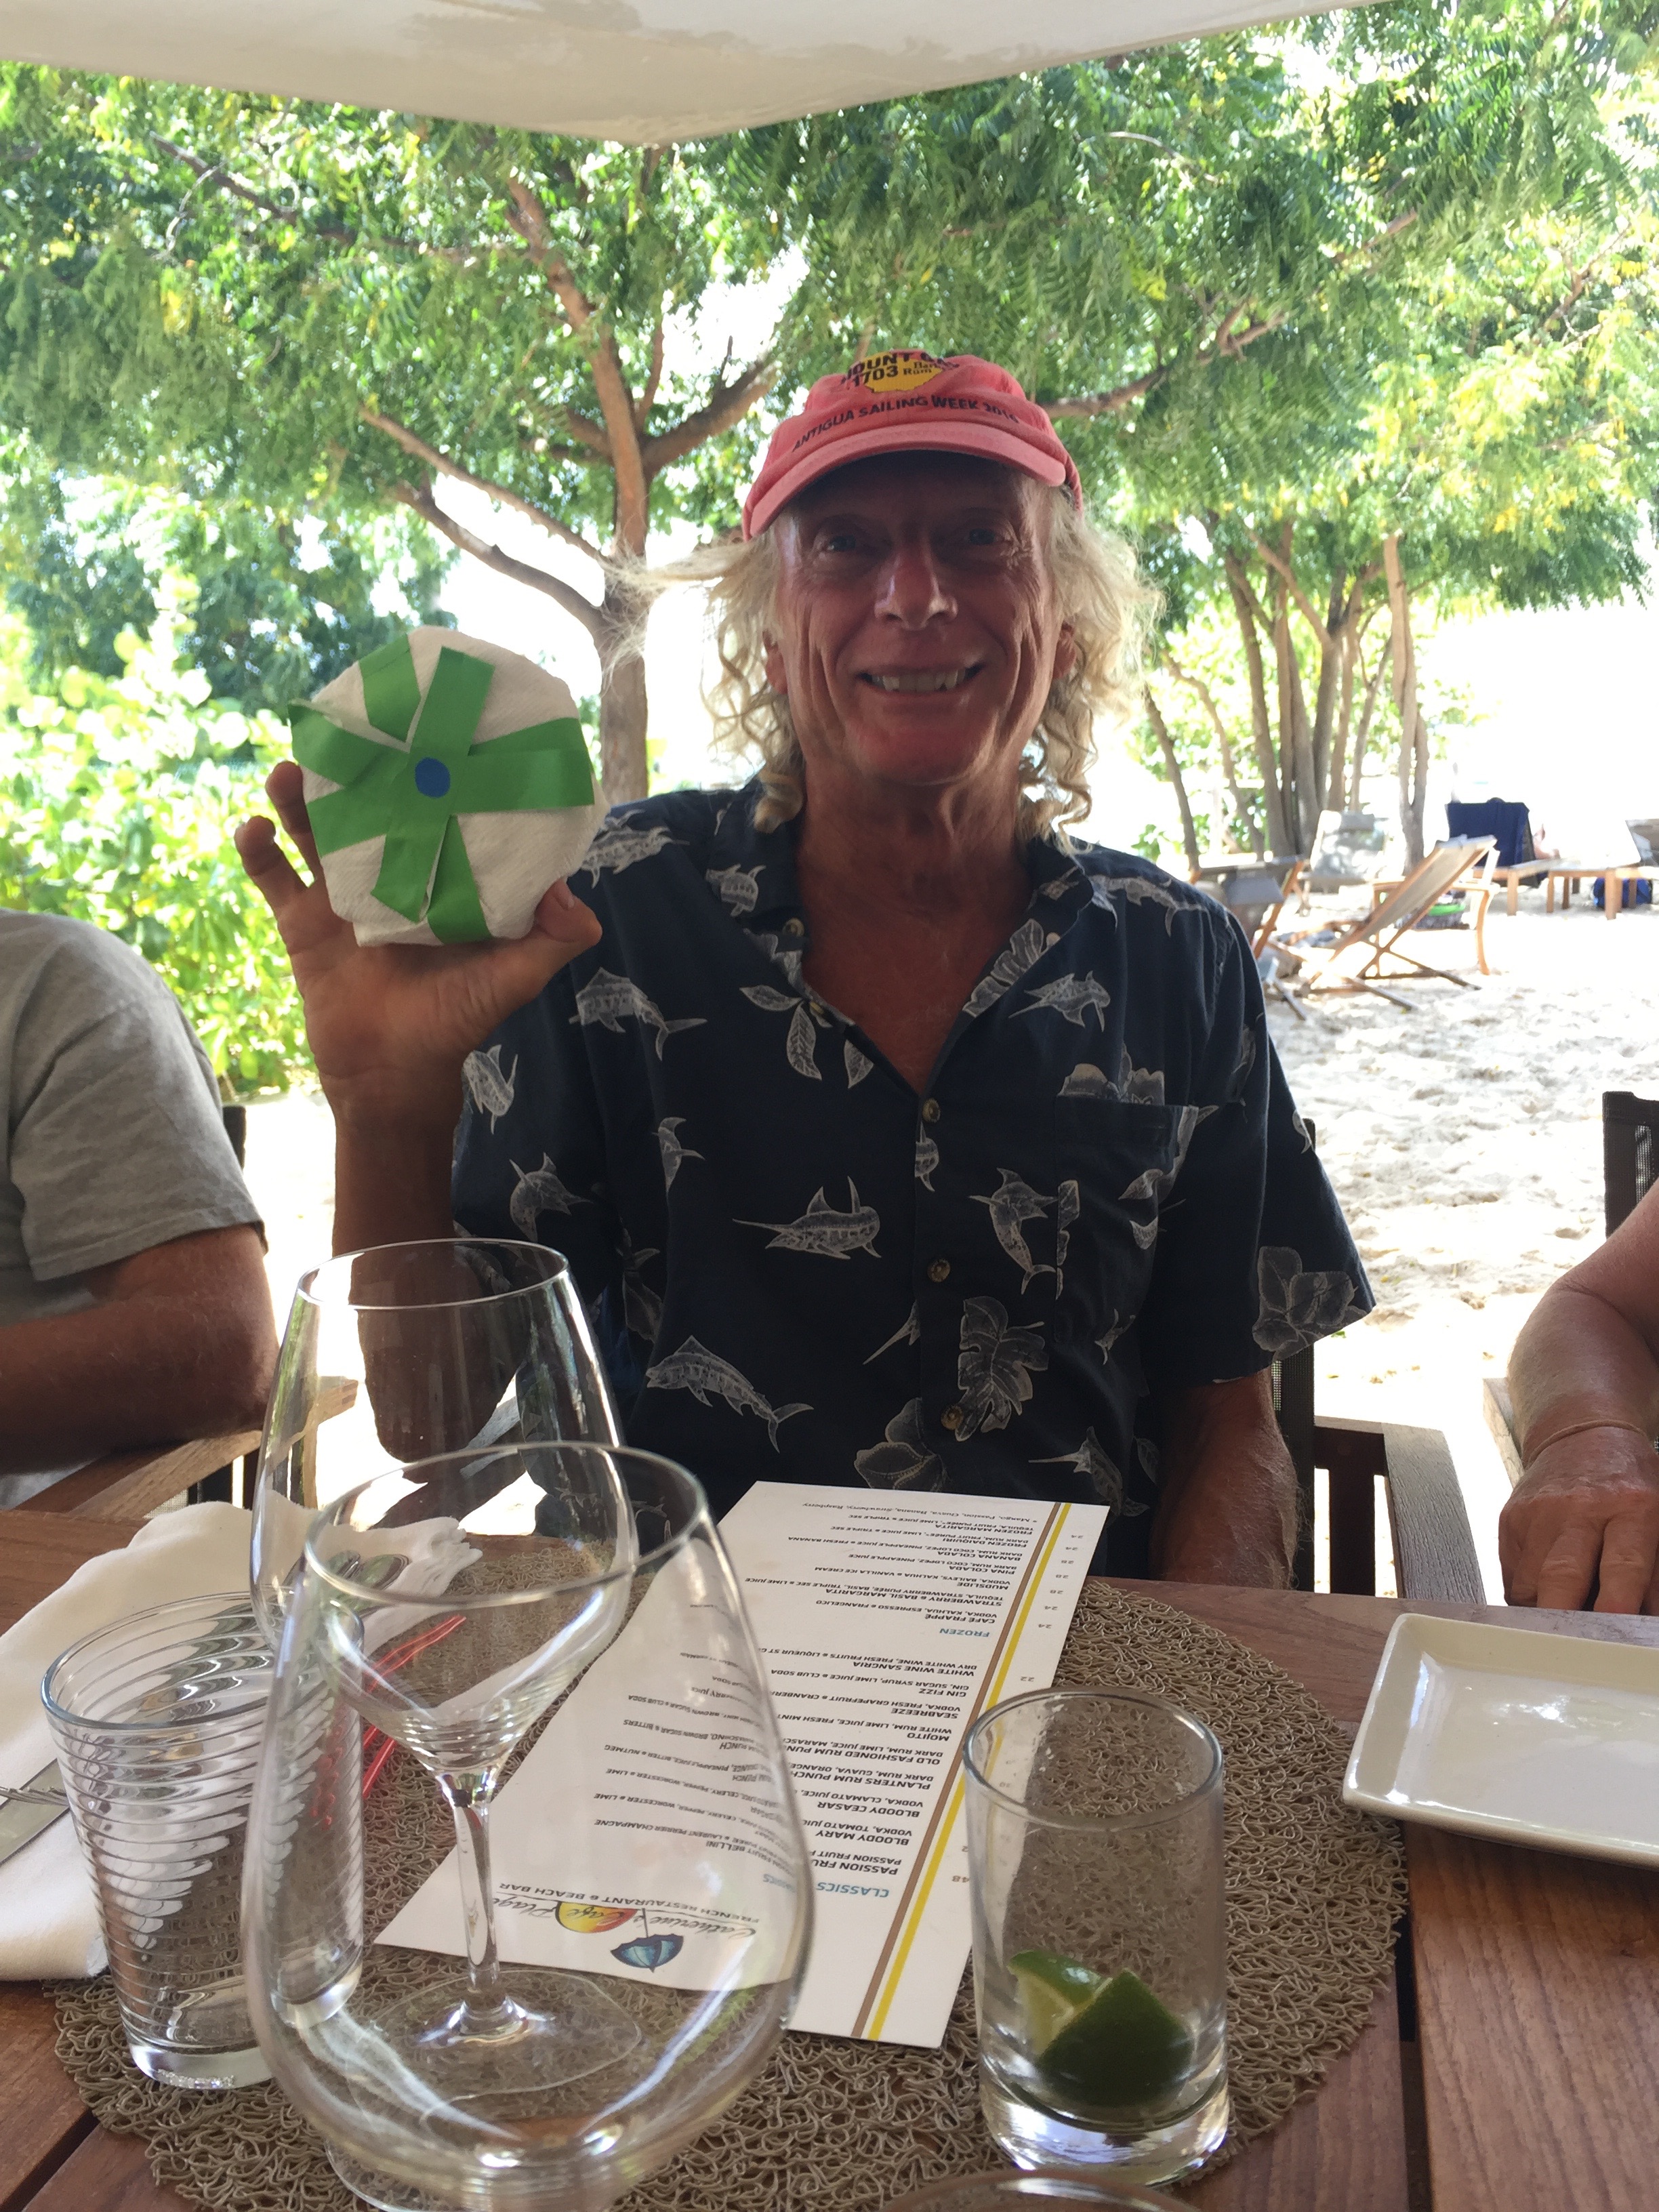
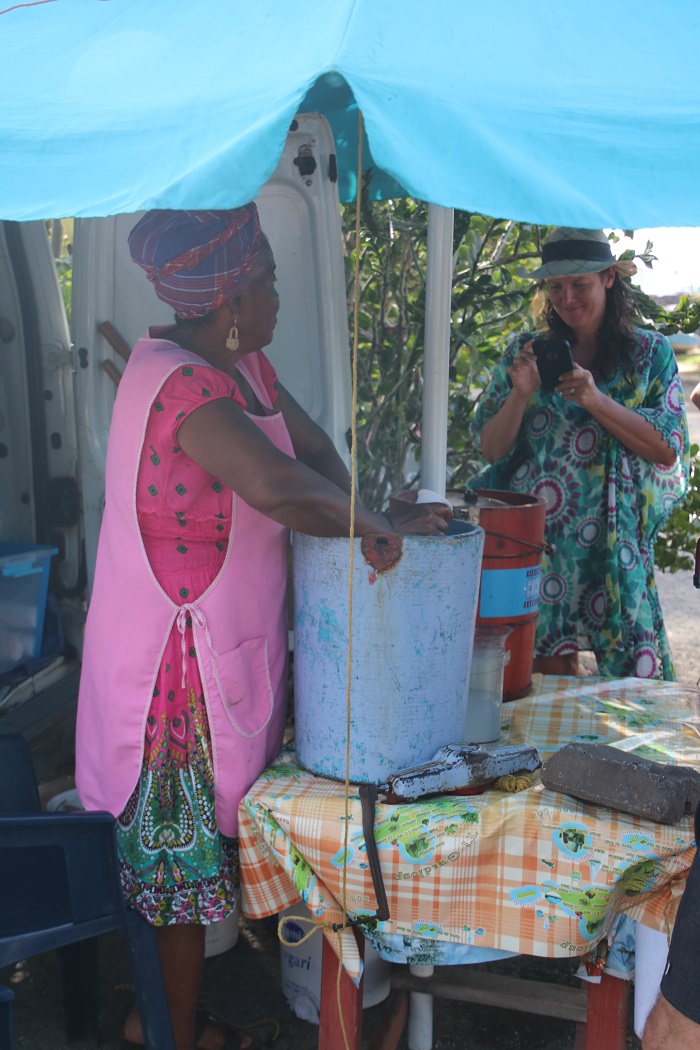
At the end of the day, when the van returned us to the crossroads, we found a local woman who set up a small folding table behind her car in a parking lot to sell ice cream. She had two buckets of freshly churned ice cream that was selling fast as you’d expect on a tropical afternoon. The choices were something off-white and something deep raspberry red. I asked what flavors and she replied “coco” and something that sounded like ‘rose,’ (with an accent on the final ‘e’). I asked again about the rose. I asked if maybe it was framboise since it looked so raspberry colored. No, she said rose again. She said it several times, and others who were waiting in line piped in too with more and more hand motions. I guessed cerises, and fraise, and everyone continued to say what sounded like rose to me. Bob got his double scoop, one of each flavor, and we headed off to sit on the rocks along the beach. I had a few tastes and thought the tangy red flavor was wonderful. Suddenly I realized she had a small chalk board next to her table and the word on it was ‘griseille.’ Why did no one point to that sign during all my chatter? I swear I never heard anyone pronounce that ‘g.’ I guess I have a lot to learn if I’m ever going to understand spoken French! It was red currant! Yum!
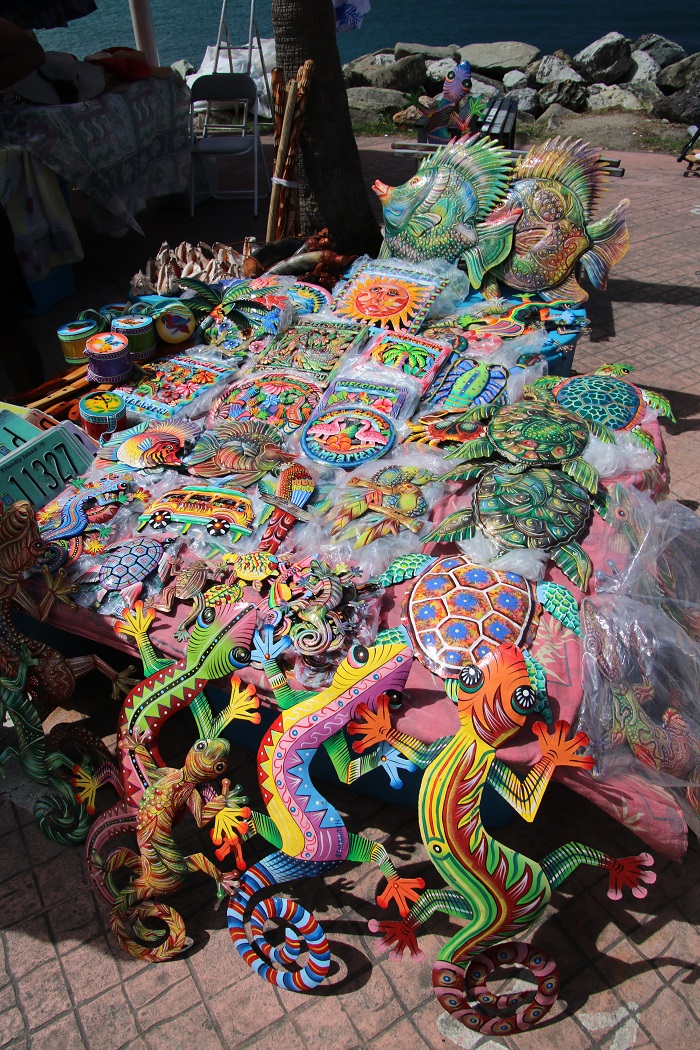
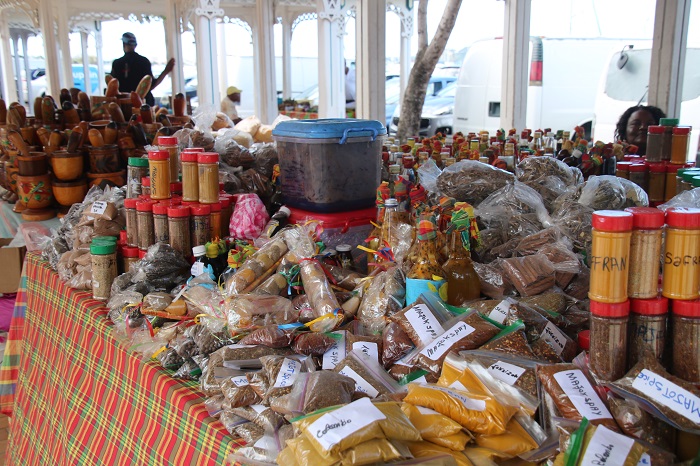
Everything about Deshaies is about as colorful as the botanical gardens, and I’m loving it! In the end, when we got to the gift shop there were only four very sad looking cacti for sale. As desperate as I am for a green plant onboard, cactus doesn’t even come close to tempting me. That gift shop was the first place I noticed that everything with the word “Guadeloupe” machine embroidered on it as a souvenir, was made out of a bright madras fabric, or was printed to look like the same madras fabric that was on all the textiles. It seems to be the national fabric of Guadeloupe. Maybe their flag is even madras. I don’t know because they fly the French flag, but surely they have their own flag too. Madras is big here, and it made me realize that this is part of the history of the West Indies. It is not only influenced by the flavors of their food, but also the textiles from India. It’s all very colorful.