
Paragraph

Nantucket Basket Procedures
It certainly is daunting to consider making one of these baskets so I thought I’d record the process as a resource for my future attempts. If anyone should stumble here and find help all the better!
My basket teacher is Judy Flanders, a member of the Westchester Basket Guild (NY) and a proficient basket maker and thorough, careful, patient teacher. If not for her I would still be starting at the DELS website trying to figure out what I need!
Determining the Number of Staves:
1. Measure the rim circumference of the basket mold in millimeters. If you only have access to measurements in inches multiply inches by 25.4 to find mm’s.
2. Measure the width of the staves you have chosen to use (also in mm). To this number add 1.5mm for the space between the staves.
3. Divide the answer from #1 by the answer from#2.
Example: the circumference of my round basket is 800 mm. The staves I have are 6mm wide. Adding 1.5mm to my stave width of 6mm gives a total of 7.5mm.
800 / 7.5 = 106 or 107
This is just an estimate, but it gives me an idea of how many staves to shape. I will add at least 10% to this number, so I will be shaping about 116 – 120 staves.
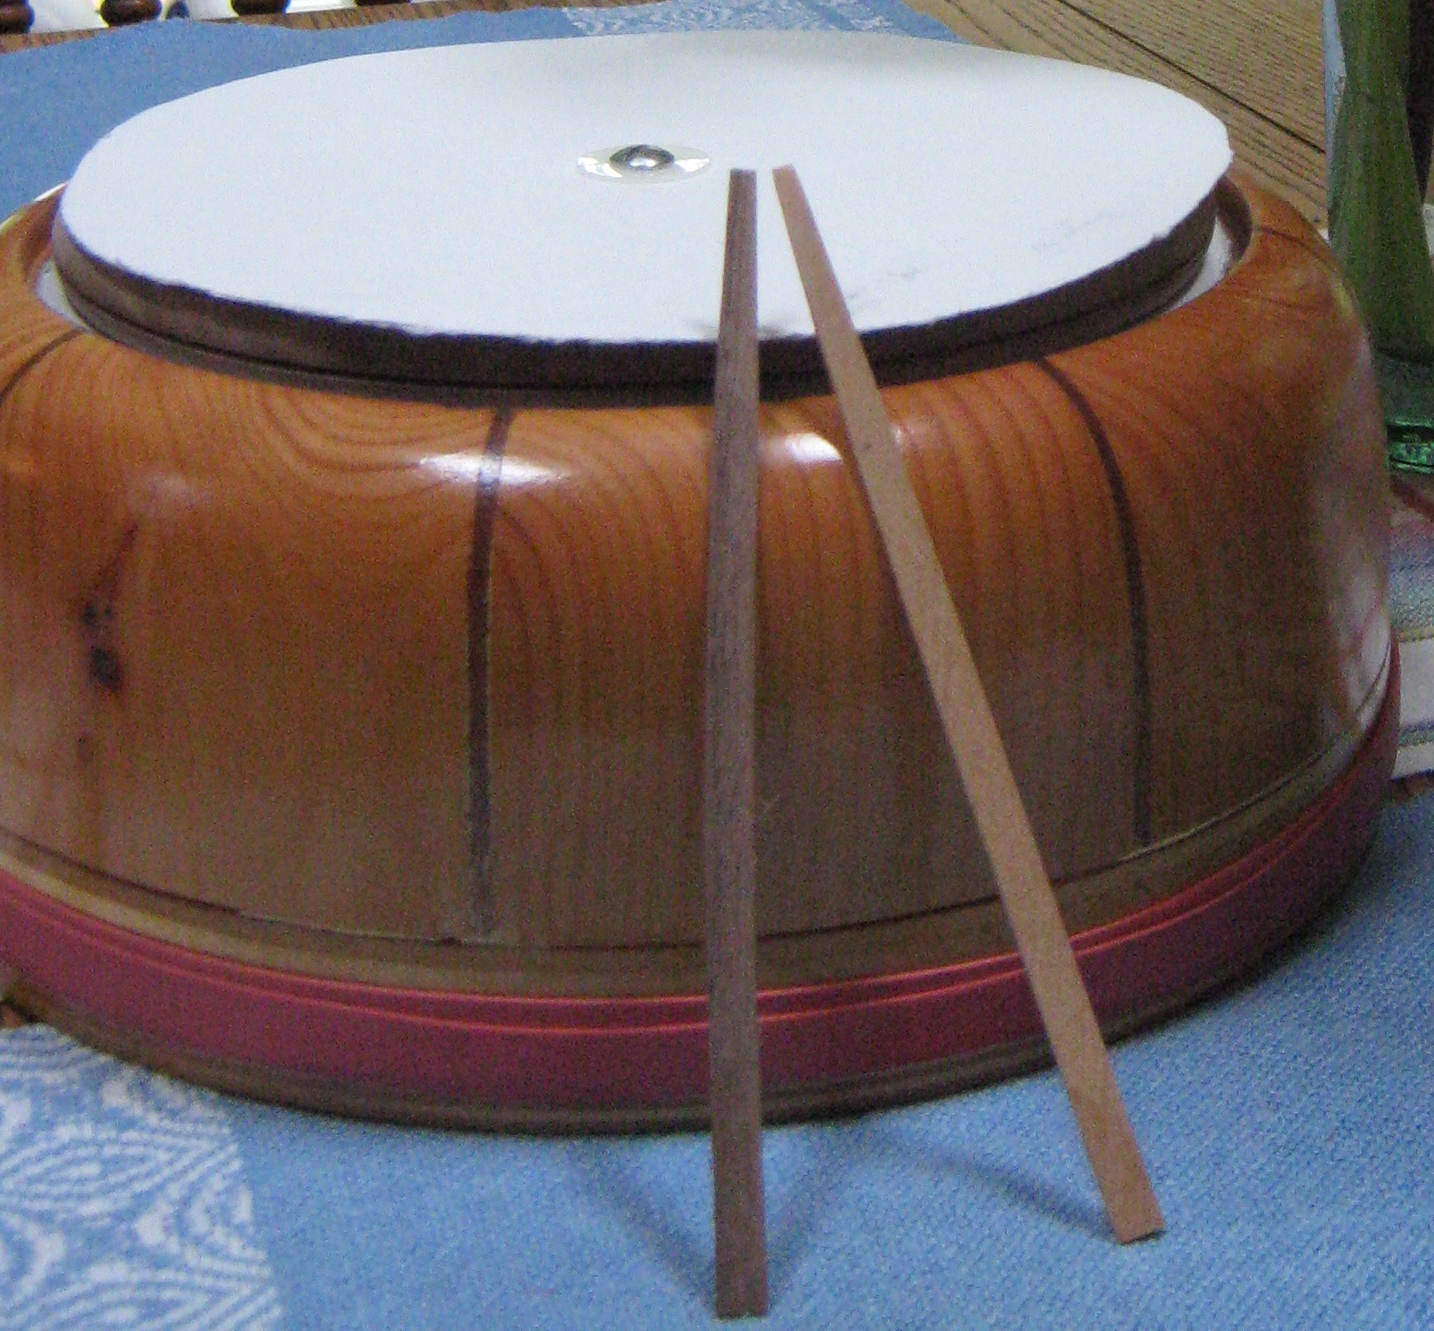
10″ round Nantucket mold with two shaped staves
Preparing the mold: The hardwood on the base of the mold becomes the base of a Nantucket basket, with all the staves firmly attached into a groove. This base needs to be protected during the basket making process. I have removed the screw holding the base to the mold and inserted layers of cardboard that were cut to the same circumference as the base. I have two layers of cardboard between the base and the mold, and one layer of cardboard on the outside of the base to protect it while I’m weaving. I put the screw through all these layers and re-attached everything to the mold. Ready for inserting staves!
Shaping the Staves: the staves are tapered until they reach the shoulder, or curve, of the mold. From that point to the rim of the basket they keep their full width. The length of each stave is about 1″ longer than the edge of the mold. For a round basket all the staves will have the same shaping; an oval basket would require different shaped staves for different areas of the curve of an oval. I am using two kinds of staves on this basket, and there is an example of each in the photo. Both have been tapered. There will be eight walnut staves set at equal distance around the mold creating a dark stripe that matches the walnut base and rim of the basket. These positions correspond to the fine dark lines on the mold in the photo above. The rest of the staves in between these stripes will be maple. I think this will be a striking basket design.
After tapering the ends of the staves that will be inserted into the base, each stave needs to be lightly sanded for smoothness as well as sanded down to a finer dimension in the tapered area. I want to sand only enough to allow the stave to fit snugly into the groove of the base. If the stave goes into this groove too easily and is loose it may come out at some point during the basket’s life which would be a hard repair to attempt. If the stave is too tight it might not fit all the way into the groove which might also cause it to come out at some future point.
I taper the staves using a small hand plane. I learned that the proper technique is to hold the plane stationary and move the stave against the blade.

I can sand the staves using a small sanding stand or using sandpaper on a drill press. I’m using flat staves in this basket (contrast that to the round staves I am using in my Nantucket purse) so I have to sand off just a bit of the sharp sides so that the staves won’t break my weavers as I pull on them during the weaving.

Sanding the tip of stave before inserting in basket base
June 9, 2011
Steam-bending the staves: Last night I began shaping the maple staves that will go between the walnut staves around the mold. I’m making 14 maples staves to go in each of the eight sections of the basket. I presume that will give me a couple extra in each section in case of breakage.
This evening I steamed the walnut staves and placed them around the mold. Steam-bending involves boiling a pot of water (not a food pot! I use a small dye pot) and adding the shaped staves to boil for 10 minutes. After 10 minutes have passed I still leave the pot on the heat as I take out one stave at a time and place into the rim on the bottom of the mold, then quickly but carefully bend the stave to the contour of the mold. After a couple of seconds I pull the rubber bands out around the stave to hold it against the mold. Then I proceed to pull the next stave from the pot of boiling water…
NOTE TO SELF: Never boil maple staves in the same water as walnut staves. Like its nutshells, walnut wood has a lot of tannin and will dye the maple staves the color of walnut!
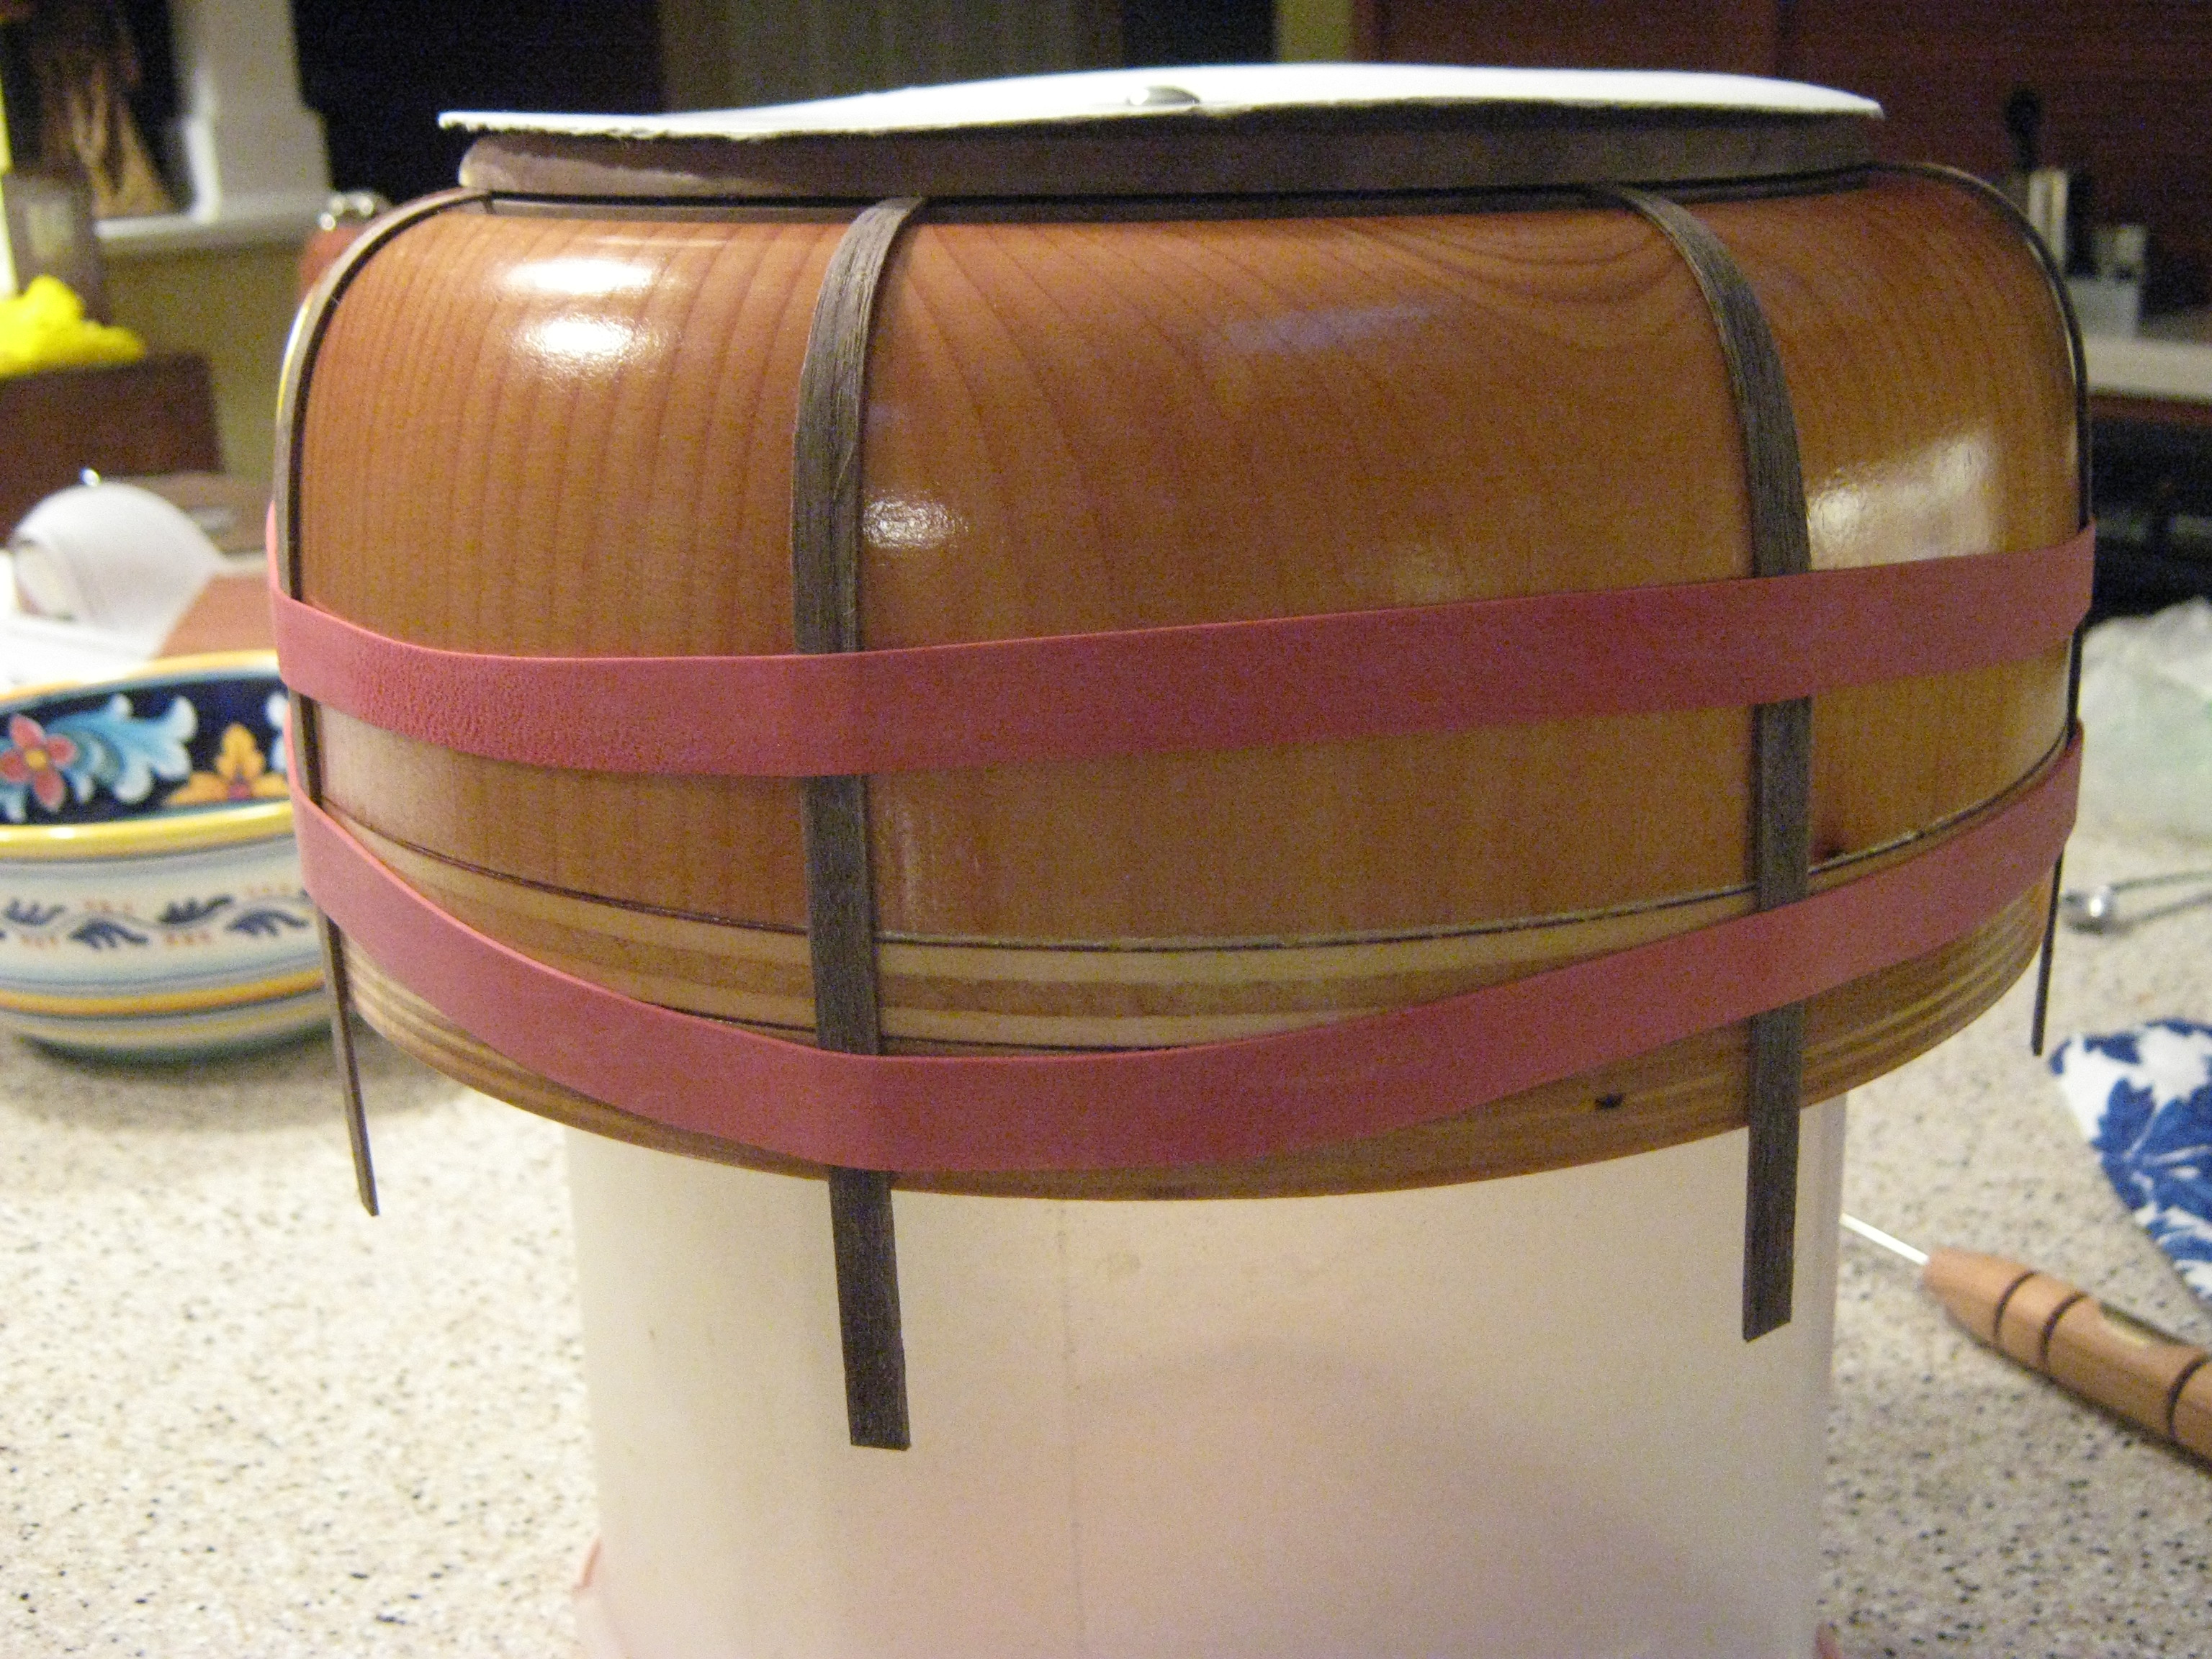
Thank heaven for these large rubber bands. I wonder what the sailors used traditionally.

Adding the maple staves
Next, I added one section of maple staves. The contrast between the walnut and maple will be greater when the staves dry.
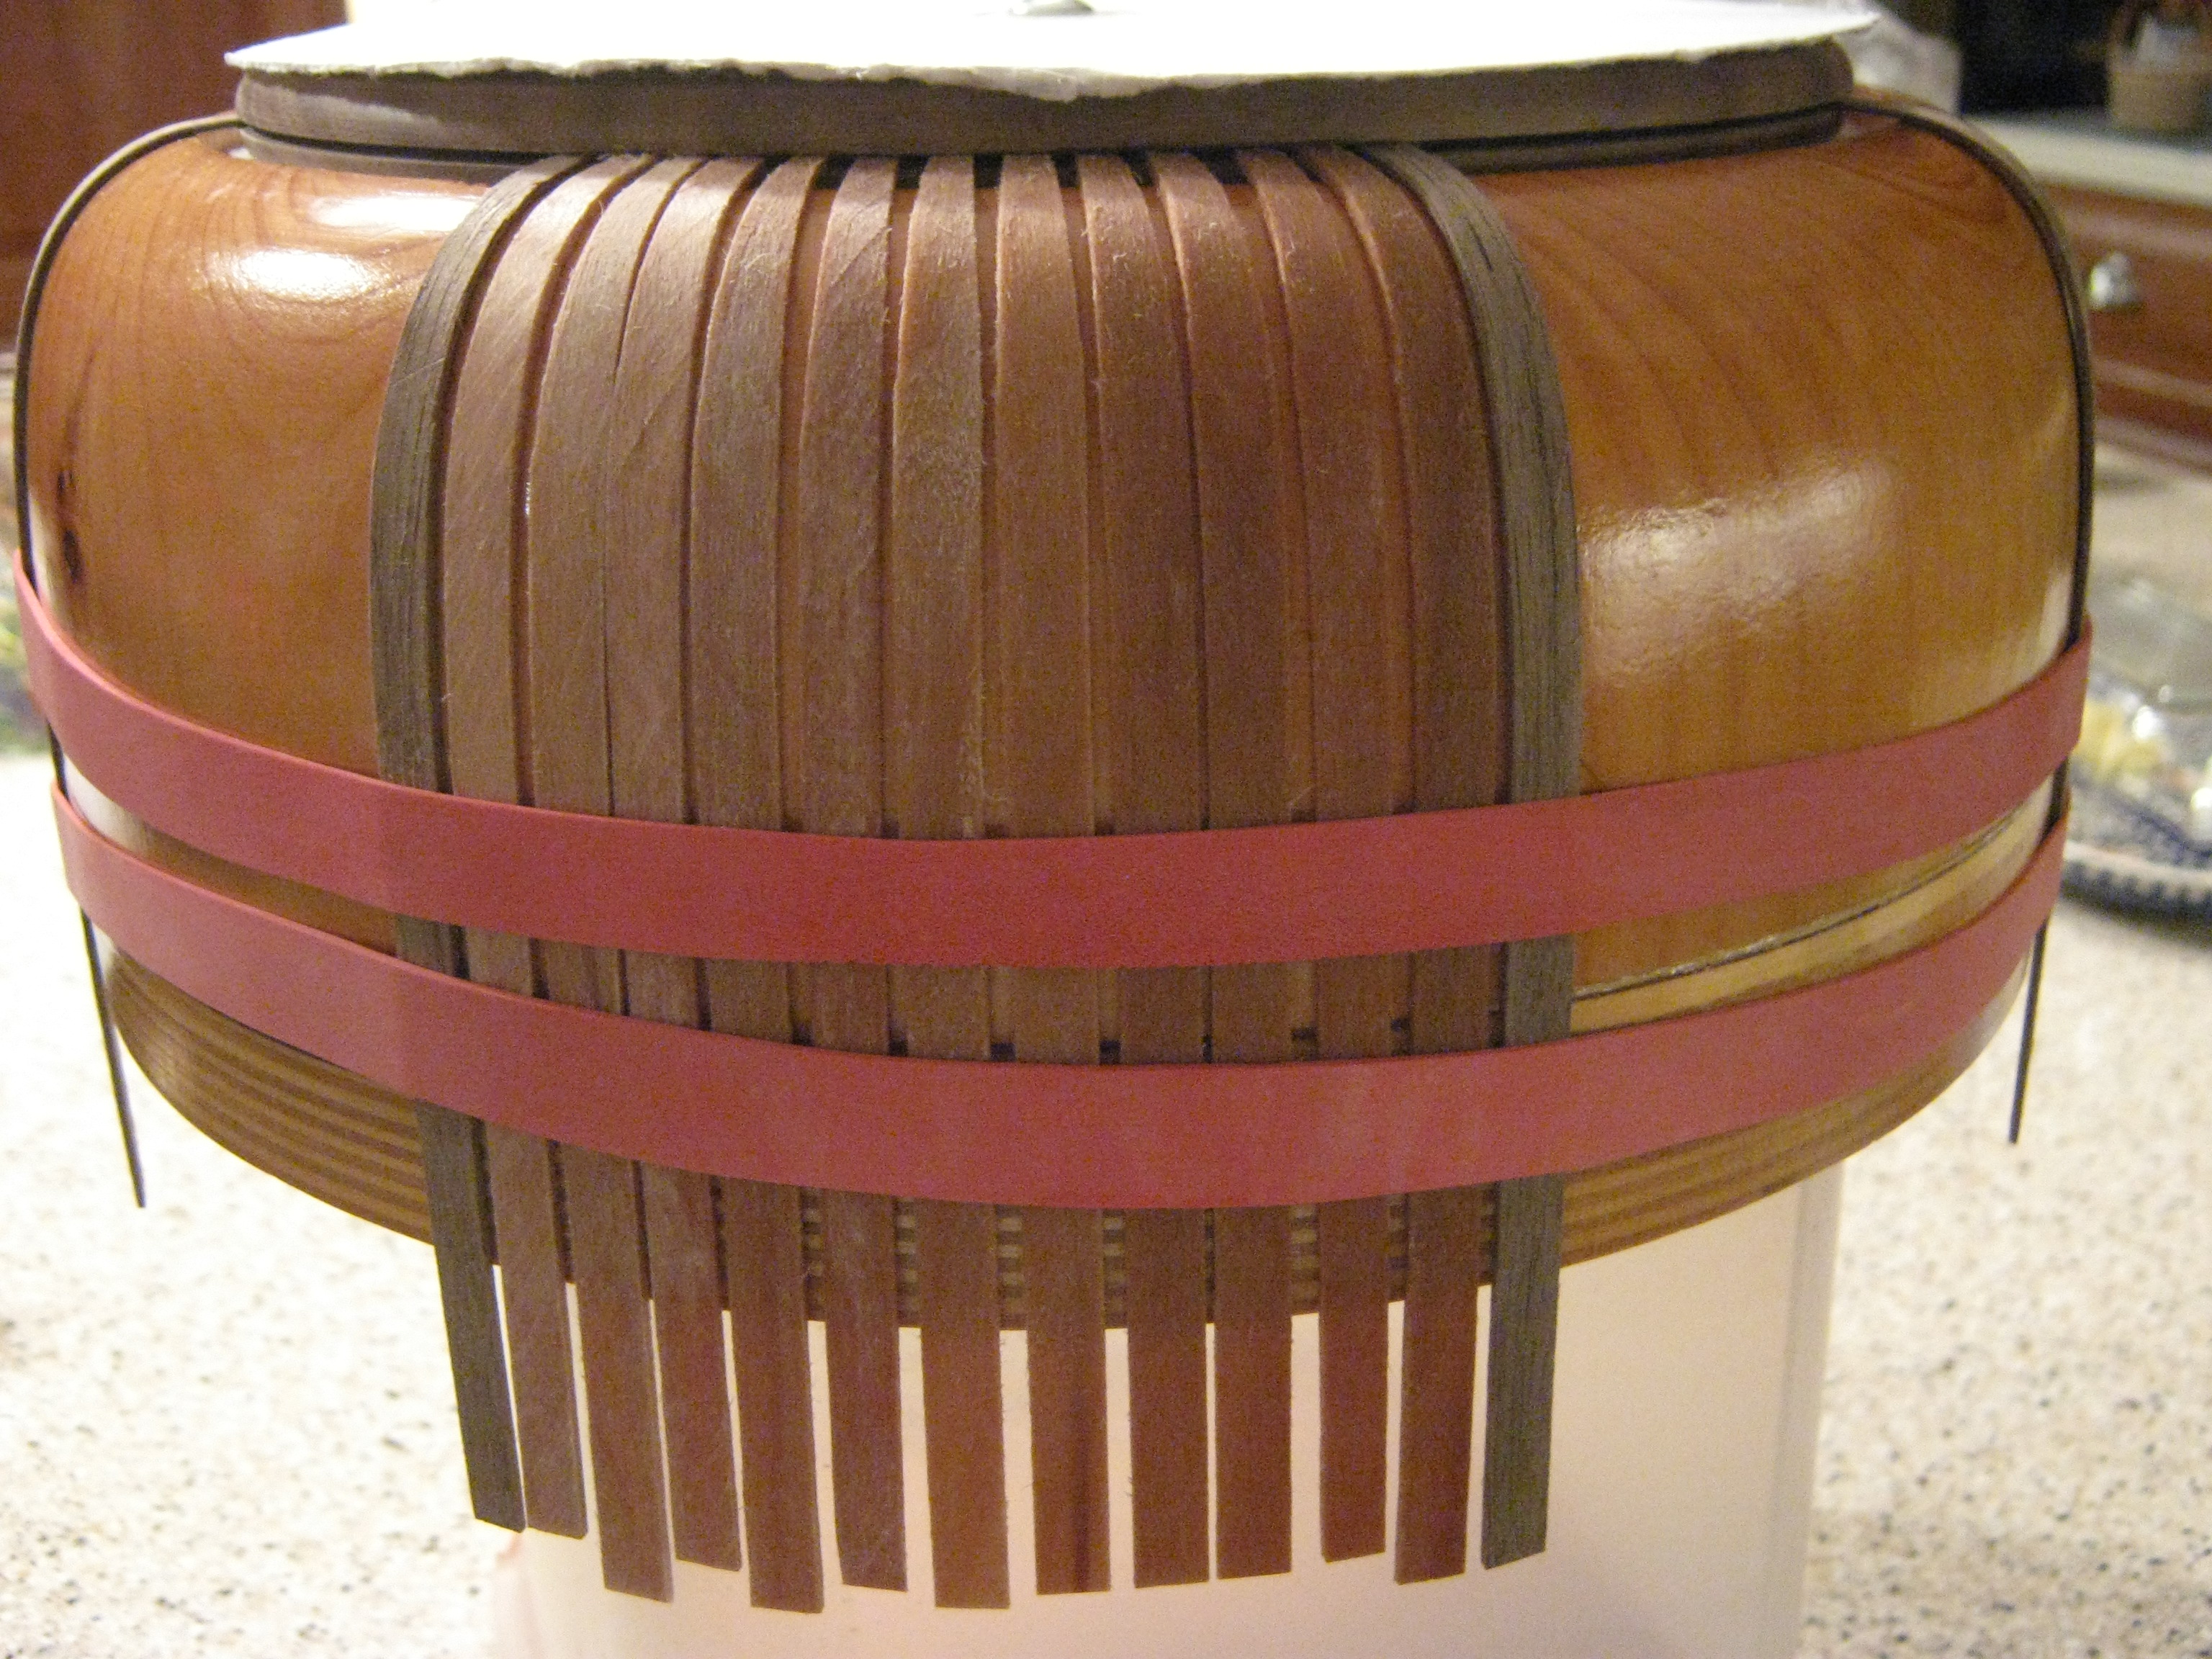
one section of maple staves completed
Time to check in with my teacher! I only got 11 maple staves between the walnut staves, and I should have gotten 12 or 13. I won’t proceed until I know if this is acceptable!
- Document
- Block
ClassicUse the classic WordPress editor.Skip to the selected block