Small Bites
We seem to be living on tapas and small bites here in Almerimar since we don’t want to eat dinner at 9pm. In that vein I have two of my own small bite creations to post here.
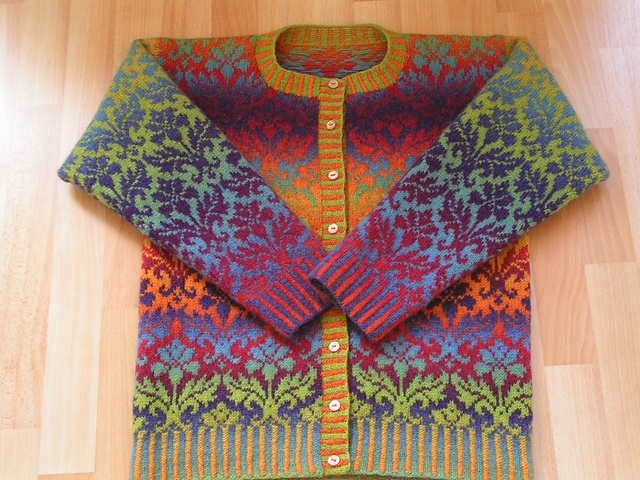
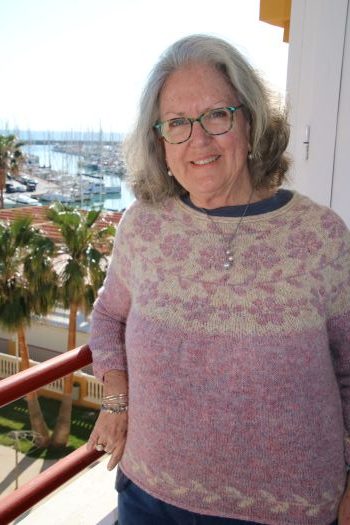
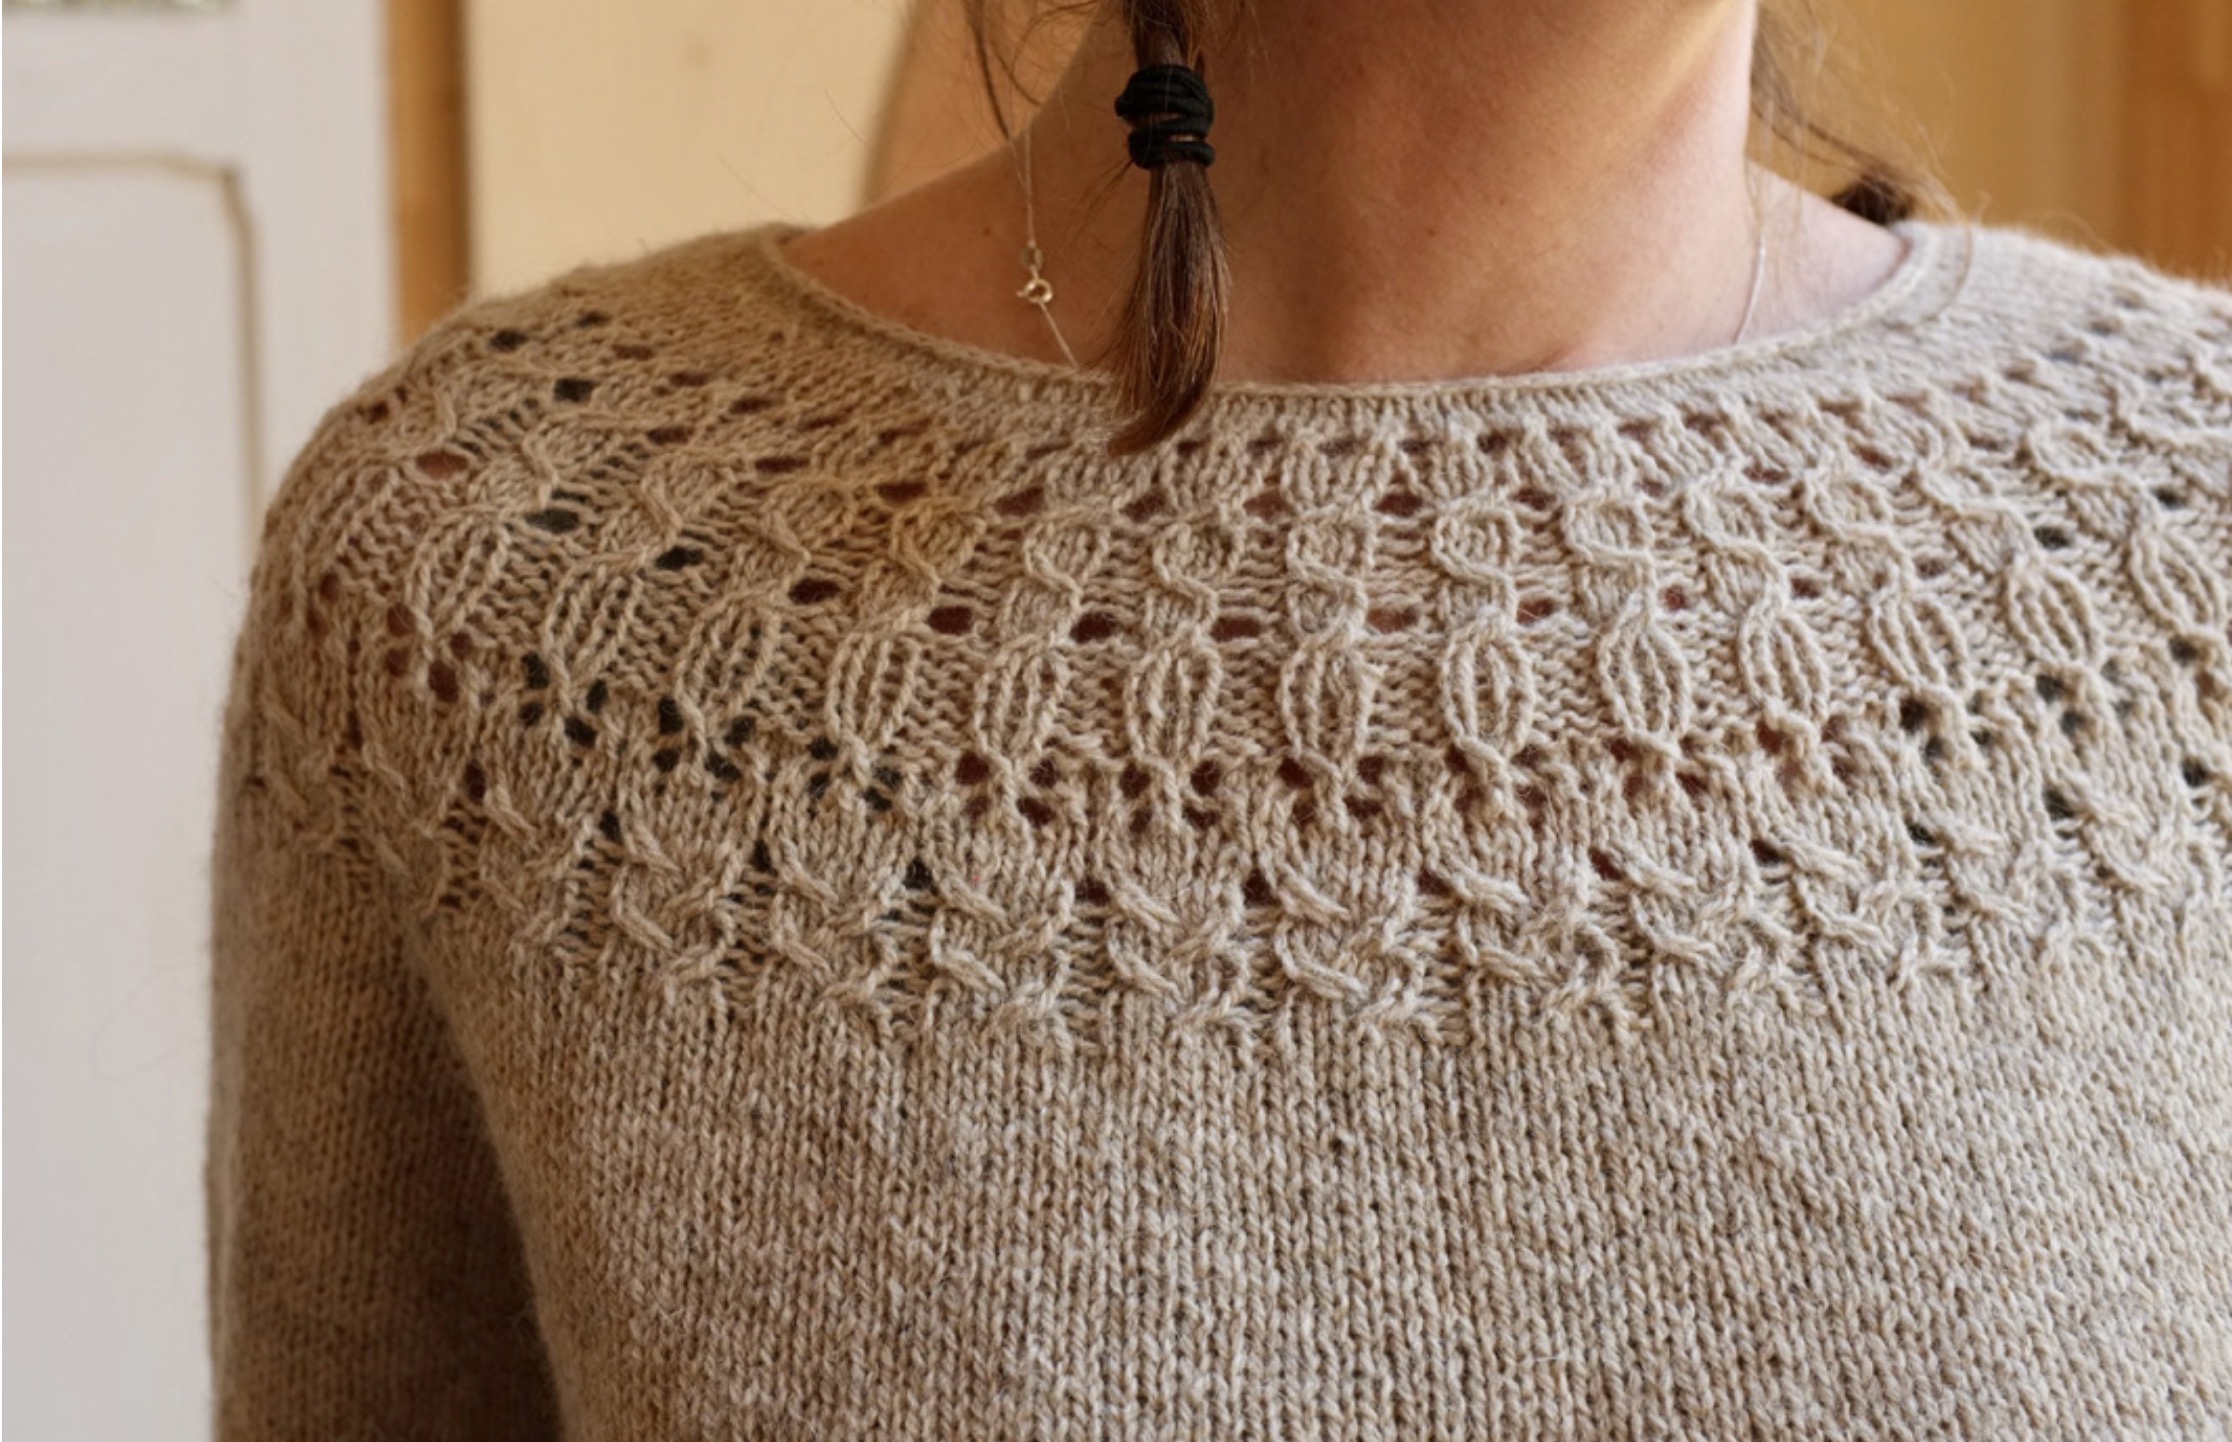
I have finished the “Sonann” sweater with time to spare before the deadline for test knitters. Hooray! It is a design by “Journey through Wool” on the Isle of Uist in the Outer Hebrides. The suggested yarn is from Uist Wool, which I was not able to get in time, nor did I want to deal with our unfair tariffs. Instead I have used Jamieson’s “spindrift,” which is also a yarn from the Outer Hebrides, that I could buy through various US distributors. Of course that meant I paid the tariffs anyway, but the shipping was faster. My colors are “Sand” and “Wild Violet.” The sweater pattern will be released in mid-April on Ravelry. I enjoyed test knitting this design.
Here is a close up of the stranded pattern on the yoke. I am posting this on my ipad which doesn’t seem to allow me to re-size the photos. Since my computer will not connect to the internet I am attempting to use an ipad. Mysterious electronic glitches always occur when I am out of the US. I know it’s user error.
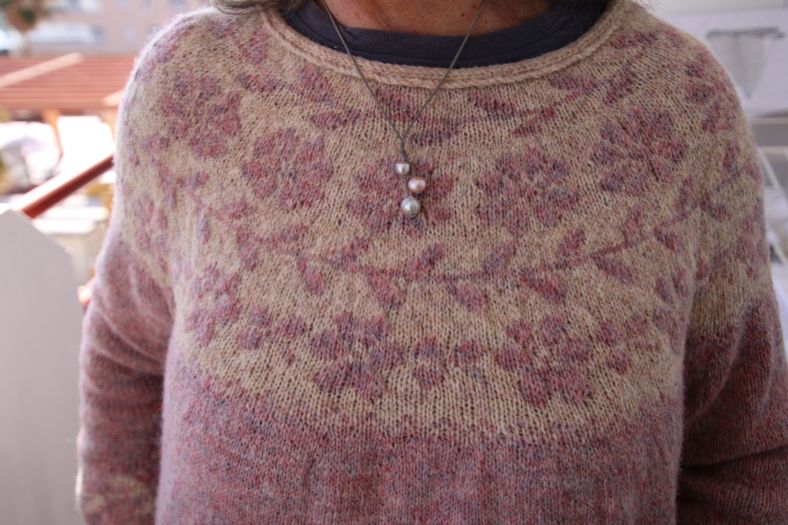
I may decide to rip back a good deal of this sweater, now that I’ve finished in time for the deadline for test knitters. I’m not entirely happy with the shaping, and I need to dive back into the instructions to see if I made an error in the increases or if it was in the pattern. It’s a big job, ripping all the way to where the sleeves get put on holders, but since I love the design and my yarn choices, I must do it!
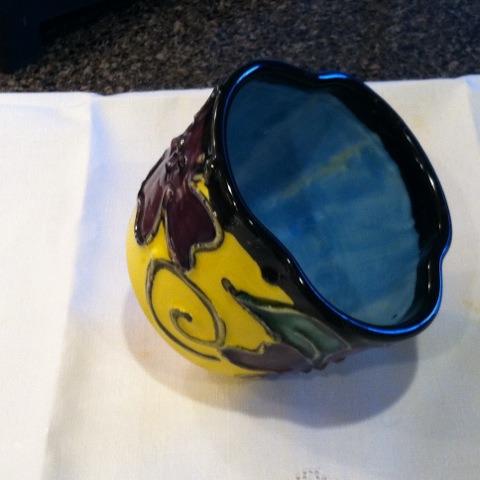
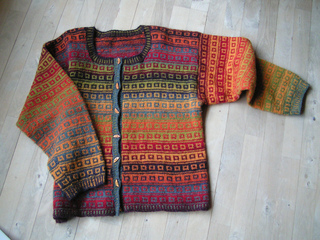
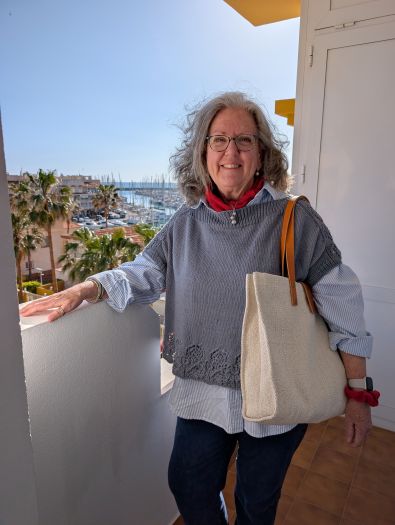
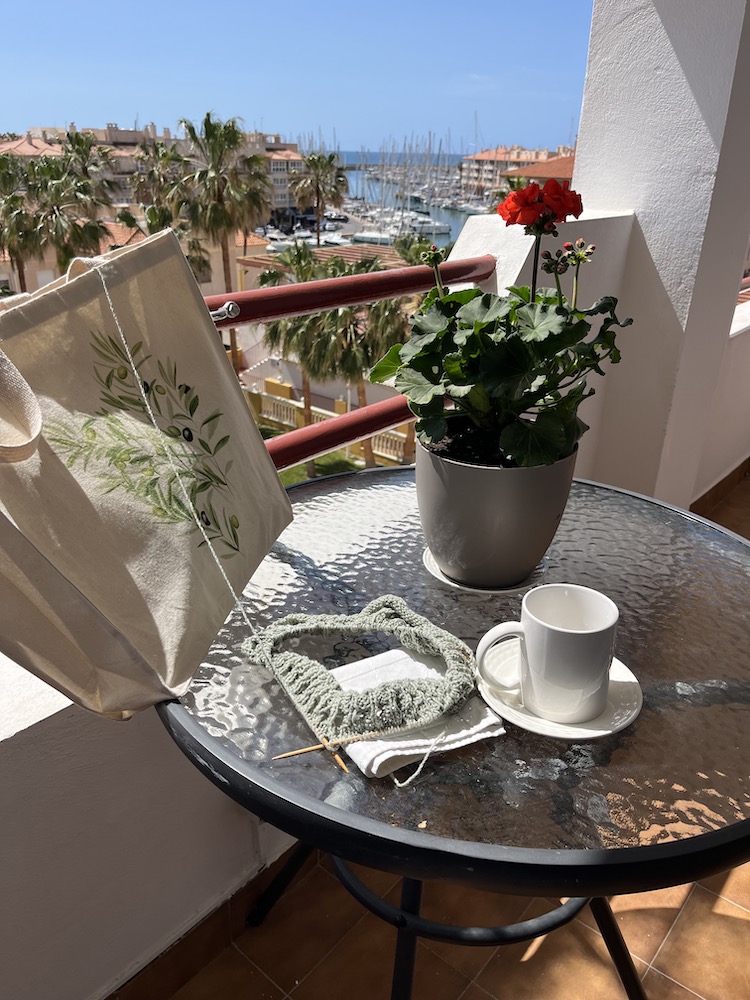
My new tote bag is a gem. I am on cloud 9 that I found it almost a year after I first saw it. And I am notorious for getting my photo taken in windy places so that my hair is winging out like it’s going to sail away. Just look at the gorgeous tote bag and ignore the model. Please also notice the cute sweater on the hair-challenged model. The vest pattern is by Elenor Mortensen, and you can find her on Ravelry. This pattern is called “Eowyn Tee,” and it is knitted in the round from the top down with a clever boat neck that morphs into lace on the shoulders. I enjoyed knitting it, and enjoyed using cotton yarn (Rosario) that I bought in the Açores last summer. I certainly love knitting with yarn from places I visit. It’s the highlight of traveling for me!
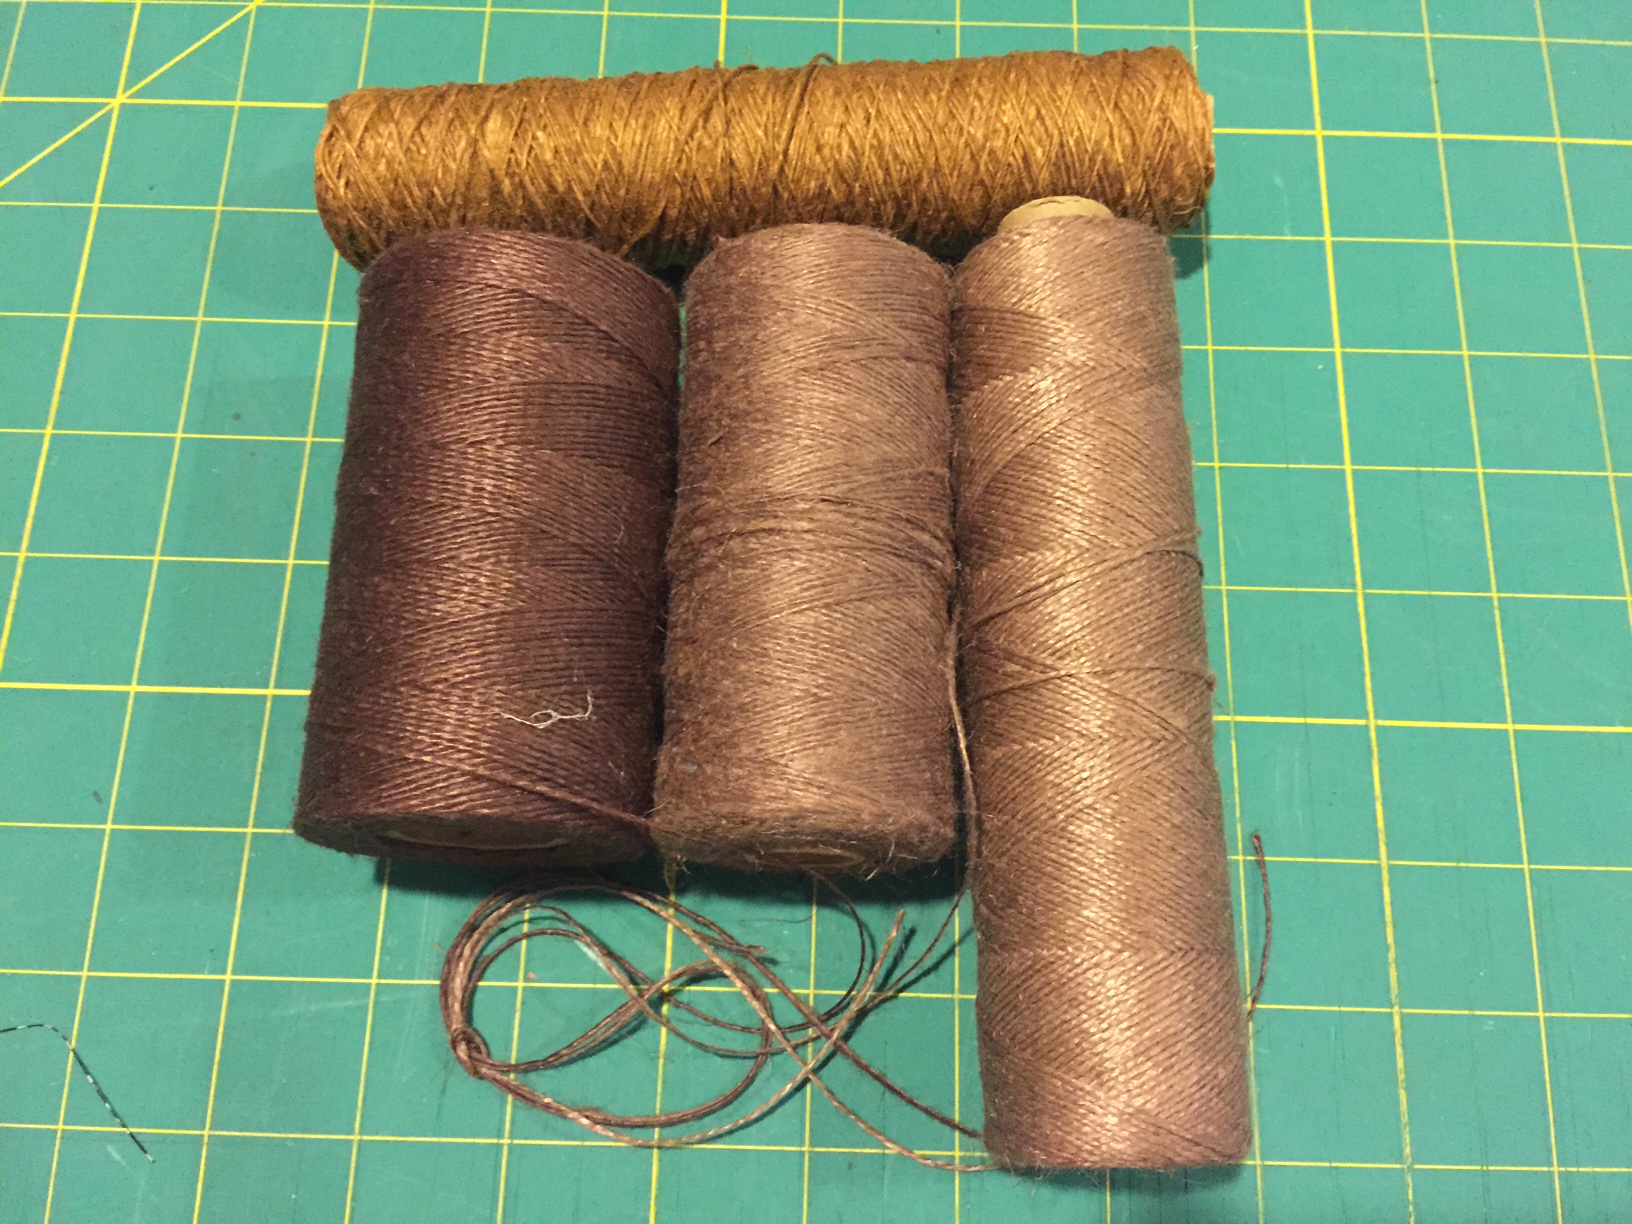
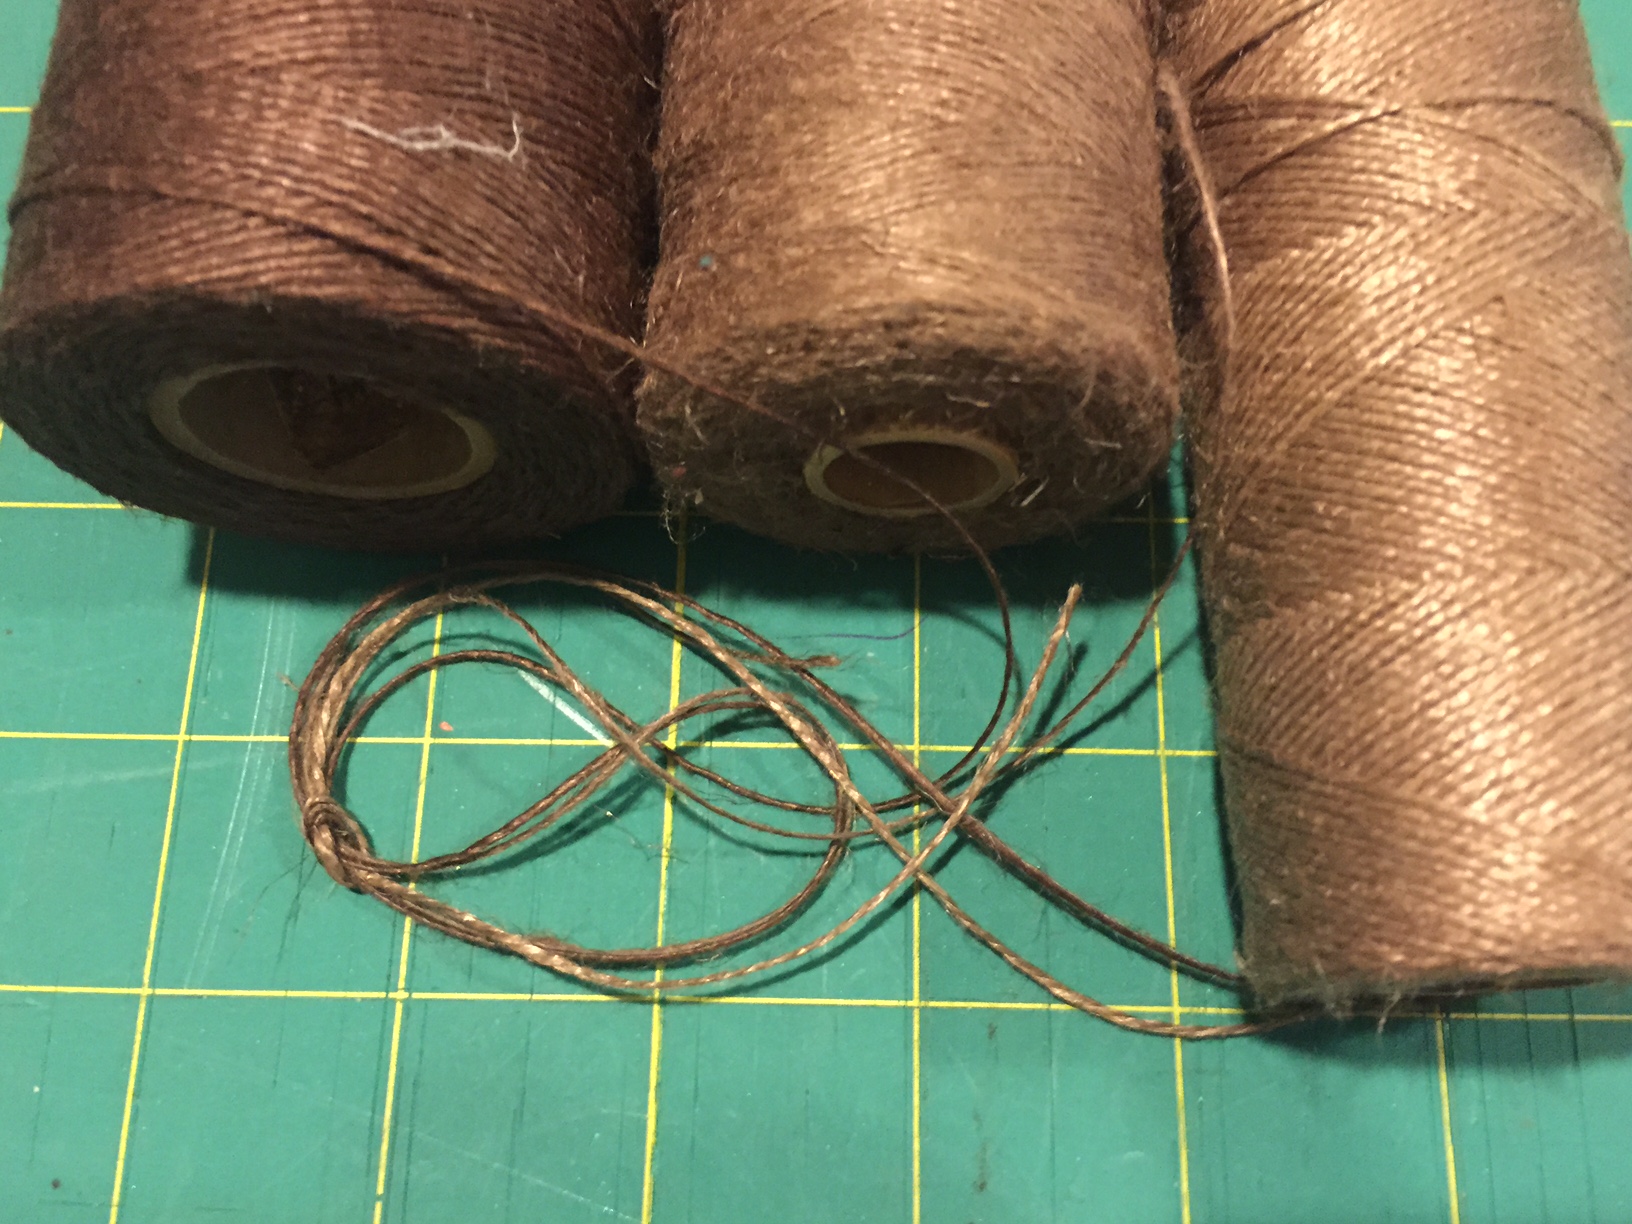
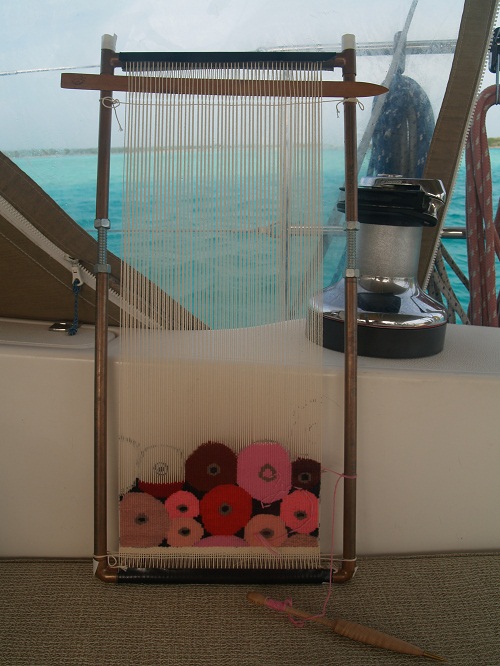
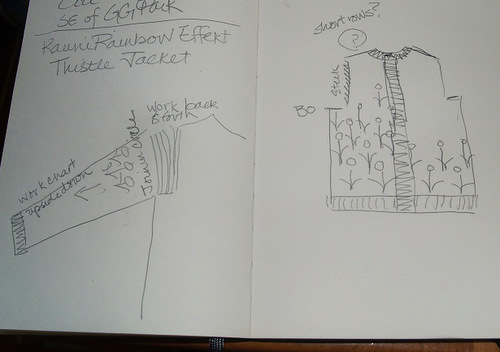
The next project on my needles also uses locally sourced yarn. I saw the pattern and the yarn on a US website for the yarn store Wooly Thistle. They are carrying a variety of Spanish yarns from a company called Wool Dreamers. The yarn for this sweater is “Soana,” a 50/50 blend of Spanish merino and cotton grown in Spain. I couldn’t order it in time to get it from the Wooly Thistle before we left, and then I realized I would be in the country where this yarn is produced. So I looked at Google Maps to see how I might buy this yarn in person. No luck there as most of the yarn shops were a lot further north. Even though we had a car for a few days, it would be a really long drive to Barcelona or to Madrid. So I ordered it online and had it shipped to a local shop in Almerimar that offers package deliveries. I’ve never heard of this before. Boy, was I happy when I walked to the shop to pick up my package!
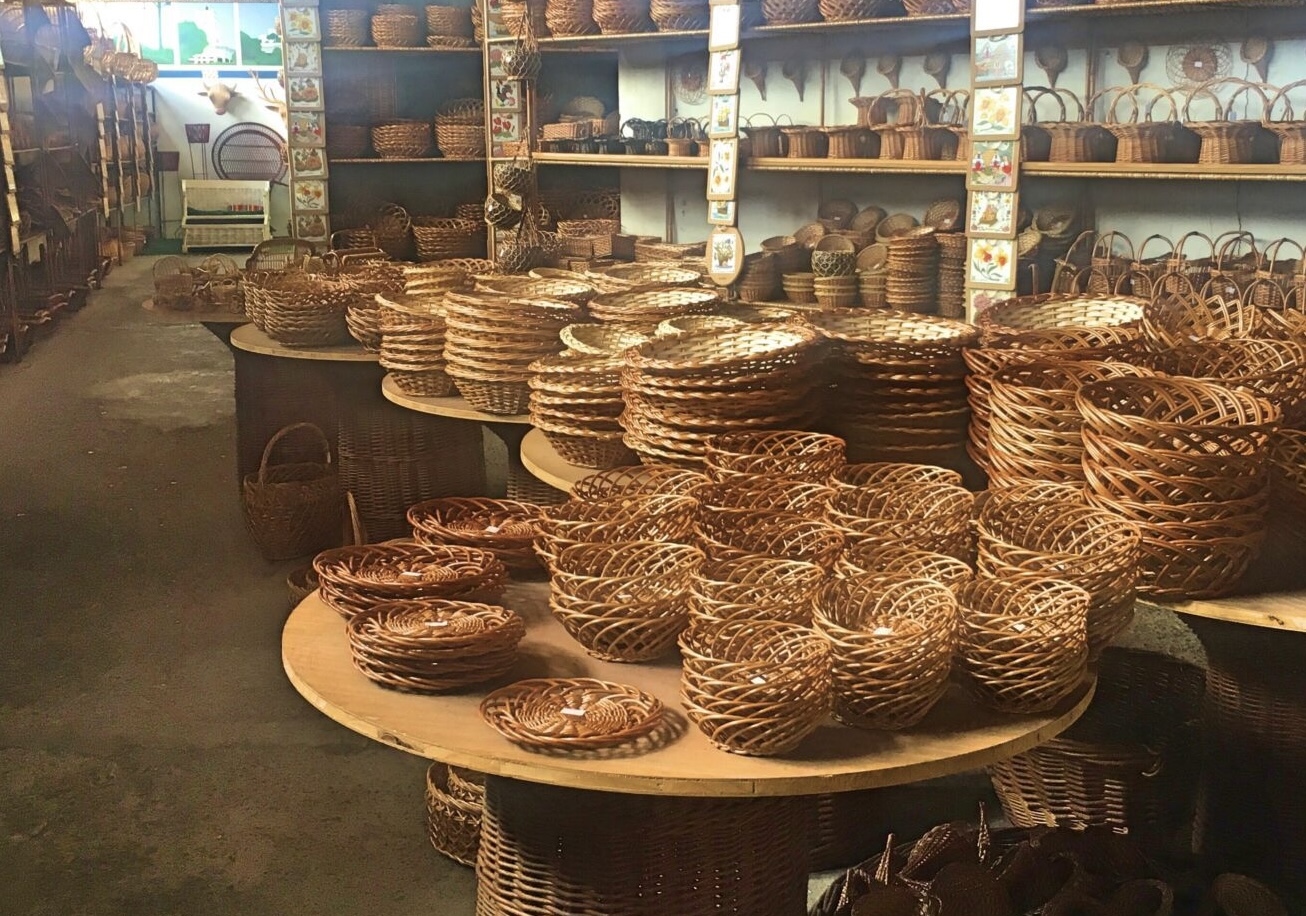
I am knitting the pattern that Wooly Thistle recommends for this yarn, and I’ve chosen a muted celadon green because I am thinking “spring.” It’s a design by Tete Beche (Orlane Sucche) called “Ilha.” I’m particularly enthralled with this design because it is supposed to evoke the baskets that are made on the islands off Portugal. What a wonderful idea, and the designer has done a very clever job of creating cabled and eyelet patterns that are quite like the wicker woven baskets from these islands. The name “Ilha” is Portuguese for “island” and is pronounced “ilyah,”. Since I enjoyed my time in the Açores so much last summer, this sweater will bring back sweet memories from that adventure.
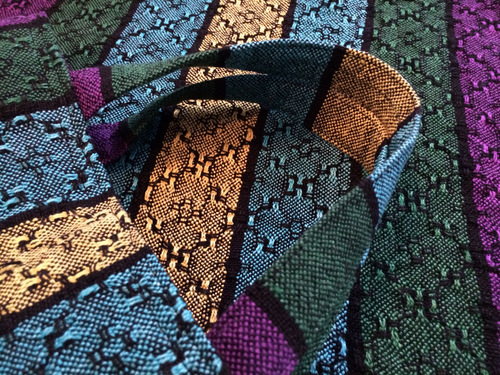
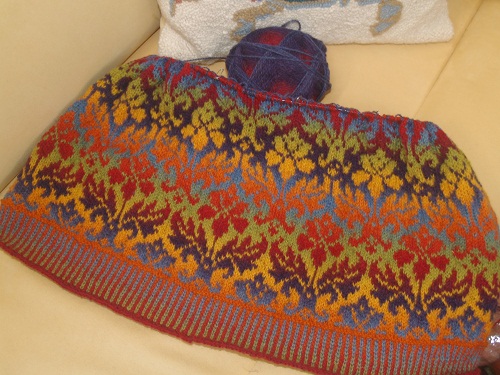
At the moment my knitting looks like a blob. The cable and eyelet yoke will need a good wet blocking to bring out the pattern. Here is an image of the finished yoke that comes with the pattern.
And I want you to see some of the baskets that inspired this design. The open designs on some of the baskets and the braided edges on others are so well translated into knitting by this clever designer.
We have not yet moved aboard Pandora because it’s been too windy to put her in the water and move to a slip. Bob is also deep into cleaning and doing some repairs himself. Luckily the prickly man who was to rebuild Pandora’s rudder sent over a small crew to make it better. It looks quite good now. Thank heaven because a boat needs a straight rudder to steer properly! The current plan is to move aboard on Tuesday, March 31. We’ll start a new month aboard, and as soon as Mother Nature gives us a weather window we will sail to Cartagena, where I”m sure there will be more delights.
Time to knit. As always, thank you for following me!