
Perugia 2.0
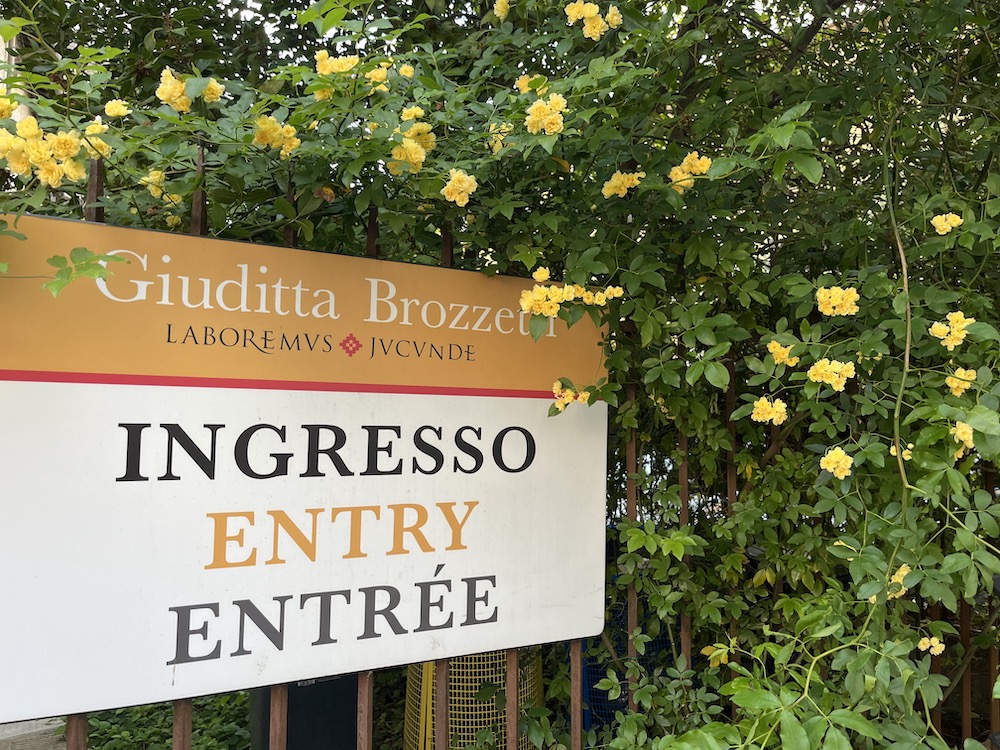
In October of 2024, I visited Perugia, Italy, for the first time as part of a workshop in Umbria on natural dyeing and using the wool to weave tapestry. I only had part of a day there, but it was one of the best days of that trip. You can read about it here, or maybe just look at the photos of this incredible place. Almost a year later I learned that through VAWAA you can book a week long workshop at Giuditta Brozzetti. A weaving acquaintance found the opportunity, and if she got three others to join her the cost for each of us would be reduced. I wasn’t sure where I’d be during the 3rd week of April this year, but I was certain I was going to get to Perugia for this workshop. As it turned out, Bob and I were in Almerimar, Spain, facing a record number of repairs needed on our sailboat Pandora. But I took a flight from Alicante, Spain, to Rome, and met my three weaving cohorts the following morning. We took a train to Perugia and saw a great deal of the countryside. It was a magical trip from the start.
We arrived on Saturday evening and spent Sunday touring the historic area of the city. Our lodging was not as charming as described on the website, and definitely ODD. It took us two hours to check with the owner’s ‘contactless check-in.’ I don’t recommend this. To get into the accommodation we had to go through a locked gate, then up two long fights of stone steps from the Middle Ages to a locked door. More time corresponding with the owner to get through that locked door, then another flight of modern stairs to the first room. My room required yet another flight of stairs. The rooms were not quite as advertised, but they had some antique charm and we made the best of it.
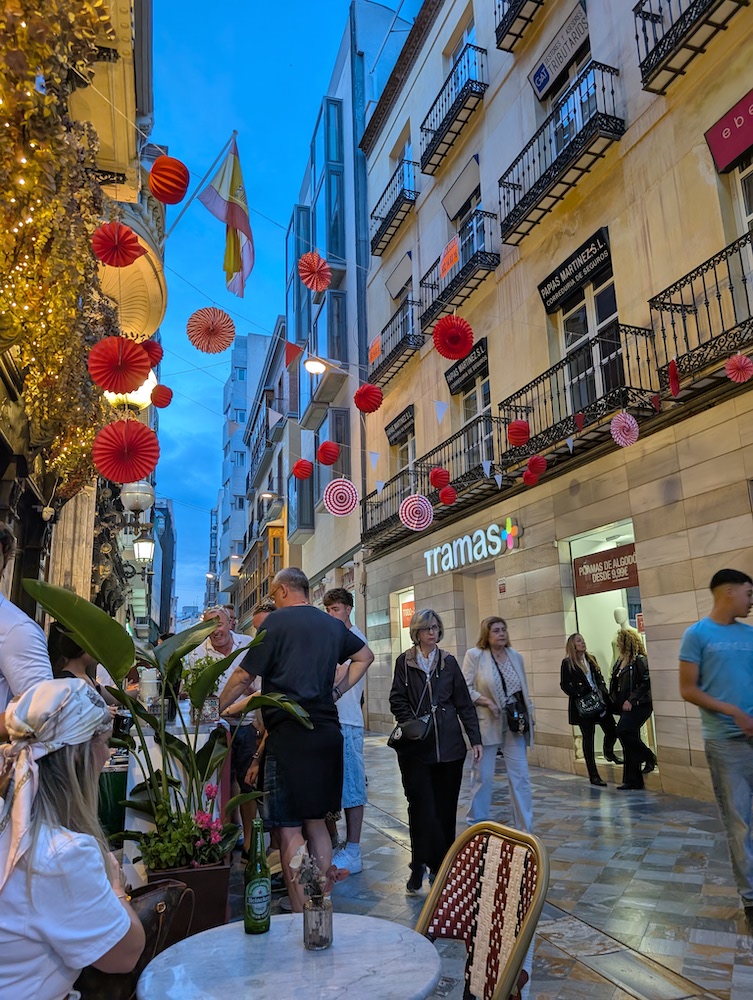
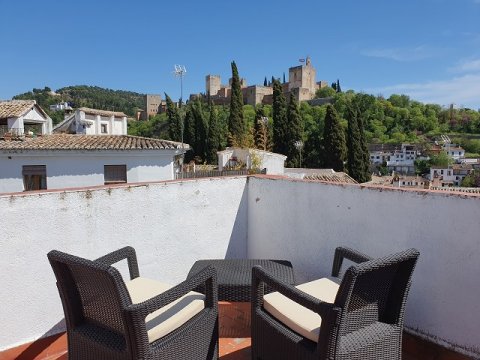
We were staying in a medieval part of the town which was very scenic. This is right outside the gate to the building where our rooms were.

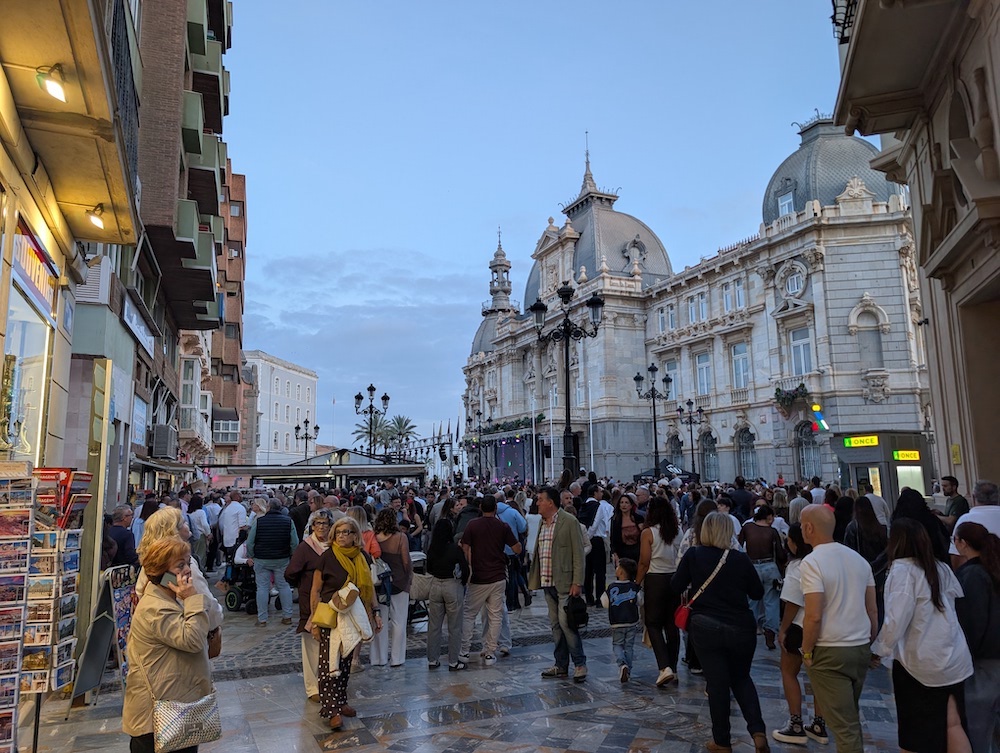
At the bottom of this narrow street we turned into the large Piazza IV Novembre. It was great location for seeing much of historic Perugia.
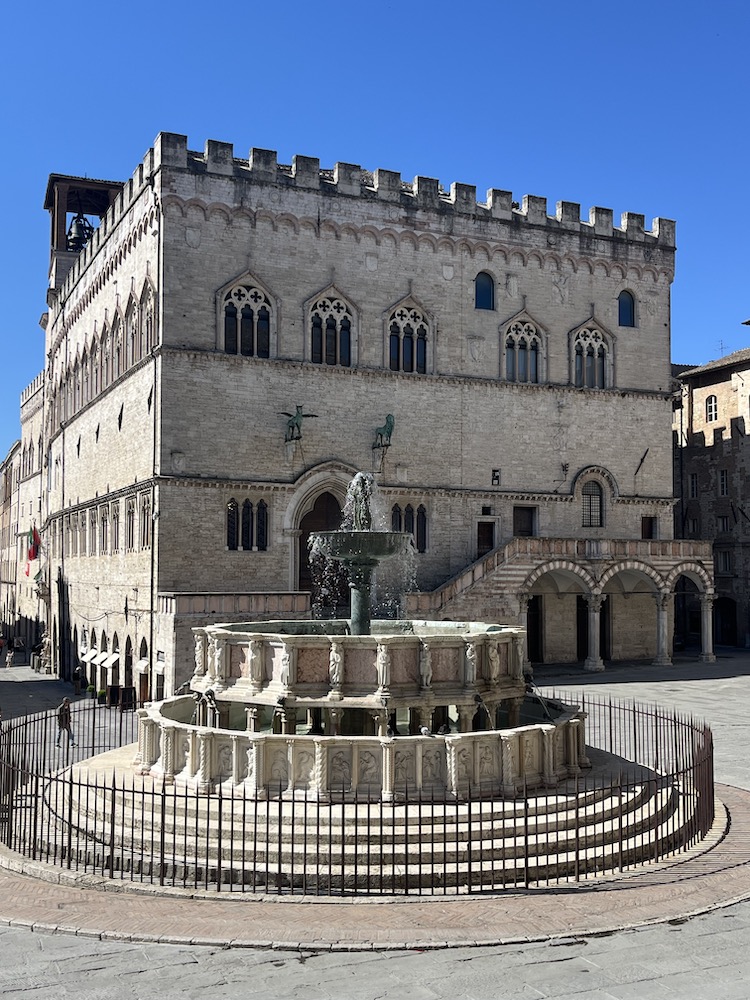
The building behind the fountain is the National Gallery of Art that is housed in a medieval castle. The collection is focused on medieval religious art, with a wing devoted to Giotti and his students, and the effect they all had on portraying figures more realistically and emotionally. A hightlight for me was a small collection of highly figured woven altar cloths that Perugian women were so famous for making during the Middle Ages and Renaissance.

These beautiful altar cloths were woven on floor looms where the ornate designs had to be picked by hand. Looms that could weave these designs had not yet been developed, so all this work was done painstakingly by hand. The tradition in the Middle Ages was to make the warp out local white linen, also spun by hand in this period, and to use very precious cotton from Egypt, dyed locally with idigo, for the patterned weft designs.
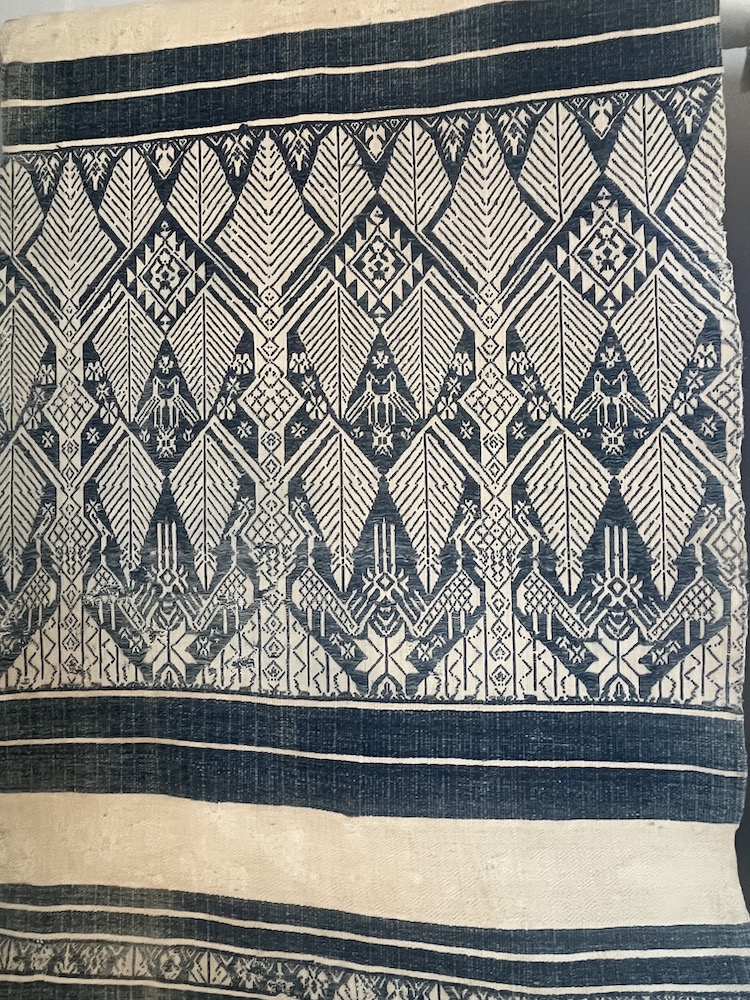
These woven fabrics are from the 13th c. so they are around 700 years old and still look so beautiful. You cannot tell how highly figured the white background cloth is. It is woven in a series of different diamonds, some created with lace weaves, and some with twills.
As I mentioned in the post from 2024, Leoanardo da Vinci used these cloths for inspiration in painting his fresco of the Last Supper. The current owner of the Giuditta Brozzetti workshop, Marta Cucchio, studied high resolution images of the fresco to recreate these elaborate designs for weaving on 18th and 19th c. manual jacquard looms. Four generations of Brozzetti women have worked to keep this Perugian weaving tradition alive. Marta is the first in the family to weave hersefl; her mother, grandmother, and great grandmother ran the business rather than doing any of the weaving. In the Middle Ages and early Renaissance these cloths were highly valued and commissioned for churches all over Italy and throughout Europe, which is why Marta’s family wanted to see this tradition continue on modern looms. While most of these cloths are no longer extant, many of the painters from this time period have preserved them in religious paintings, such as da Vinci’s fresco. If you look closely at the enlarged image of the fresco, you can see the patterns on the digital image and compare them to the modern tablecloth. Marta has studied these designs and recorded them for punch cards to be woven on jacquard looms. My cohorts and I dubbed the large diamond design “da Vinci’s diamonds,” and we gave the smaller designs names as well–“da Vinci’s small birds and flowers,” and “da Vinci’s DNA chain.” In this photo you can also see how highly figured the background cloth is.

Here is Marta and I, back in 2024, looking at a high resolution detail of the fresco, along with a photo of the entire fresco and part of the woven reproduction of the cloth. Can you tell I am awestruck?

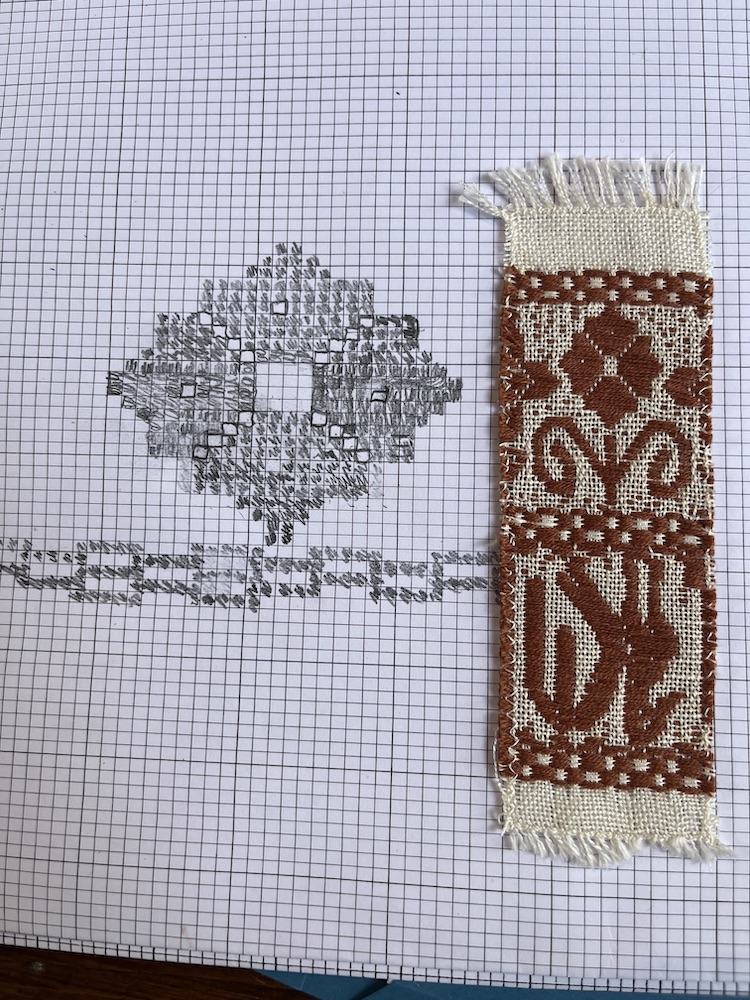
All four of us were smitten with these historic designs and used them in our own work during the week. Our first exercise was to study a simple medieval design and draw it on graph paper as if we would translate it to the punch cards used on jacquard looms. It was an excellent exercise in understanding the jacquard loom. The penciled-in squares on the graph paper represent the weft threads, and the uncolored spaces are the warp tie-downs. I used this flower in one of the pieces I wove during the workshop.
Marta and her assistant Alessia worked with us throughout the week to hone our skills in using the jacquard looms. There is a lever above the beater that controls whether you are throwing a pick of background or a pattern pick, That is the first thing you set with each pass of weft. Then you depress the one treadle which is quite heavy since it is controlling the lift of many warp threads, sometimes thousands. Next you pull the cord for the fly shuttle, which was set for either background weft or pattern weft when you set the binary lever at the center of the loom above the beater. The rhythm is binary lever, depress treadle, pull the fly shuttle cord, release treadle, beat. Each of the looms is a different width and has its own quirks in operation. One thing that was standard is that we needed to depress the treadle somewhat gently, but to release the treadle aggressively and quickly. By the end of the week I was struggling to release the treadle quickly enough. You only use one leg for treadling, your right, and the treadle is rather high. By the end of the week I was struggling to lift my leg high enough to release the treadle quickly. Not being quick at this maneuver causes small weft skips that will have to be corrected. I’ll have a number of corrections to make!
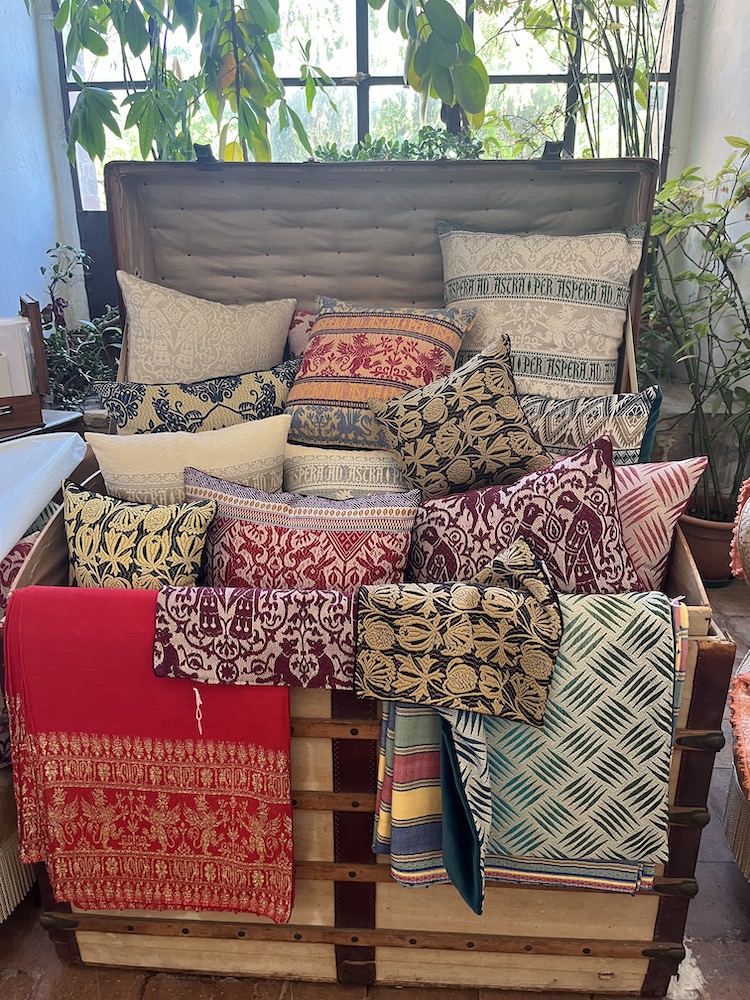
It’s surprising and thrilling to be able to weave so much in so little time. Here is some of our work
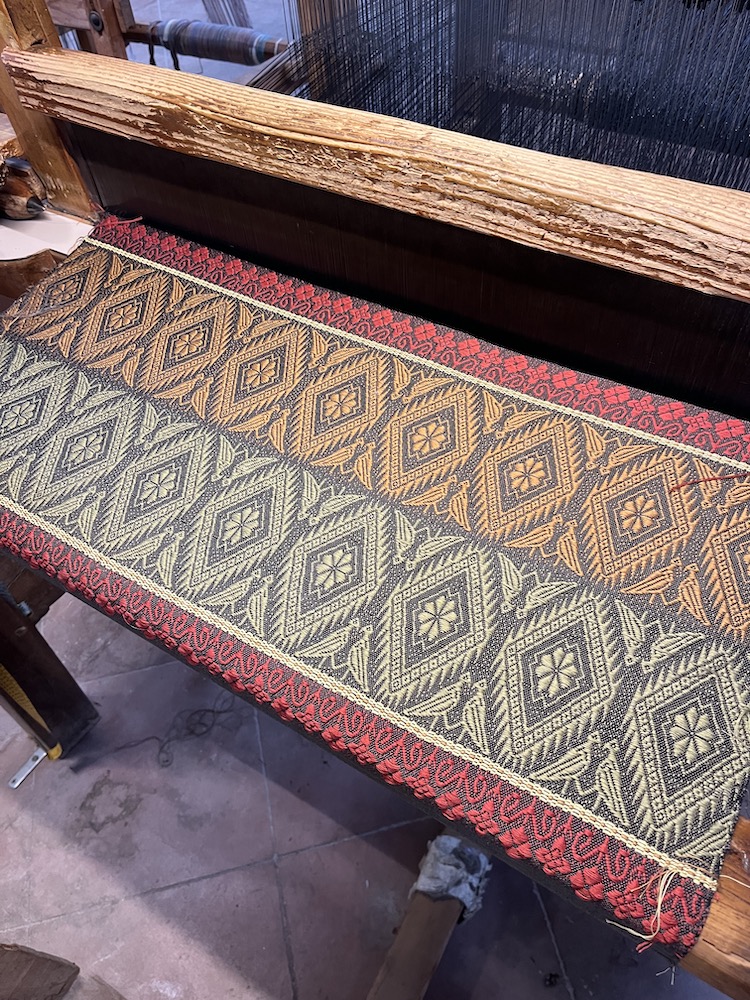
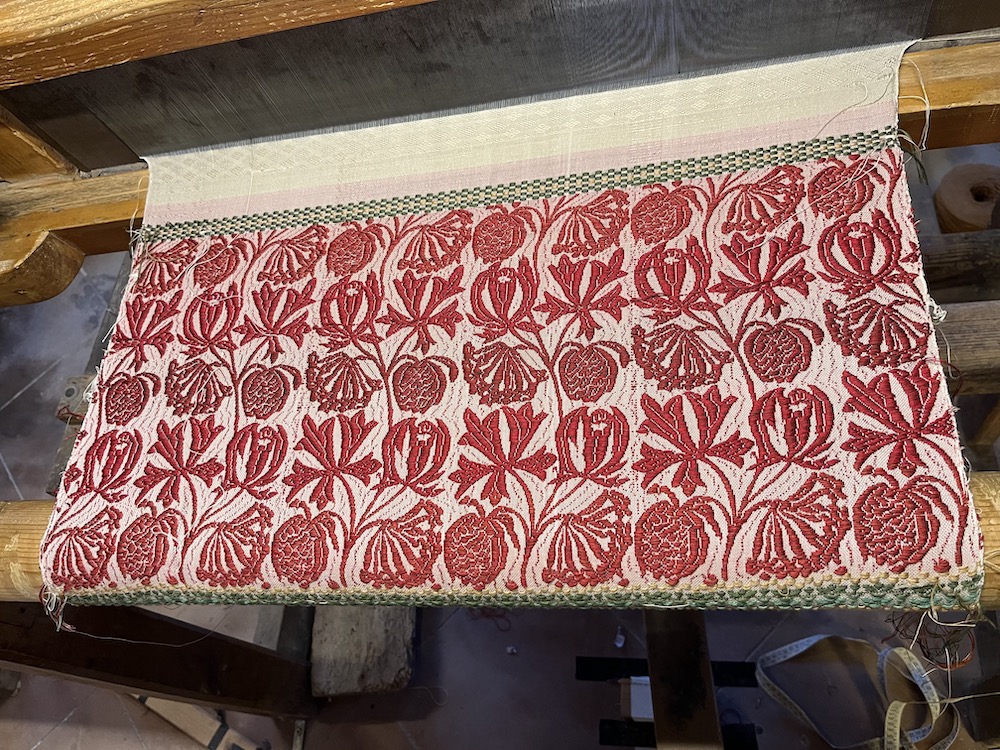
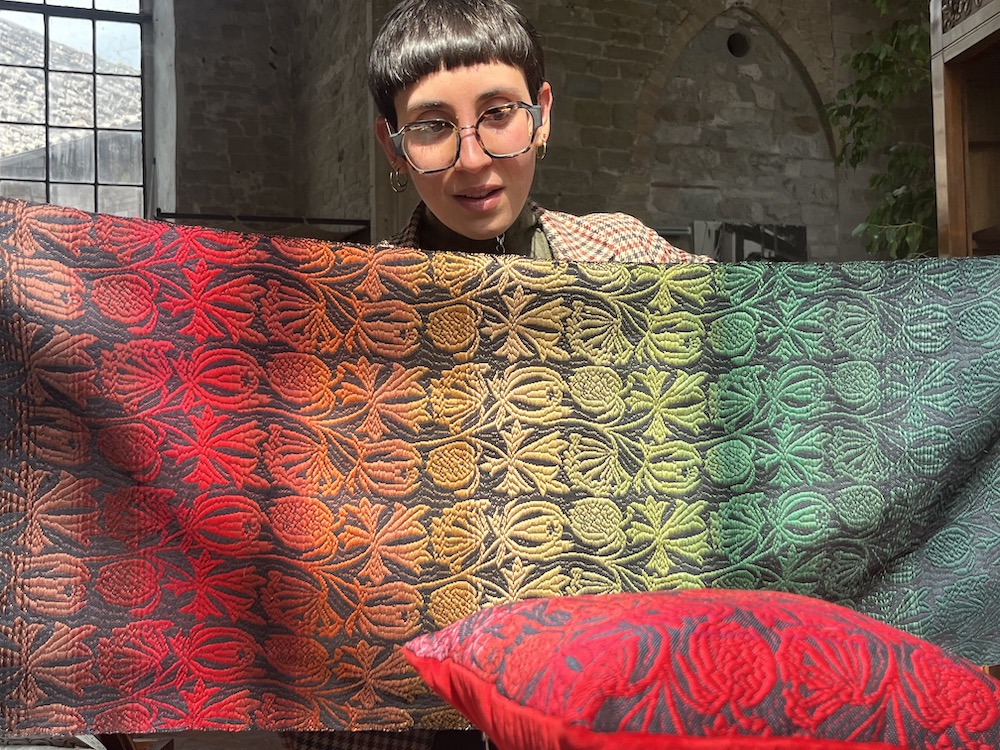
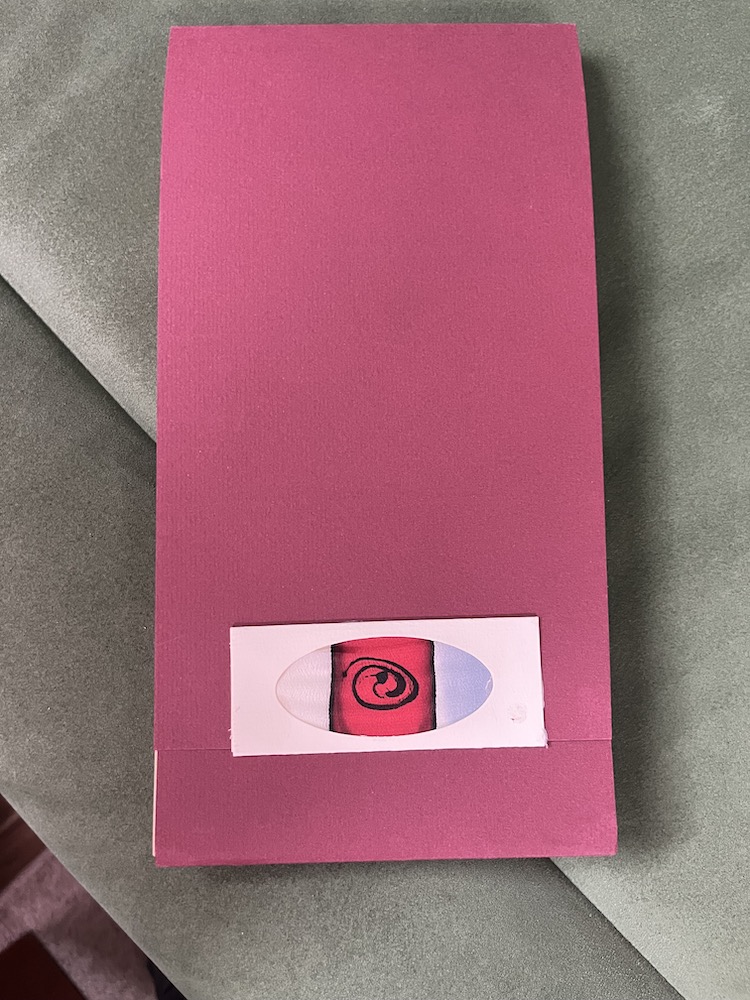
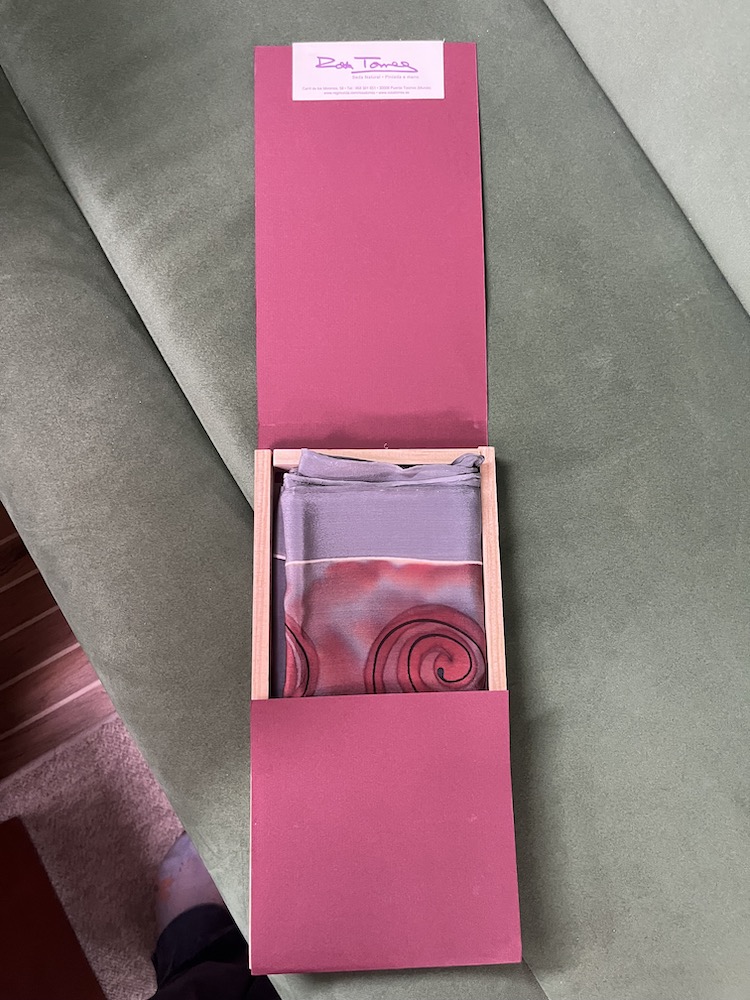
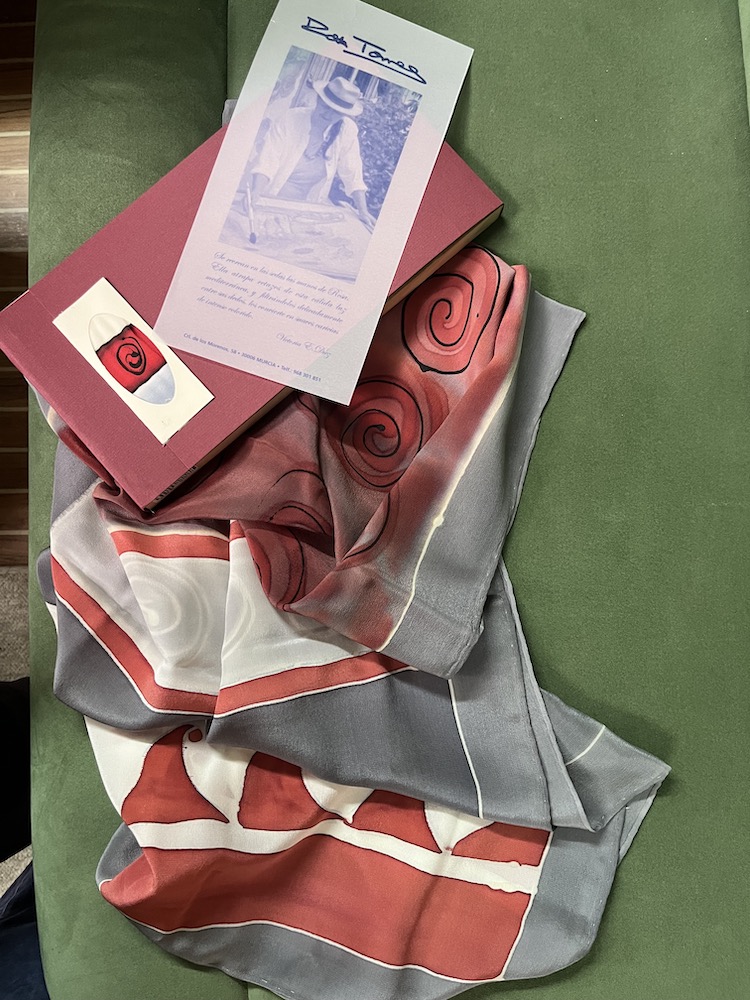
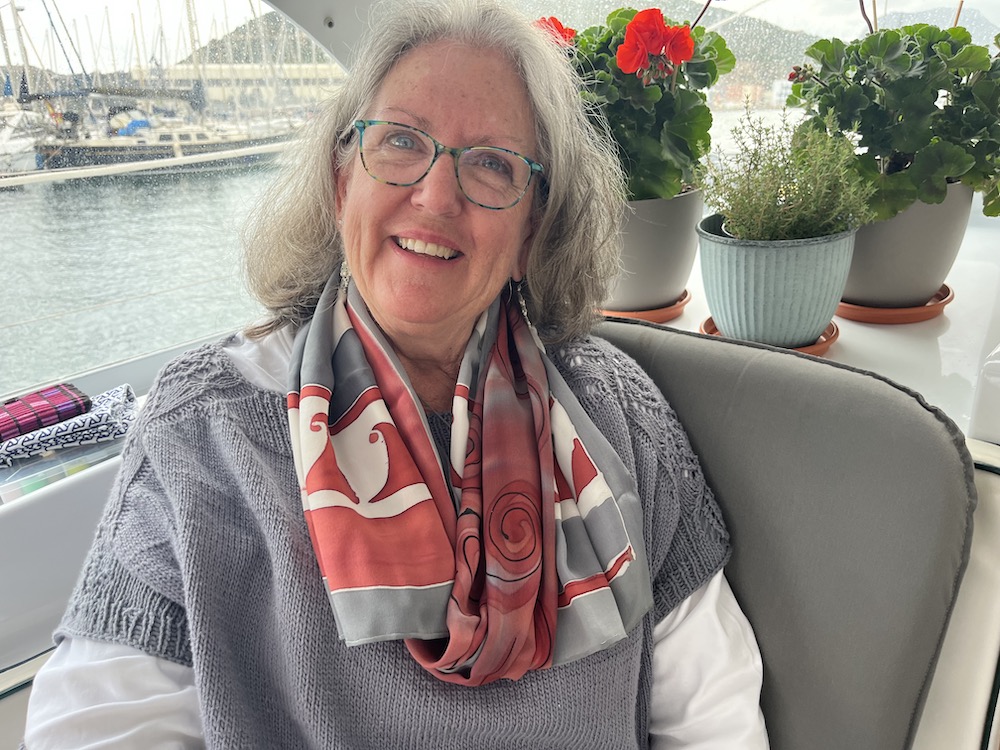
The second piece I wove is from the London Liberty period during the Arts and Crafts period. It’s pomegranates, and I blended three colors of reds for each repeat of the design–light reds first, then medium reds, and finally dark reds. I then repeated that sequence backwards for light, medium, dark, medium, light. Each pattern weft requires three threads of 4/68 cotton held together, so all of us enjoyed creating our own color blends. The bottom border is a chain and then small trees, and the top border is several repeats of the chain. Alessia said she’d like to weave my color combination herself! Maybe she says that to everyone… She recorded all our color choices, and we did as well, not that I may ever have the opportunity to use a jacquard loom in the future. I have grandiose plans to make this fabric into a handbag, like the one I bought when I visited here in 2024.
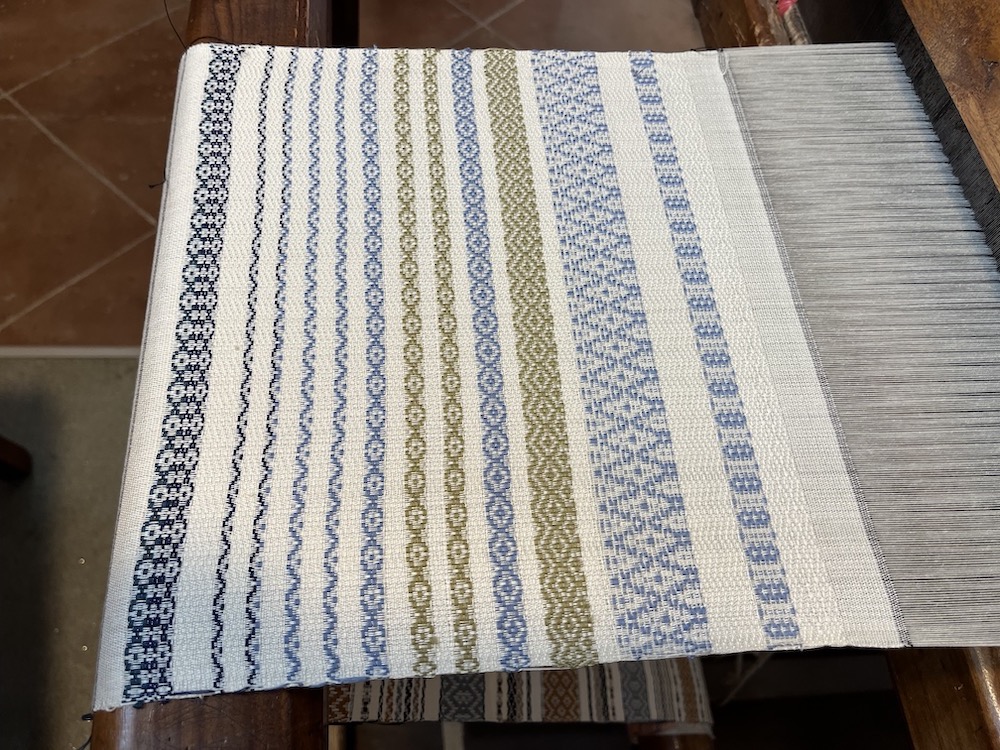
I also wanted to weave fabric of the interesting background designs. I chose several colors of cream to weave against the cream warp, and then a combination of wheat colors for the middle section. I want to do a rolled hem on this piece and little picots of bullion stitch to turn this into a table runner. At the end of this I wove a short section of little trees to cut into book marks.

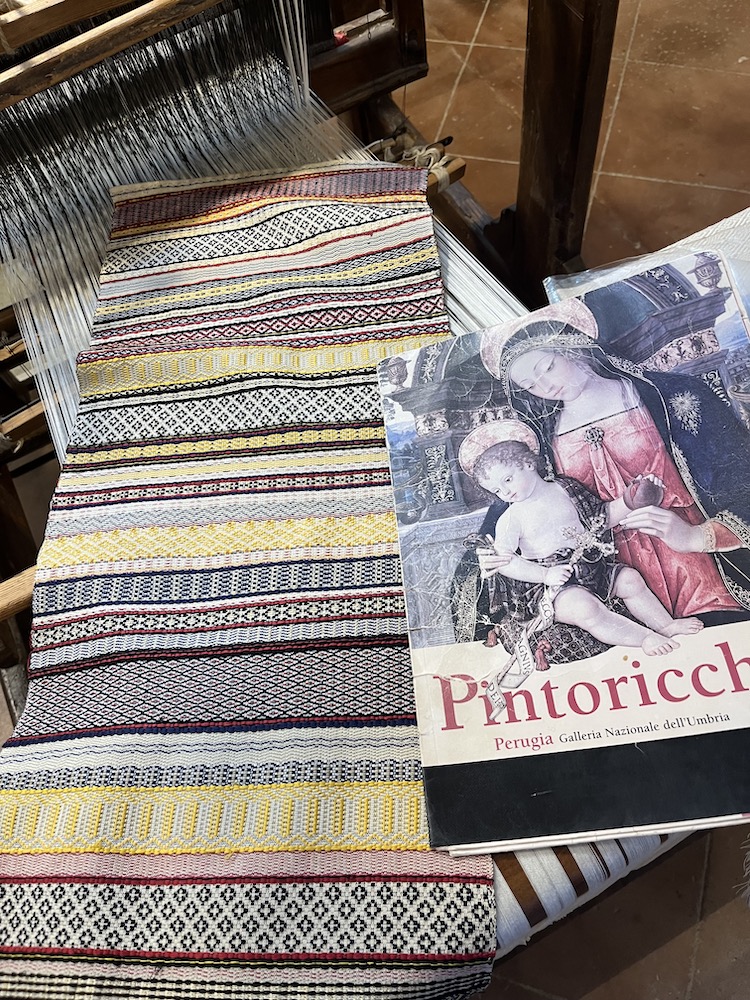
In the middle of using the jacquard looms, I tried the 4-shaft floor loom when I had to wait for the next available jacquard loom. These cloths were simple twill designs that look more complicated than they actually are. There are paintings that depict the Madonna and Child with the baby Jesus wrapped in these type of woven cloths. This painting is by Pinturicchio from 1496.
I was quite intrigued by what the Perugian women wove with simple, 4-shaft twill designs in the Middle Ages on counter balance looms. There are plenty of examples at Giuditta Brozzetti. I spent some time weaving a sample to take home with me. There is a possible tablecloth in my weaving future.
Here is our wonderful teacher Alessia Galassi showing us some of the woven goods at the workshop. She has a master’s degree in historic jacquard weaving, and did research on the mistakes in woven jacquard fabrics. You can find info about here here.
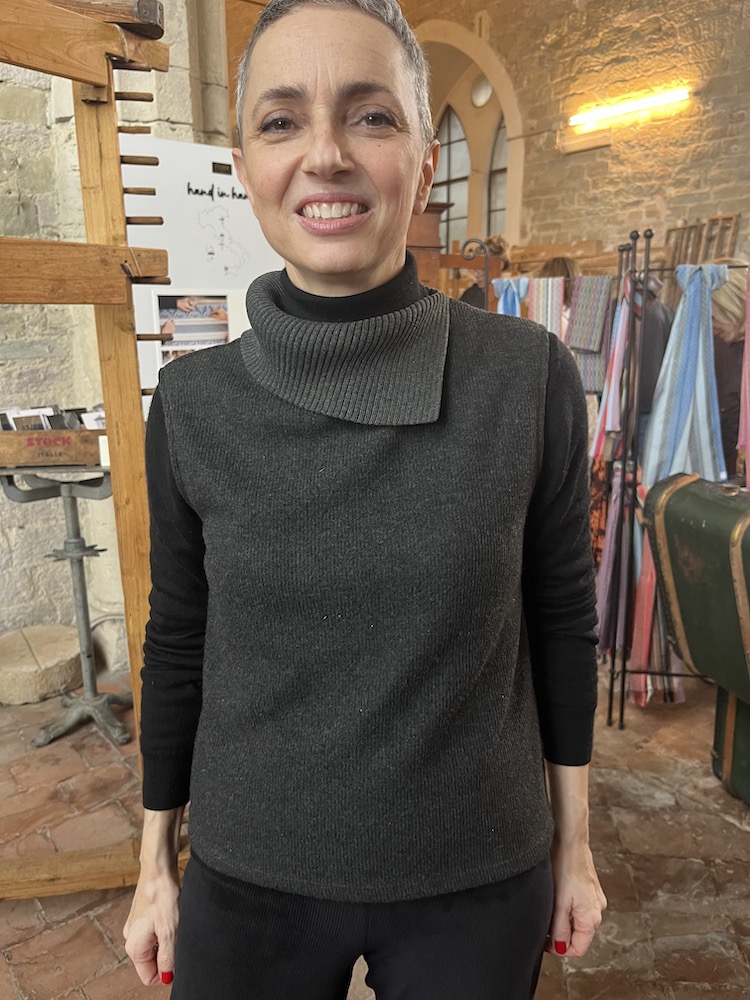
And here is Marta Cucchio whose family started this venture in 1921, and who has been running the business since the 1990s. She is an enthusiastic champion of preserving this Perugian tradition. Thank heaven. Giuditta Brozzetti Museo e Laboratorio. I took this photo because I’d like to make a vest like she’s wearing. I want to weave the fabric in a fine wool plain weave and knit the interesting collar.
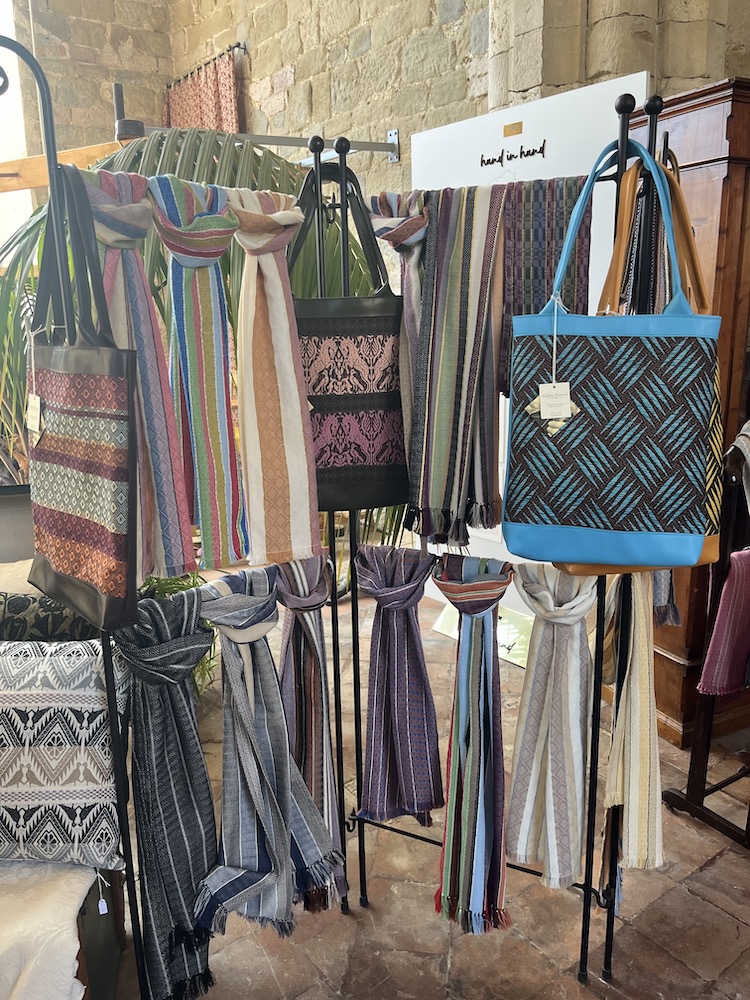
In 1995 Marta bought a 13th c. chapel that had originally been the first church of St. Francis of Assissi. It was later sold to the Benedictines and used as a convent. Over its long history it has also been a spinning mill. It’s a stunning setting for the jacquard looms and the fabrics made here that are for sale.
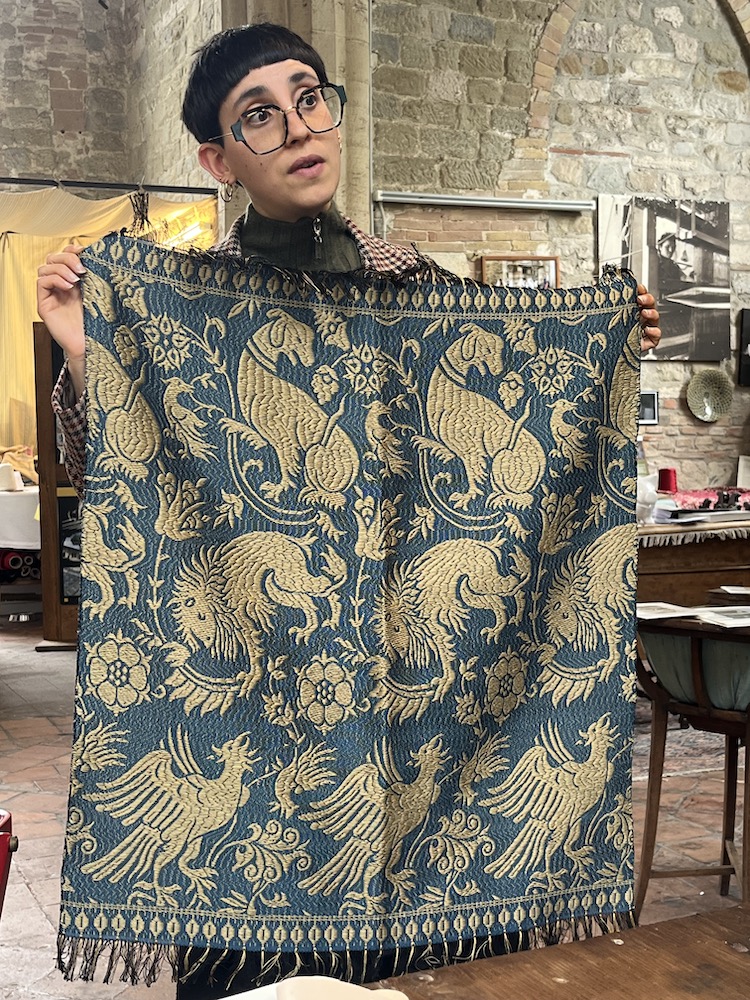
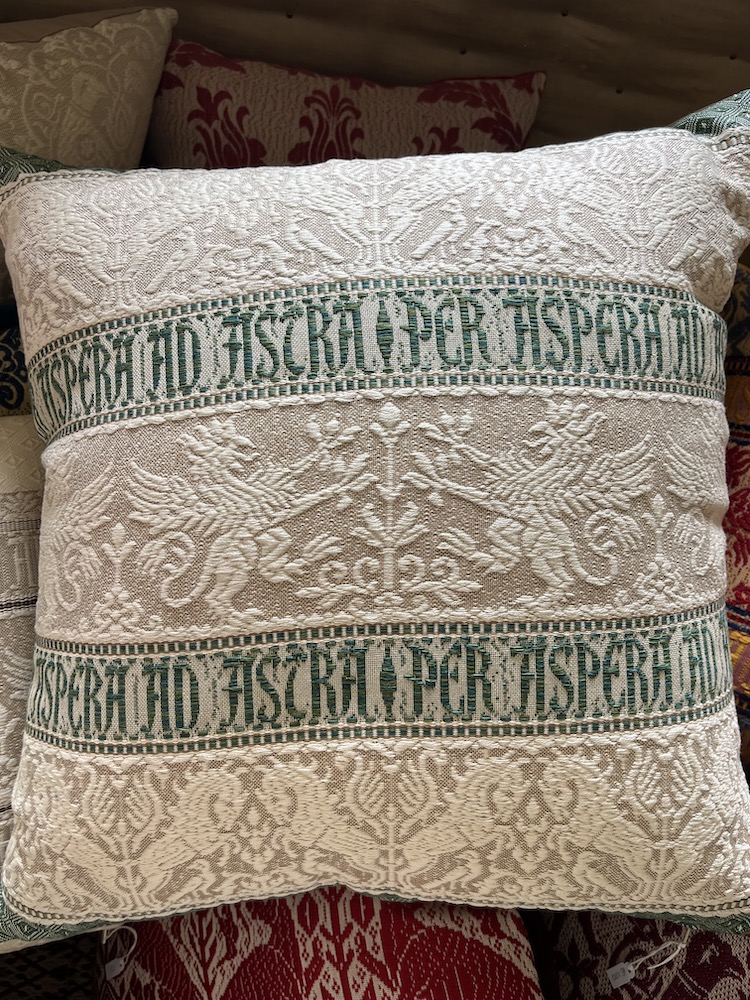
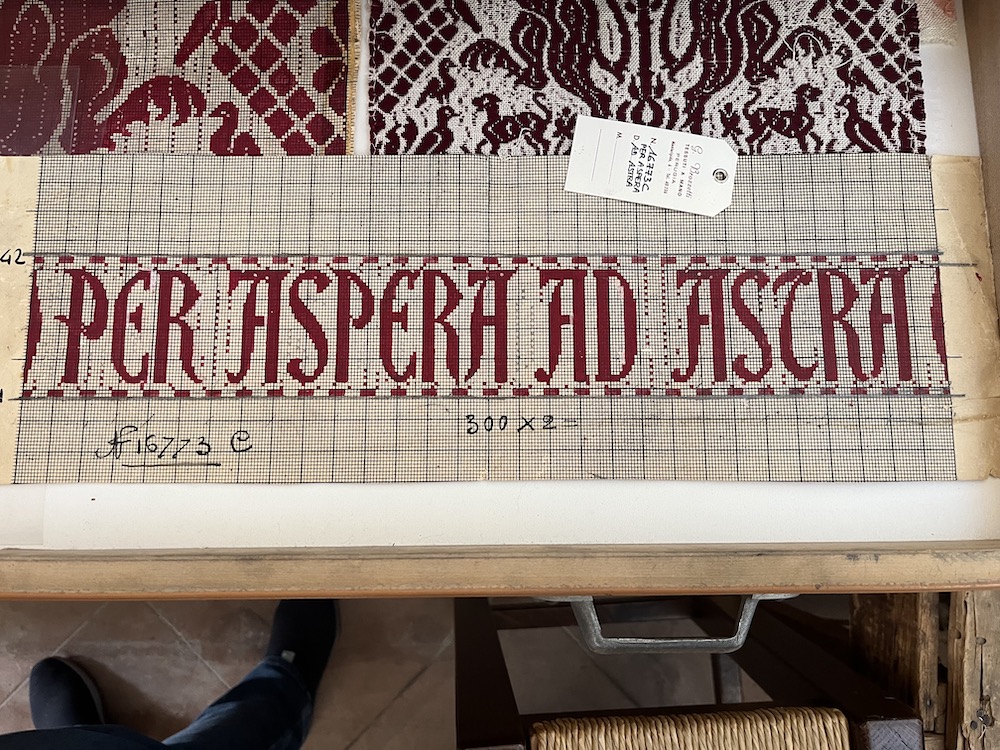
I am particularly interested in this woven phrase which is Perugia’s motto: Per Aspera ad Astra. In Latin this literally means “Through hope to the stars.” Marta says it means something more like through life’s challenges hope brings us to the stars. I wanted to weave this as one of my projects, but that jacquard chain only fits on the largest loom, which students do not use. Alessia got out the graph of this design, suggesting that I might use it for embroidery. Good idea. On the image of the woven pillow the phrase is surrounded by griffons, which are the emblem of Perugia. A griffon has the head of an eagle and the body of a lion, which is symbolic of being able to fly to heaven to talk to God and to be powerful on earth.
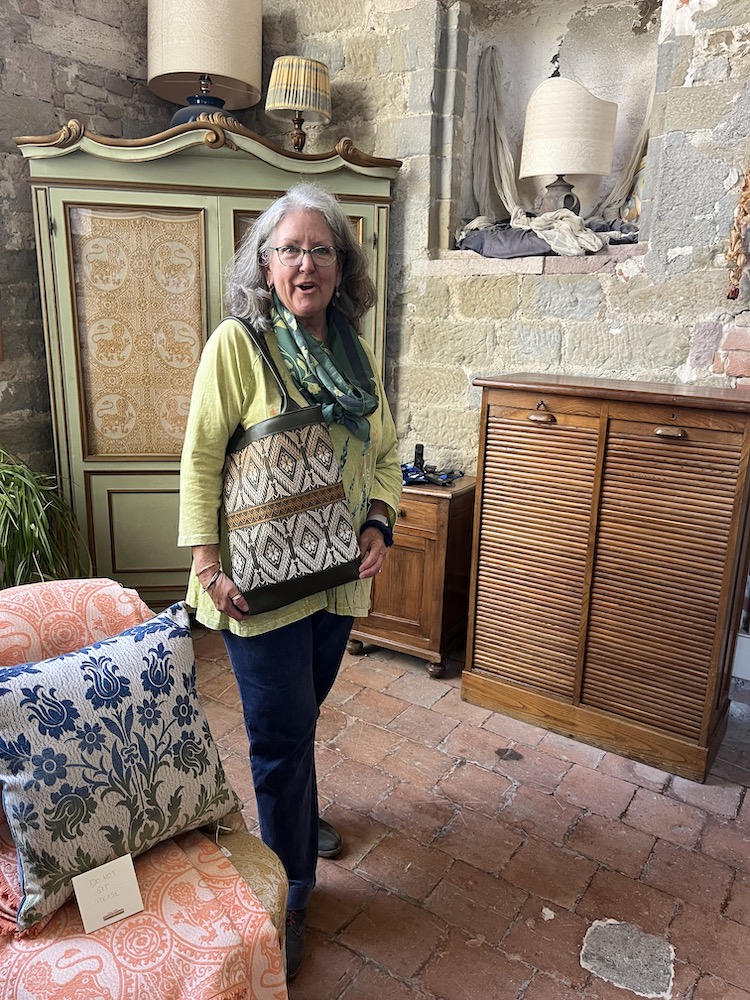
My biggest thrill was buying a tote bag! Several months ago I had seen that Marta had designed and made a tote bag for one of the hauture Italian fashion houses for an opening event they held. I asked if she planned to make more, and she responded that she wasn’t sure when she’d have them. When I arrived at the workshop I didn’t see any, and I was too disappointed to ask about them. Then, on the last day of our class Marta arrived late because she driven somewhere to pick up the first six tote bags! I was very lucky to get the first pick since I had asked for one. It is a treasure, along with the handbag I bought when I was last here.
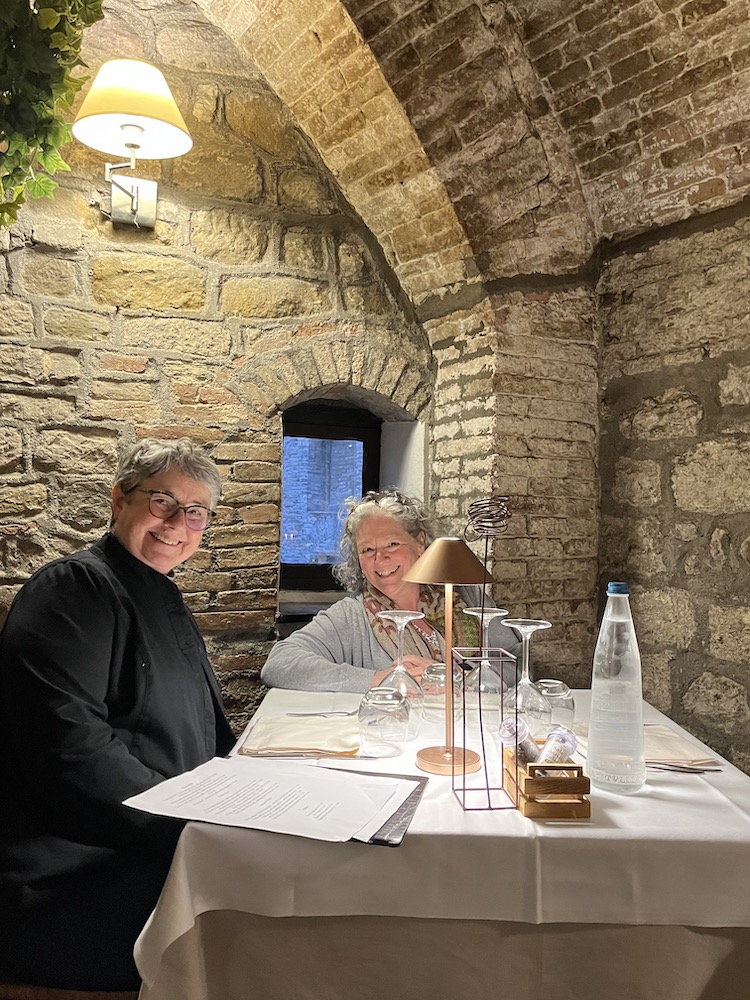
During our stay we managed to see and do some memorable things in Perugia. We had a number of dinners in medieval spaces that were nicely renovated for modern living, such as this restaurant in a nice corner with Chris (L) and Shari (R).
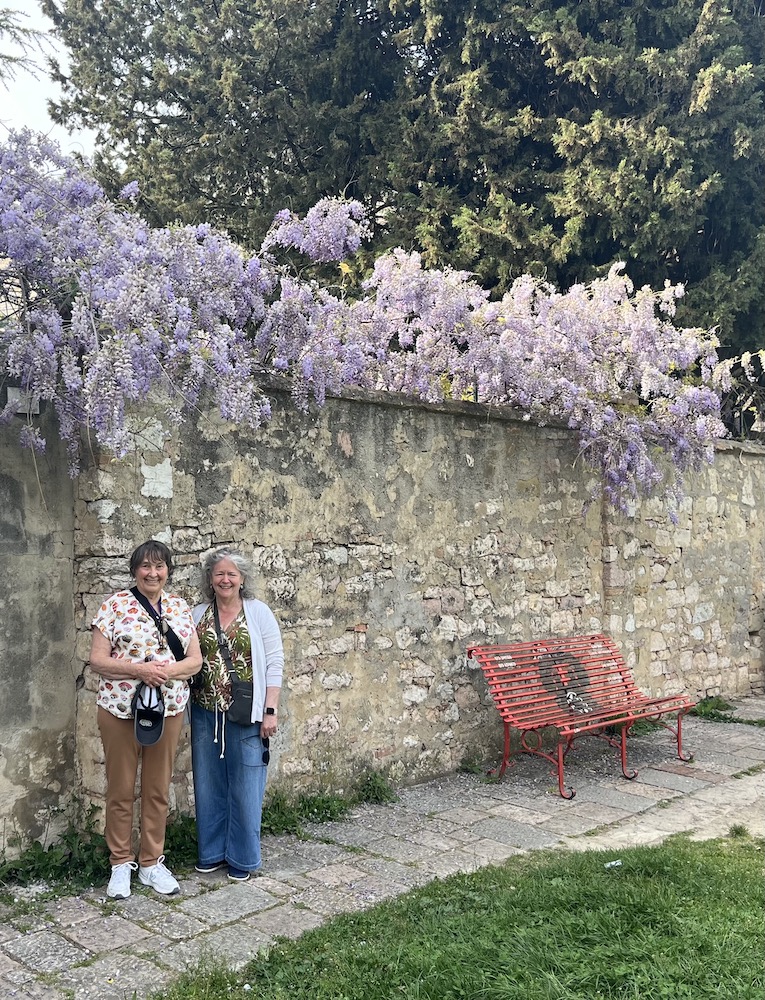
It was a lush time of year in Perugia, and we were lucky to only have a short shower one day during our visit. Here are Bev (L) an Shari (R) standing under a large wisteria vine.
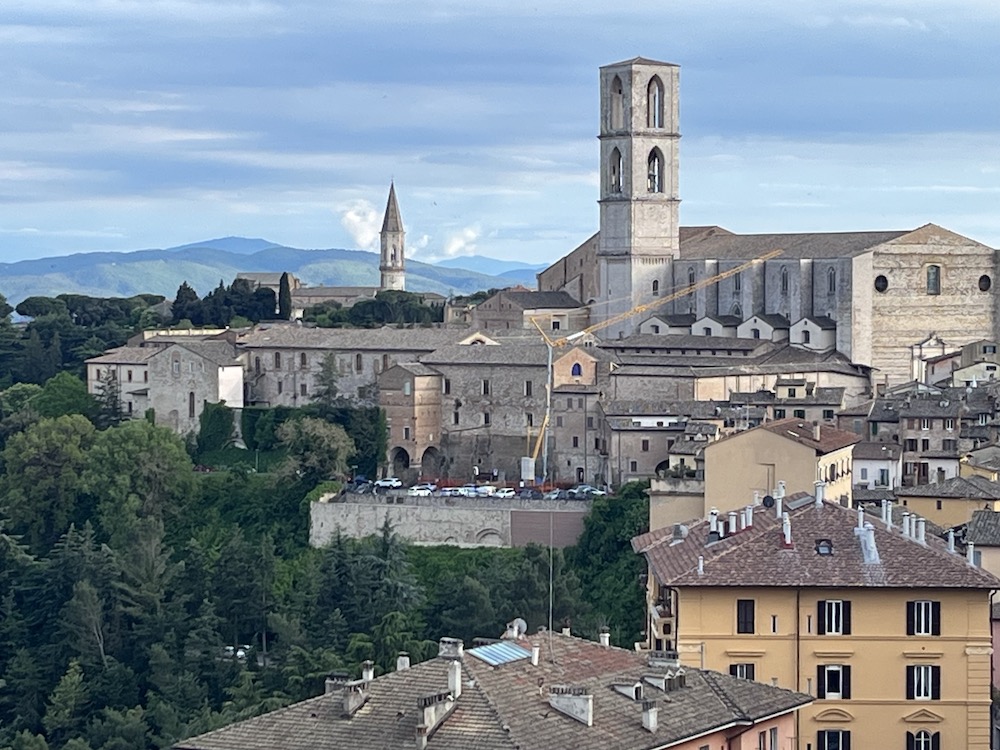
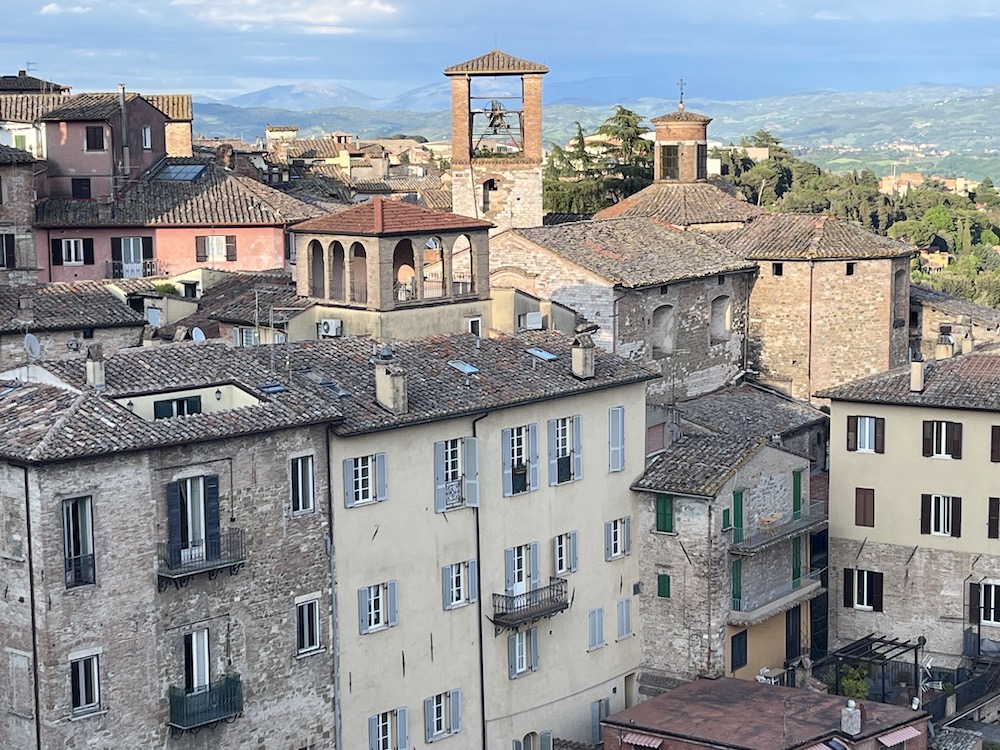
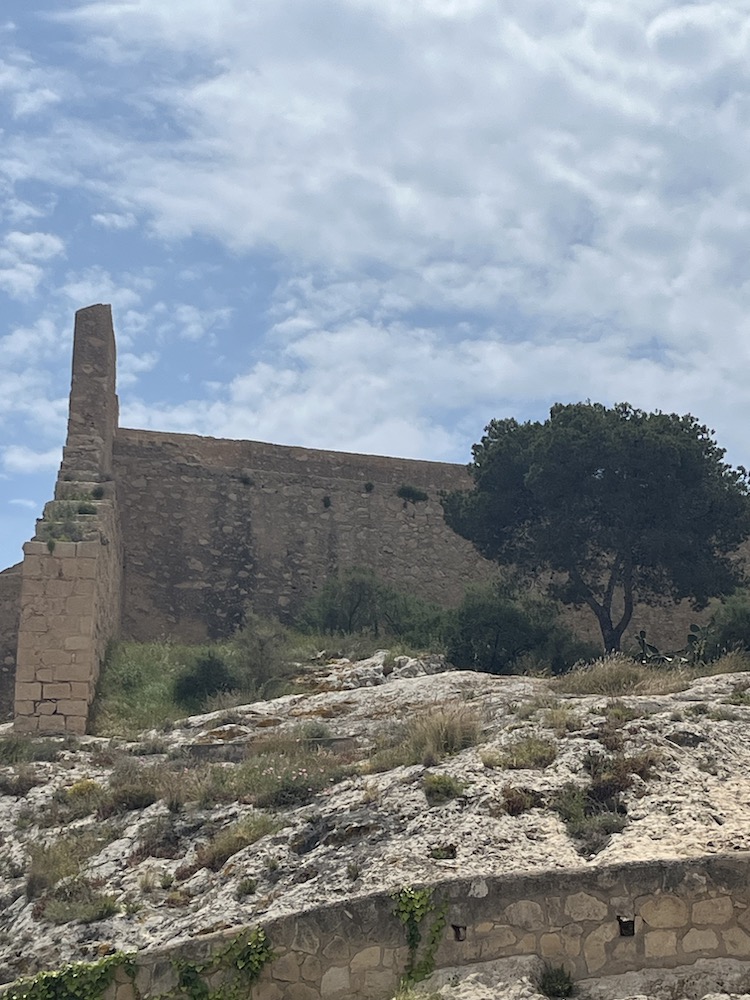
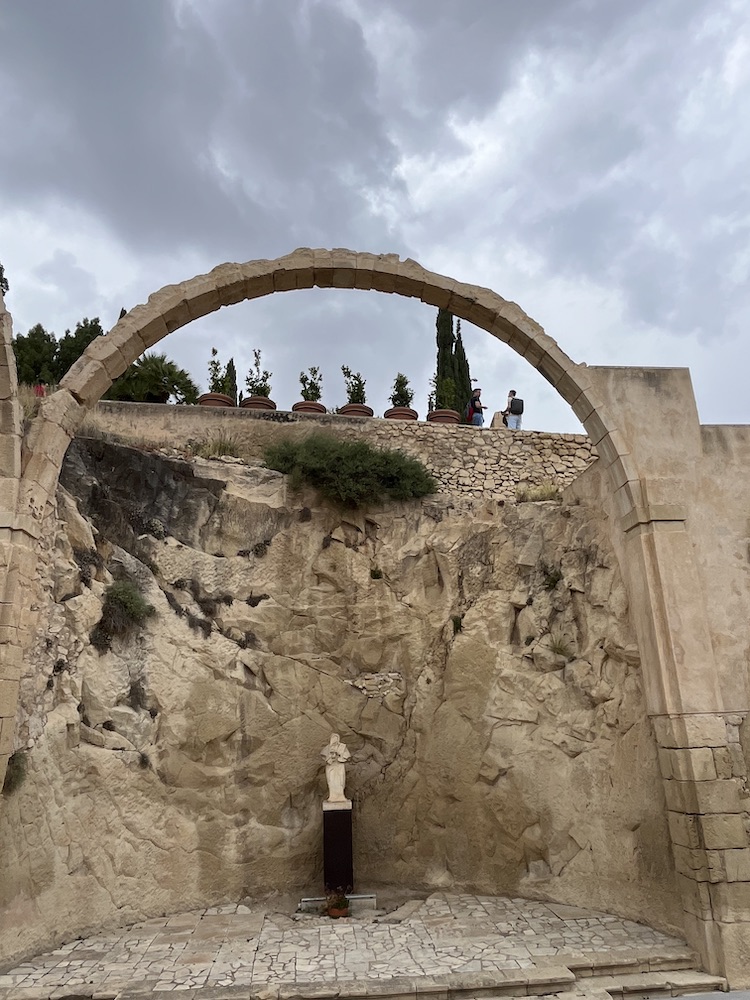
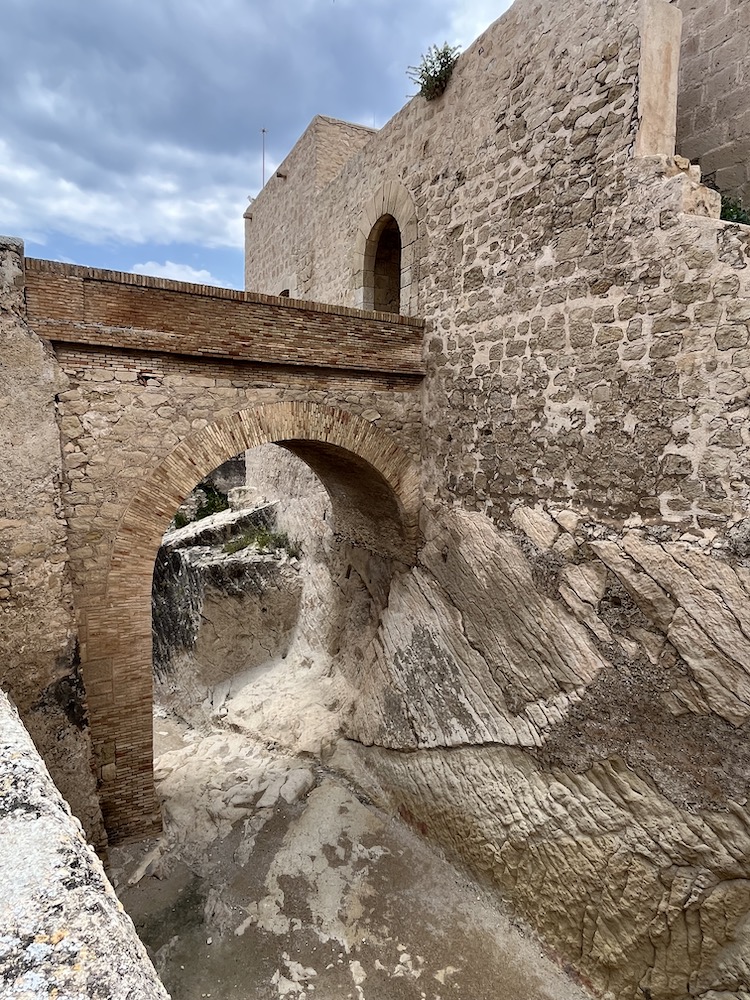
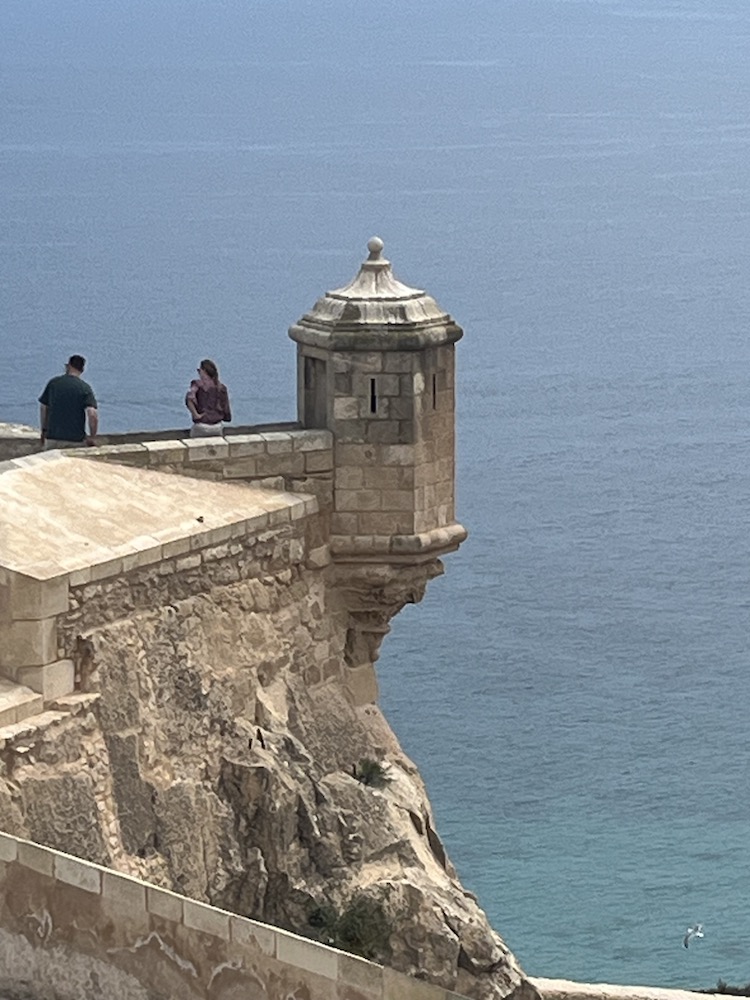
The views from the medieval wall were impressive. What a beautiful city!
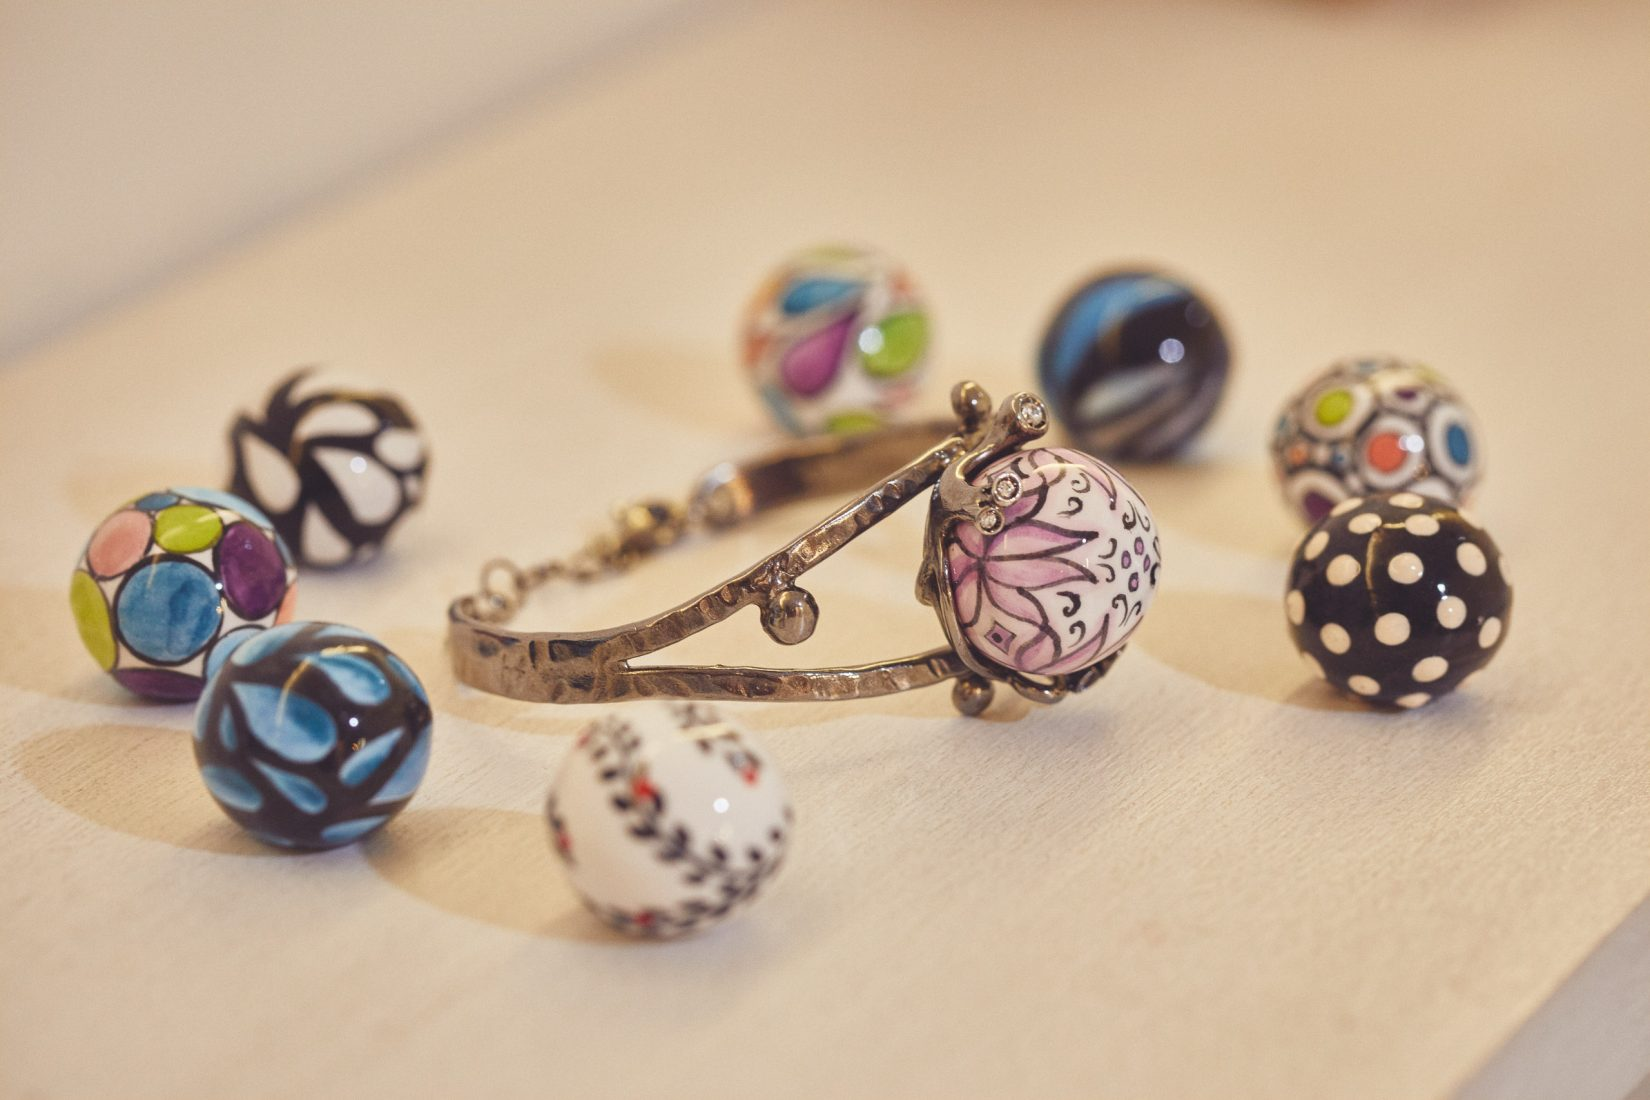
I had hoped to buy a piece of Deruta pottery during this visit, but Marta warned me that Perugia is not the place for that, allthough Deruta is from Umbria. My friends all bought Perugian chocolate, but I missed that opportunity–not sure why! We did find a mother/daughter enterprise who paint tiny spheres of pottery in a technique called “fuseruola.” They make exquisite jewelry and other things in this technique, which is an ancient art that was originally used to decorate the whorls of drop spindles. How could I NOT buy one of these? I chose earrings, but I was seriously tempted by a larger sphere painted with sea shells that could sit on a shelf on Pandora. I do regret not getting that. You can see their work online.
“Per Aspera ad Astra!” I hope to have a Perugia 3.0 someday. I never realized how much I would enjoy weaving on these looms in spite of the physical challenges involved. Naturally, I wish I’d discovered this when I was younger, but I’ll take what I can get, and however long I left to weave, I hope it includes more time on a jacquard loom.


