Antigua, Ho!
My trip to Antigua went smoothly. Once I arrived at the airport in Baltimore, I connected with another sailing friend, Judie. We made our connection in Miami, and even enjoyed a couple of leisurely hours in the American Airlines member lounge! There is a saying among sailors that “nothing goes to weather like a 747.” It’s certainly true! While Bob had his easiest passage this year, there was still one long day when he and his crew had to schlog through 20 squalls. My passage was much shorter and much smoother than Bob’s! His journey took 9 days, 23 hours. He had estimated 10 days, so how’s that for accuracy on something as hard to predict as sailing conditions and boat speed?
It is shockingly hot here, but lush from all the rain during hurricane season. Antigua has had little damage compared to its close neighbor Barbuda whose entire population has now been evacuated. We spoke with a waitress who is from Dominica who said that the rainforest, the best in the Caribbean, has been flattened. No one here has gone untouched by this year’s violent weather.
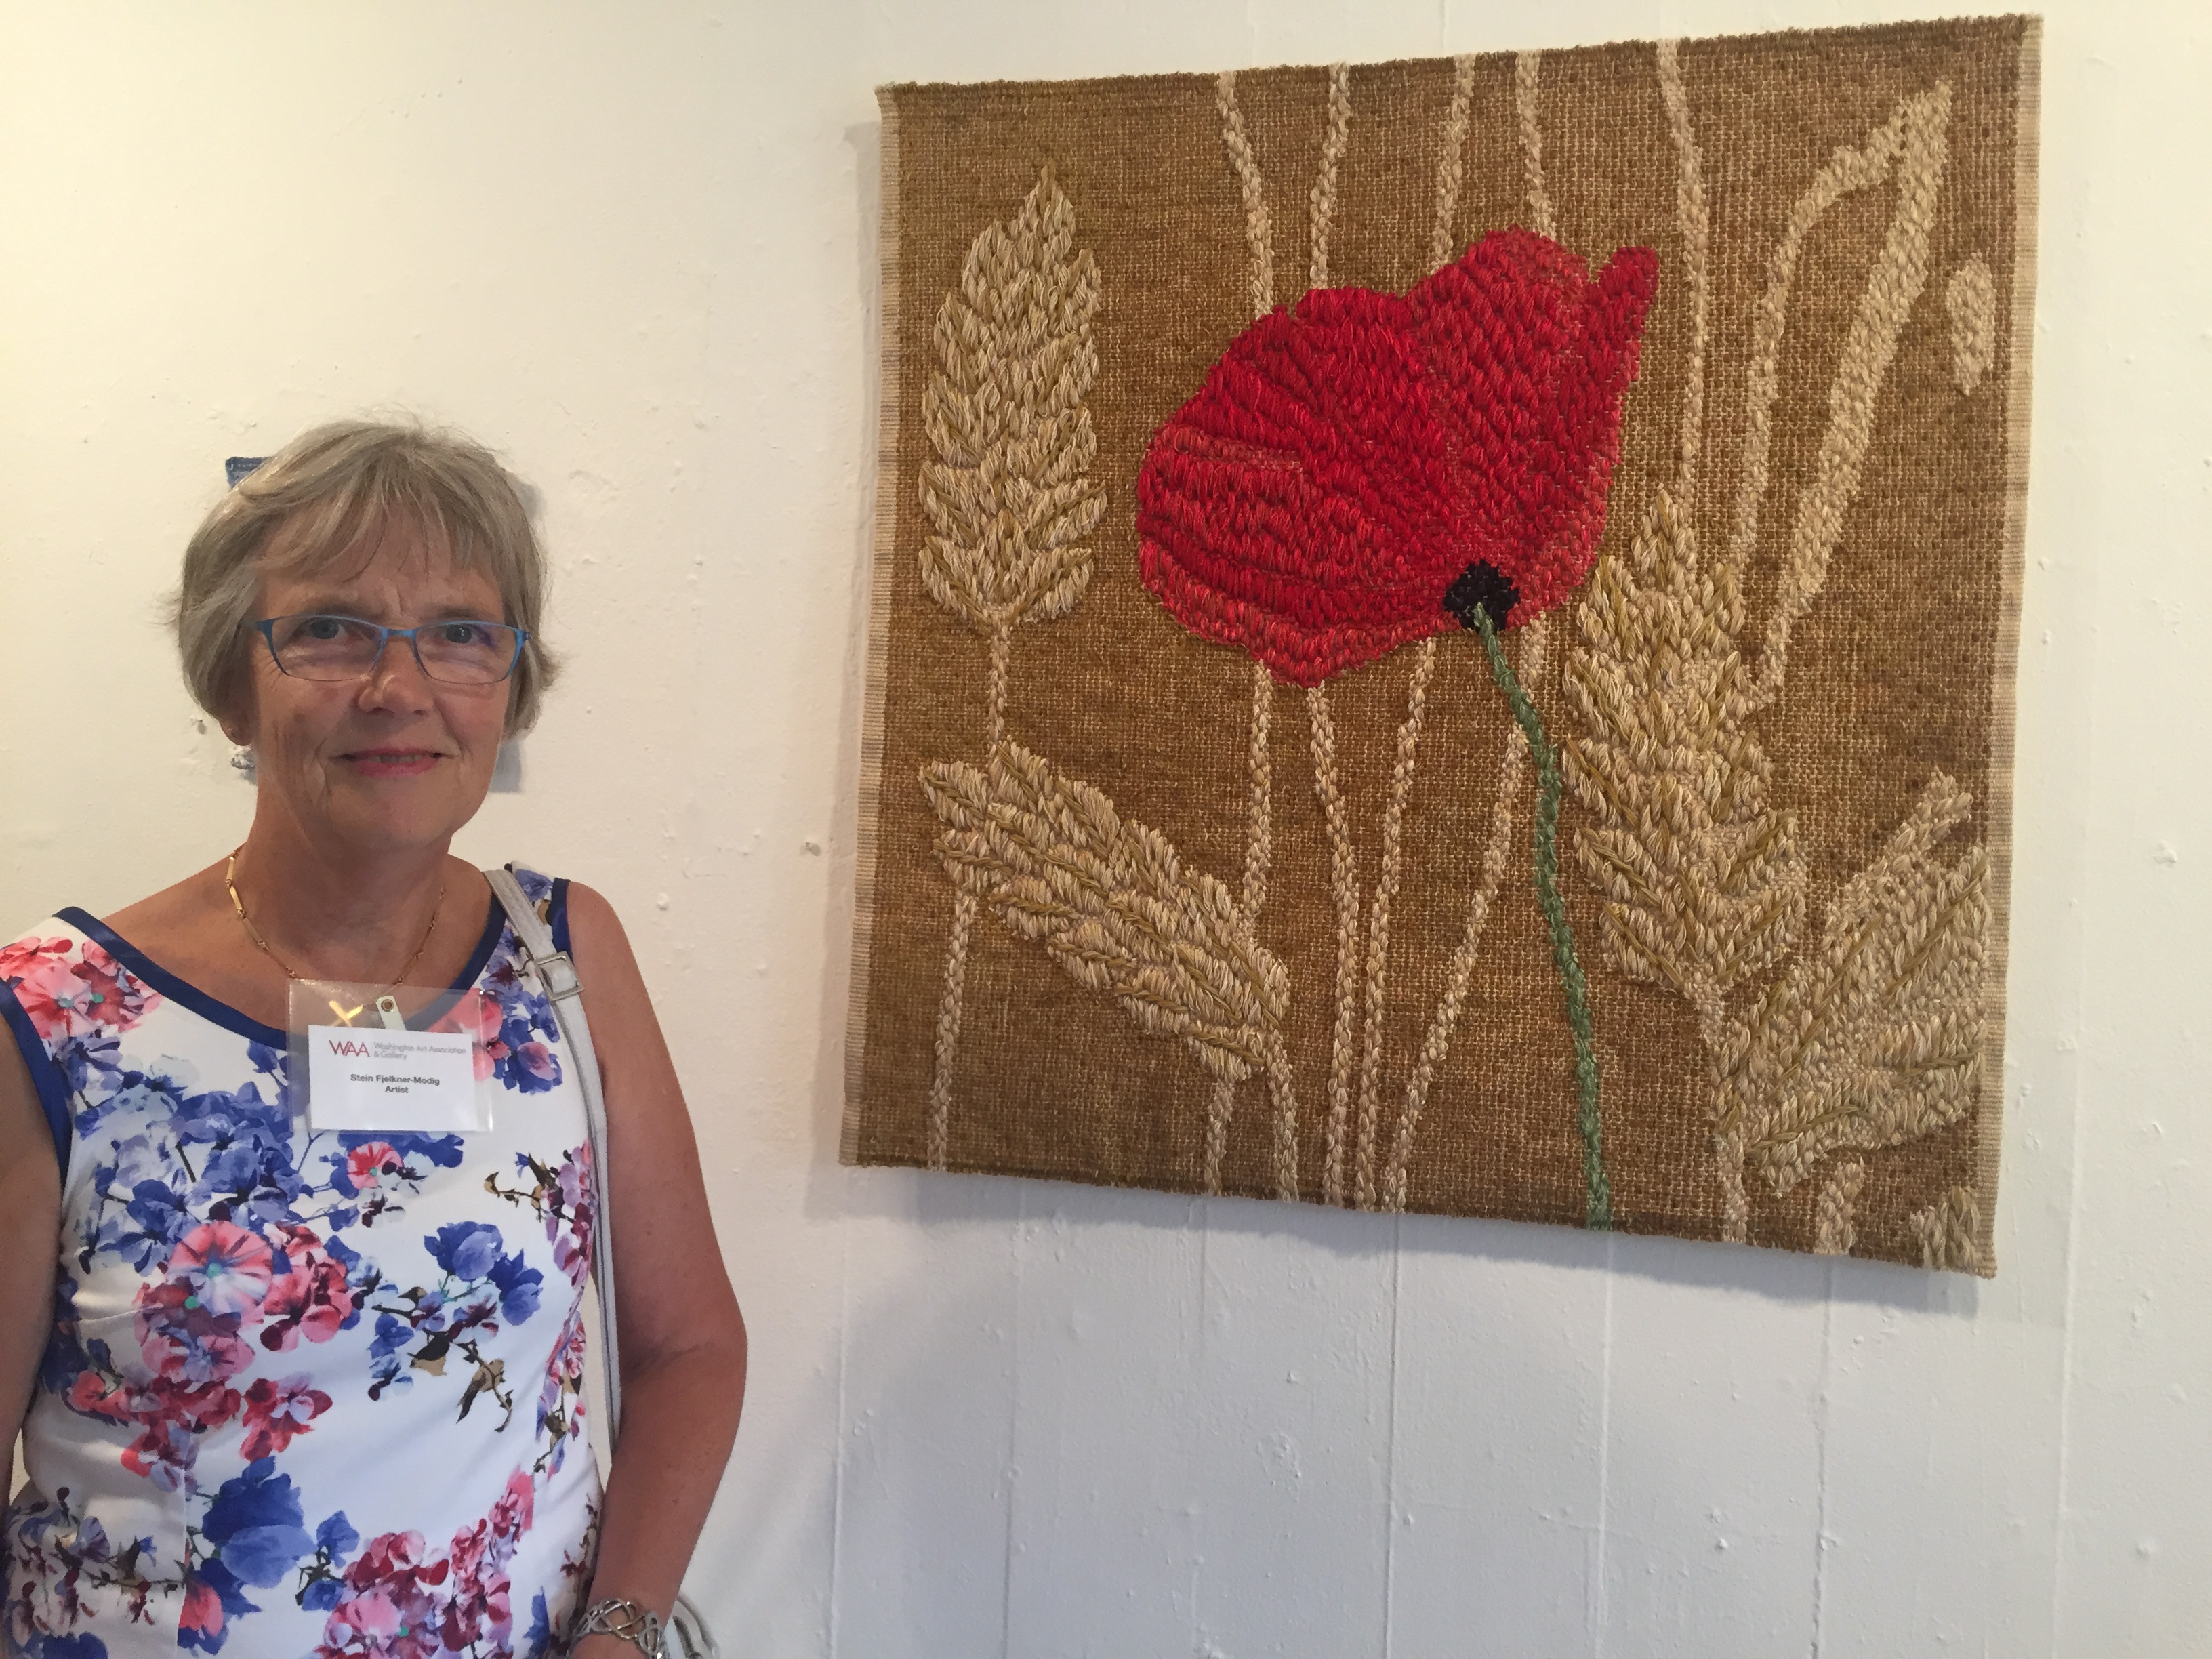
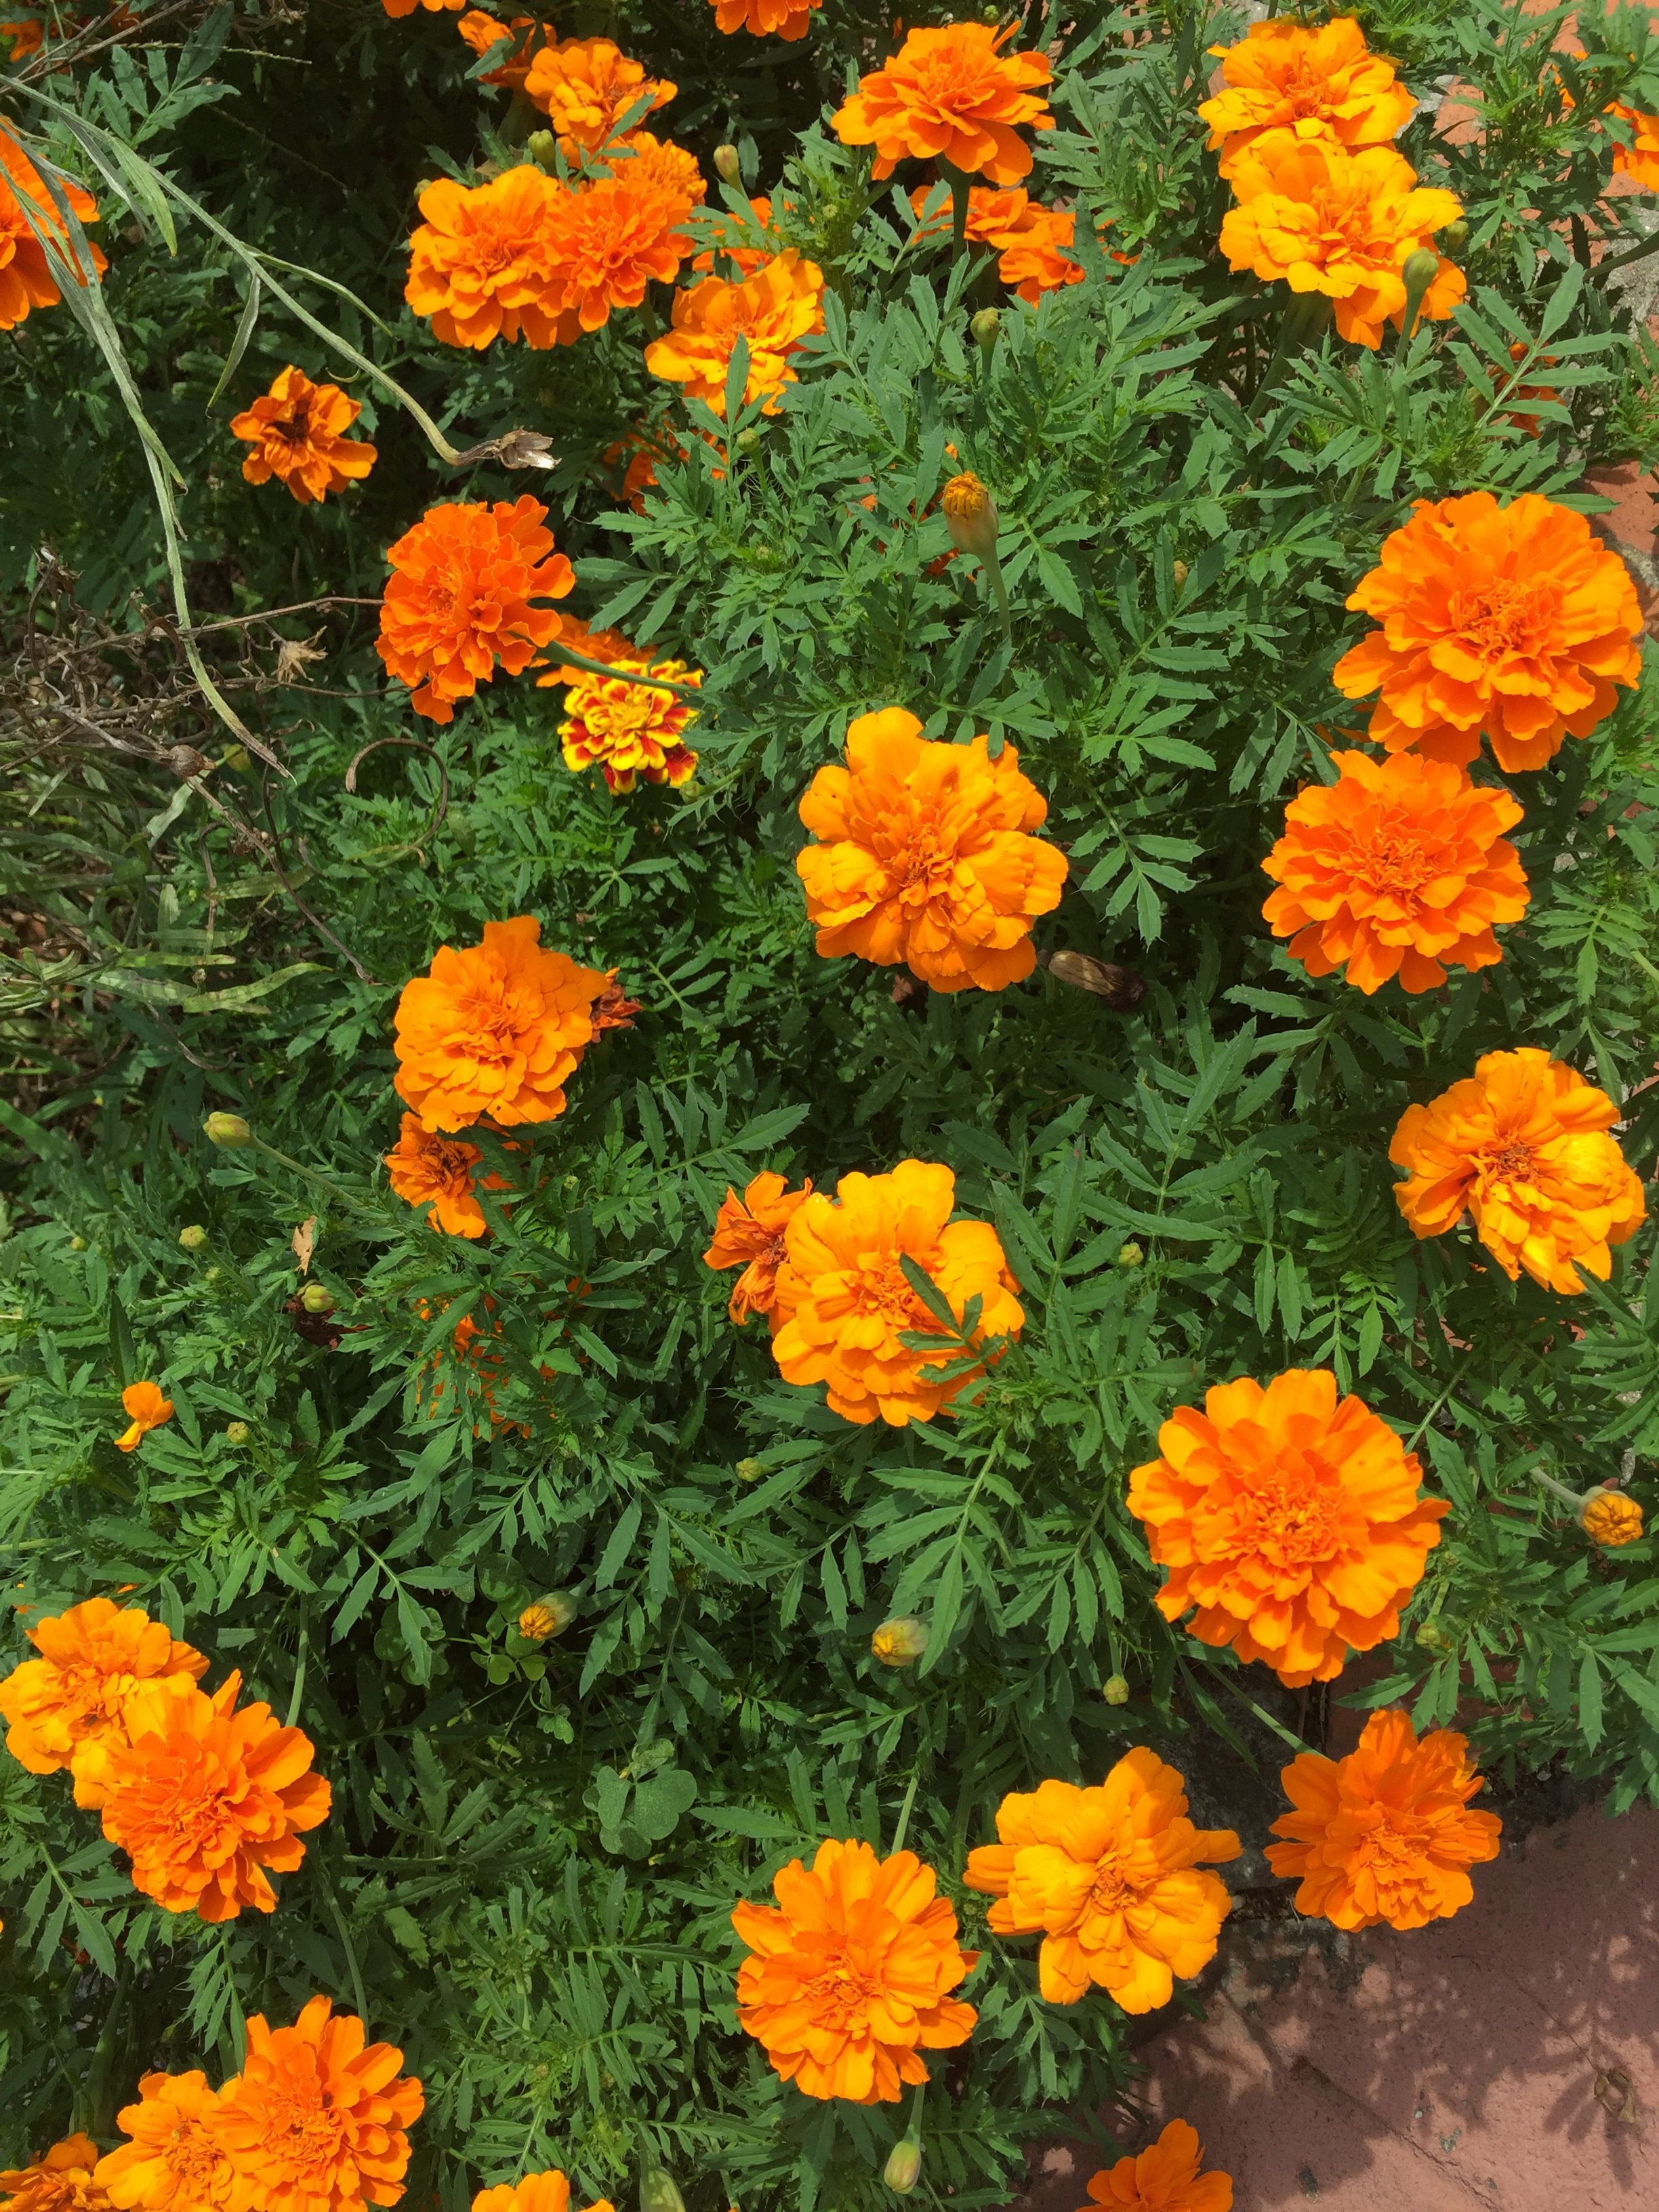
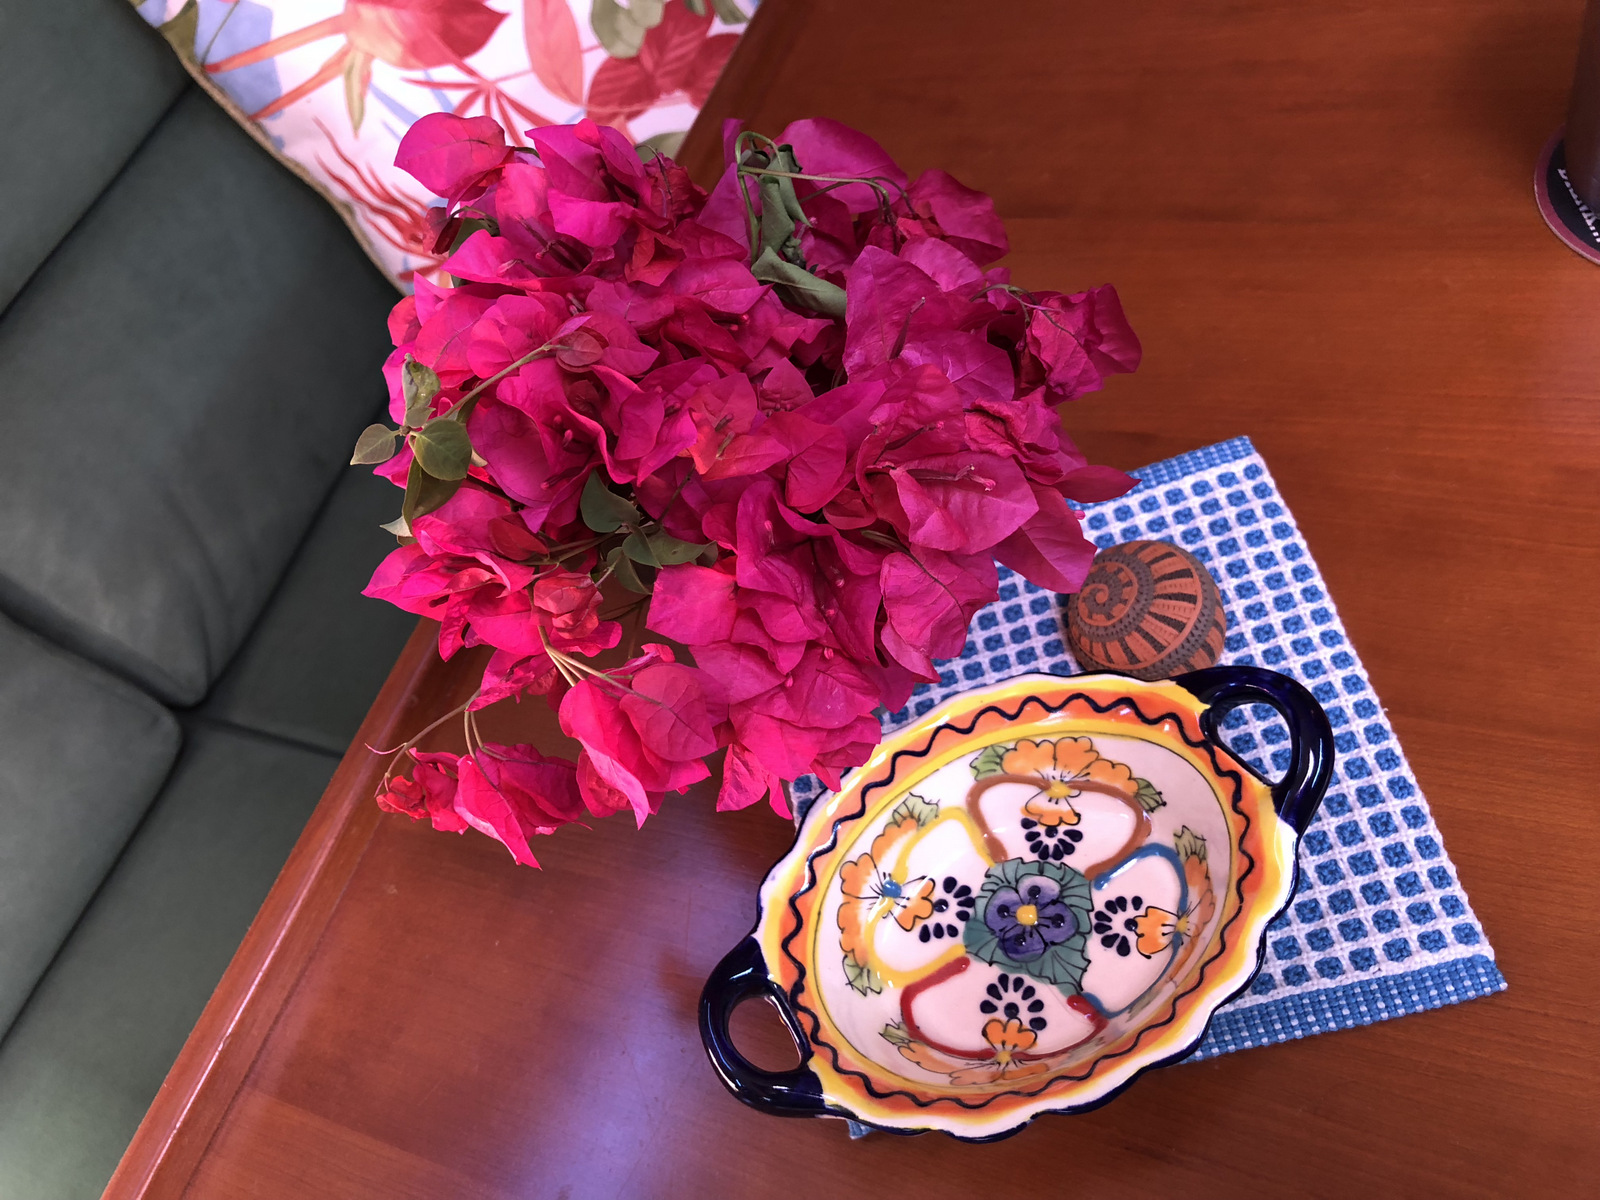
I have made things as cozy and homelike as I can for the moment. I’ve put out the little woven table mat that I bought from Chris Hammel during the Greater Boston Open Studios a few weeks back. It is just right for our dining table aboard Pandora. I hope she knows how much I love it! Bob got fresh bougainvillea for the table to greet me when I arrived, as well as a vaseful of pale pink oleander. He knows I love flowers!
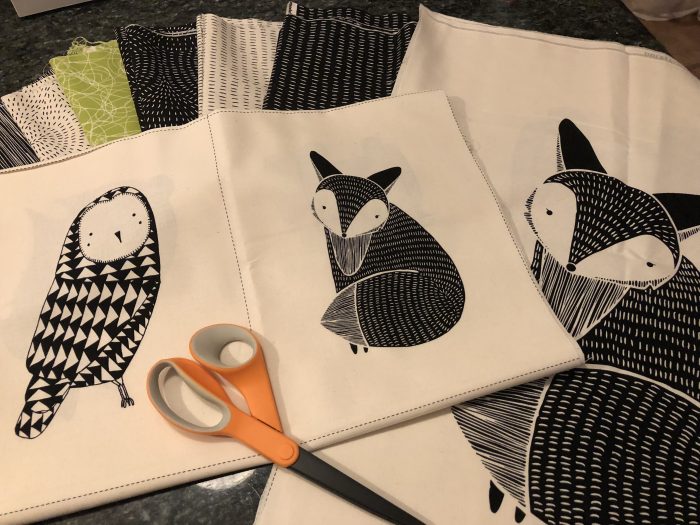
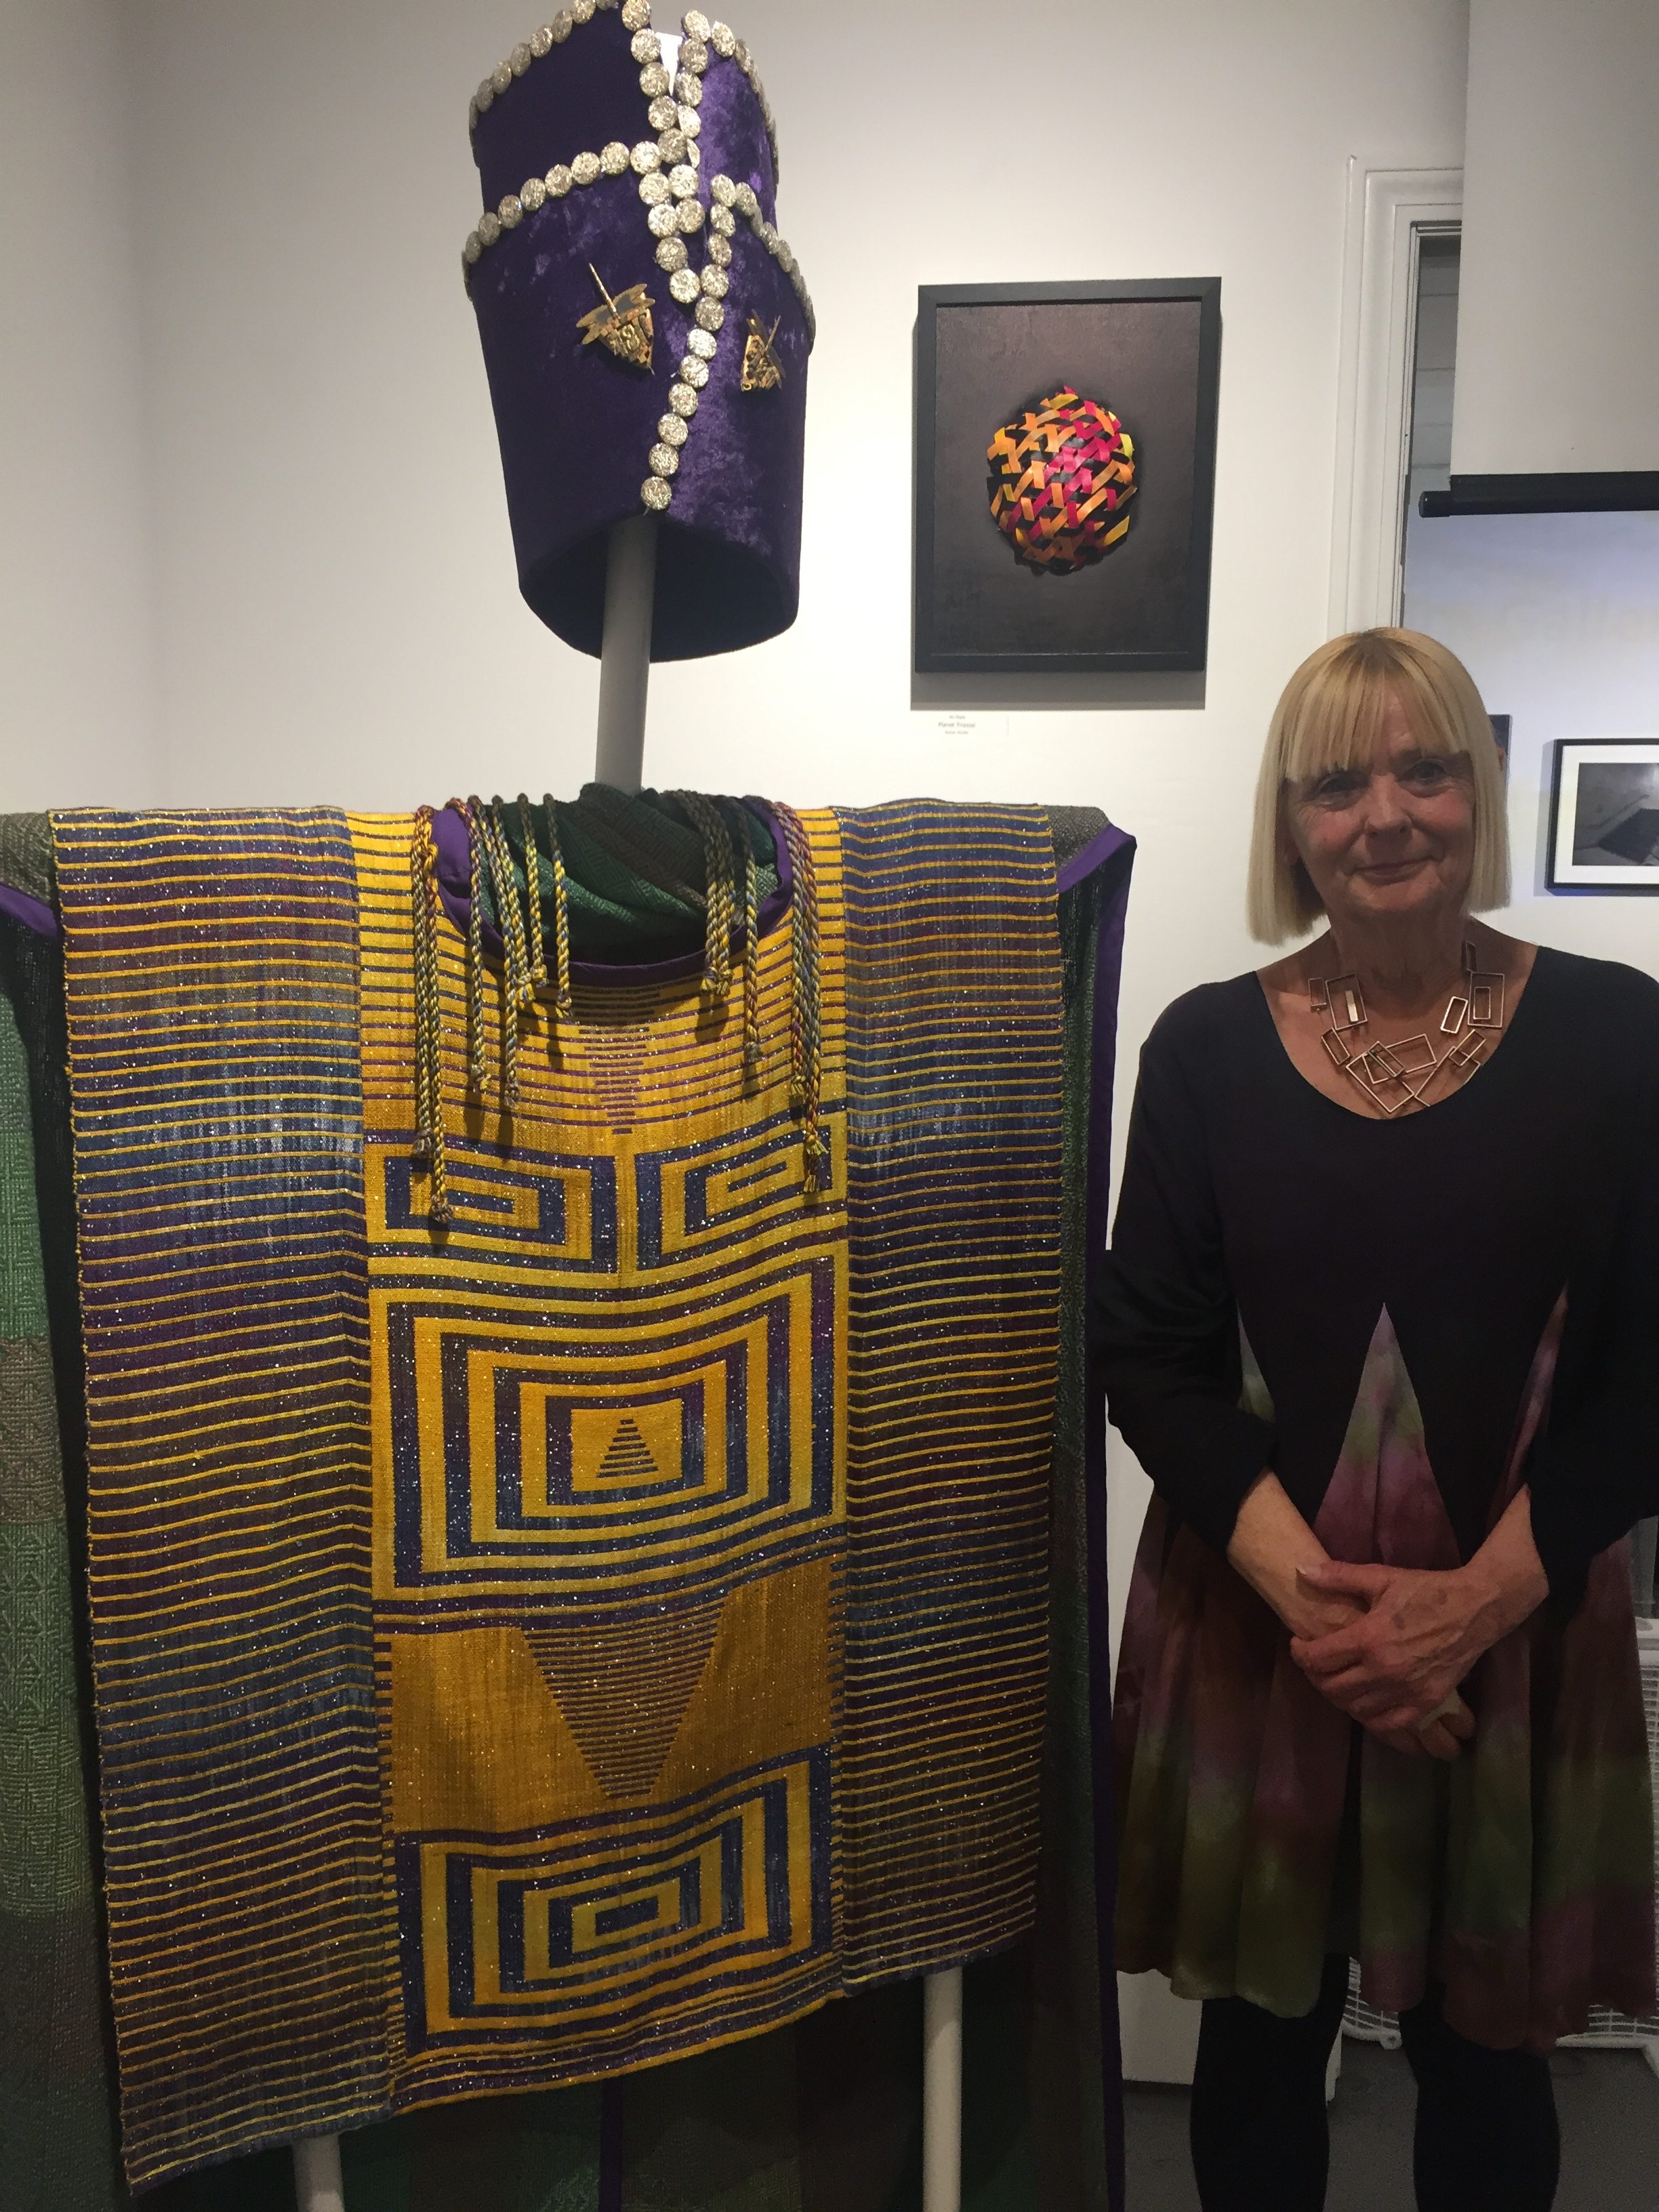
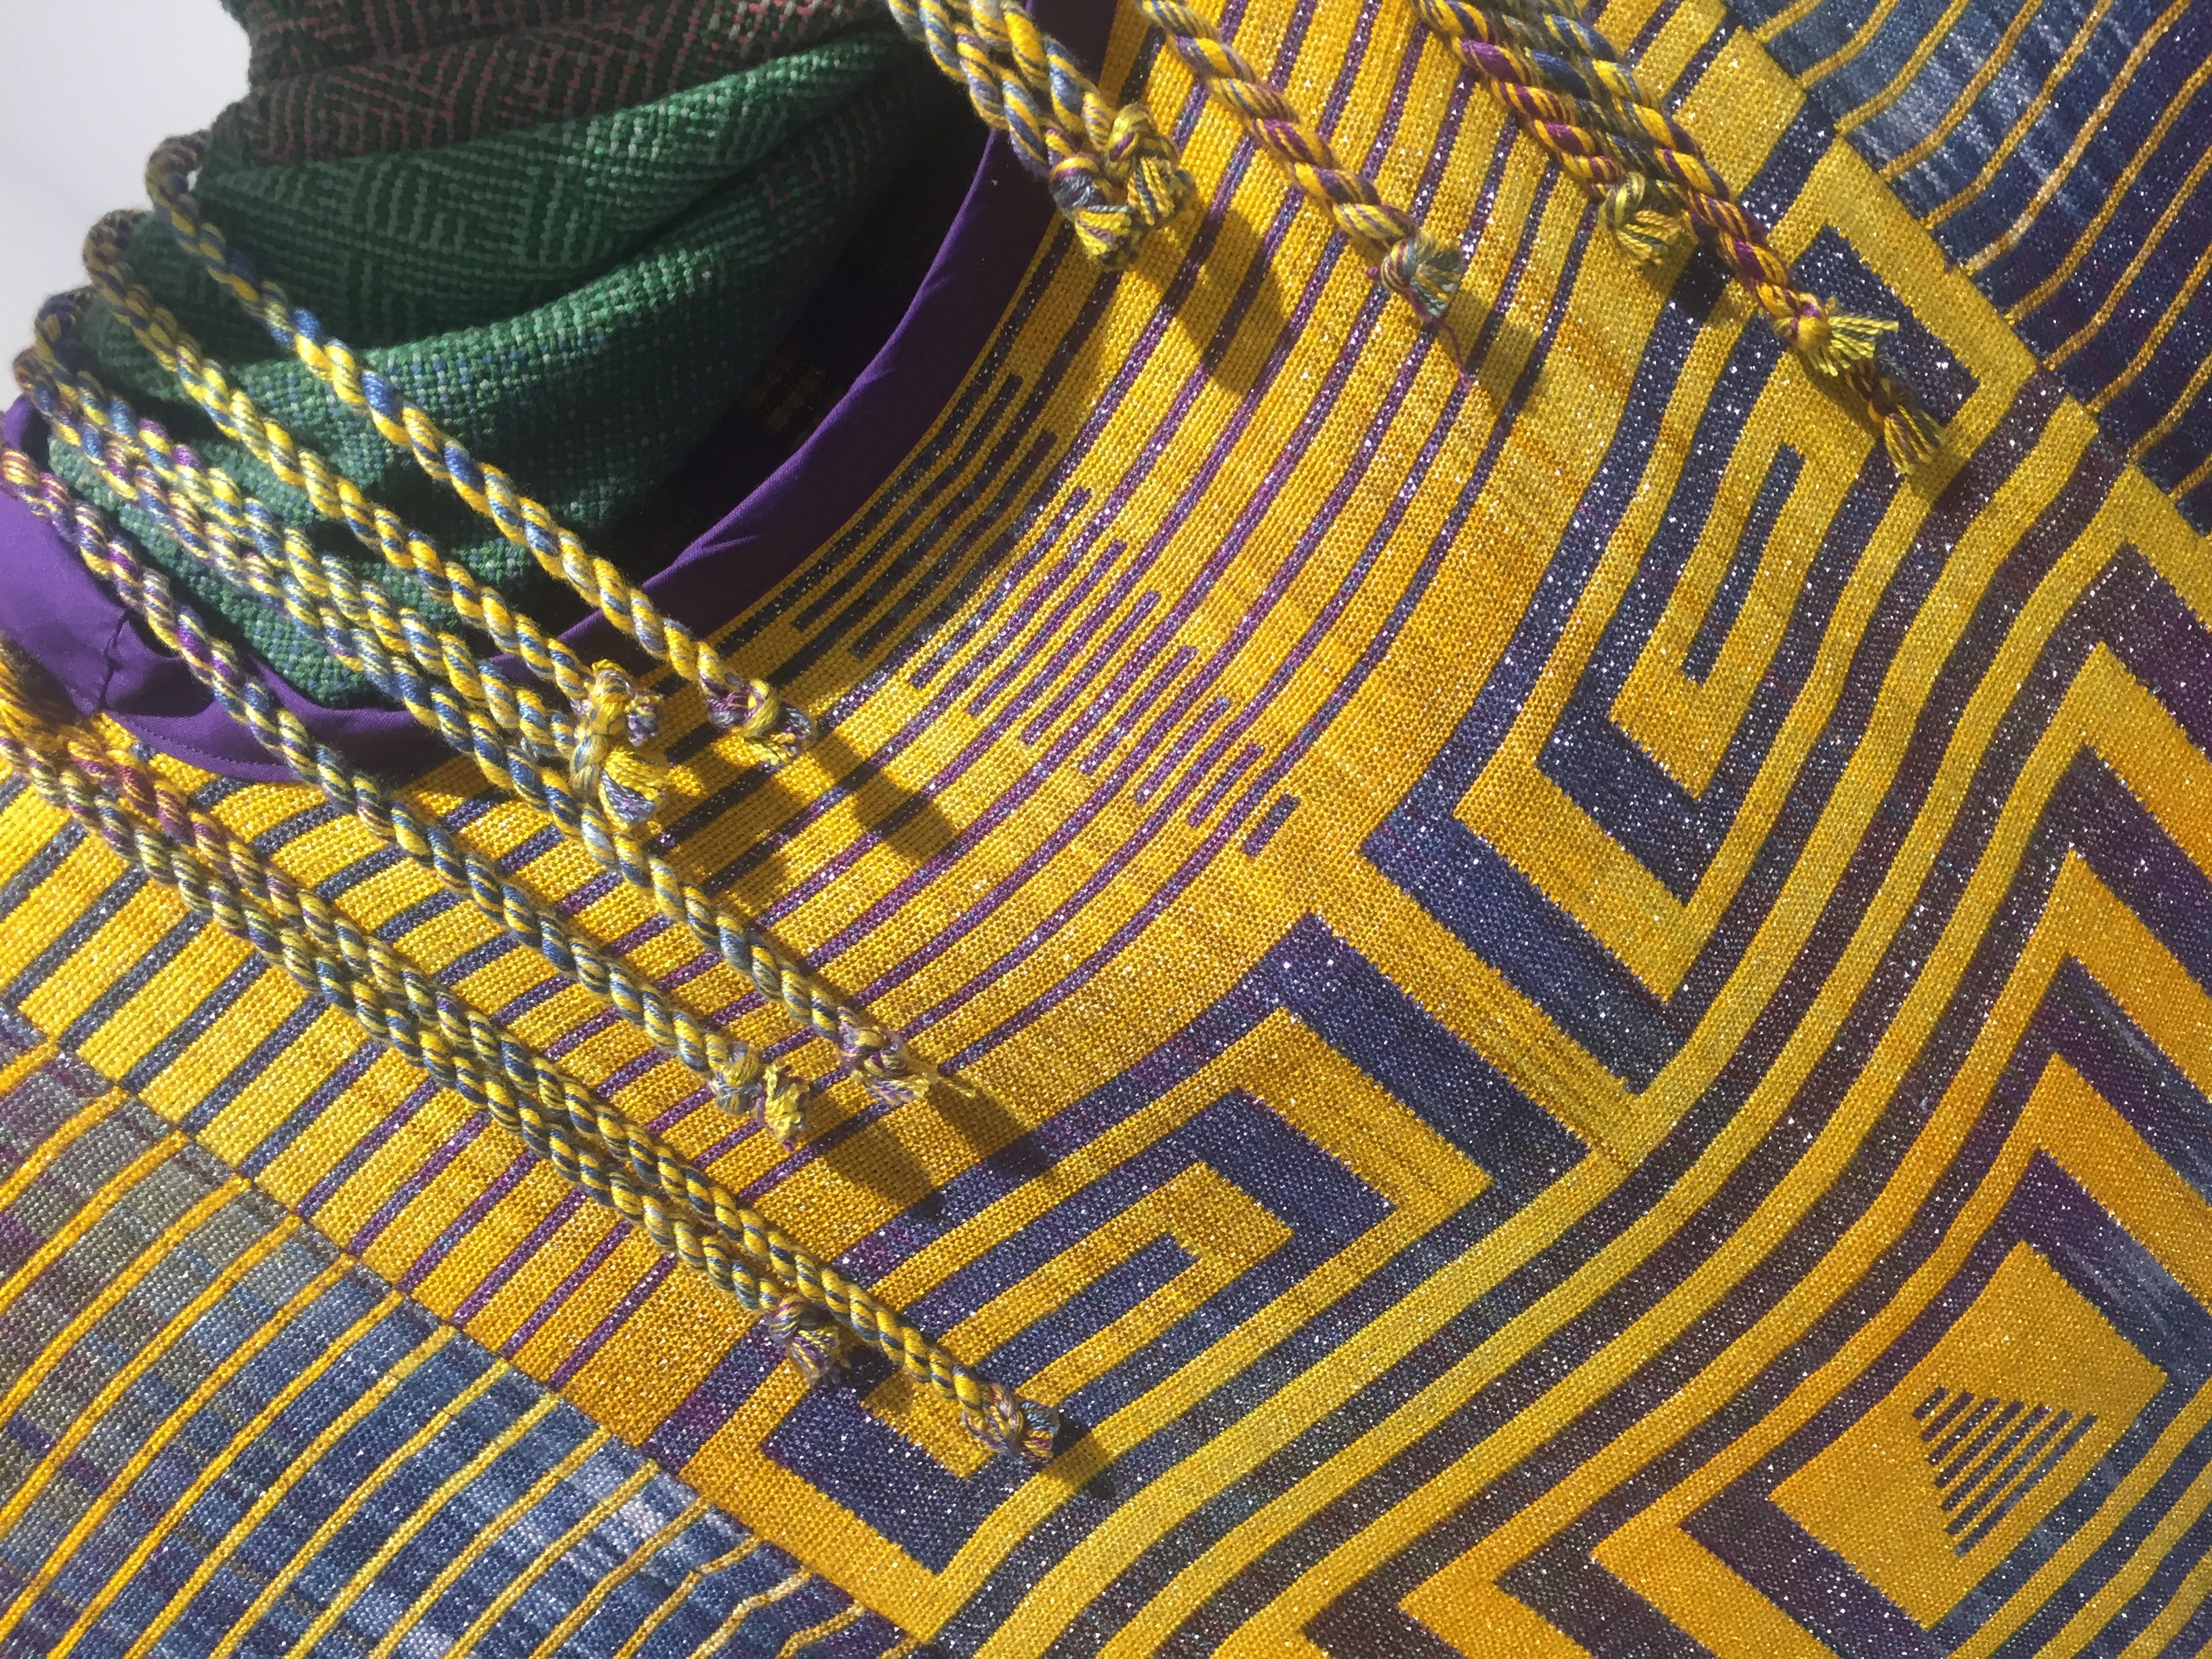
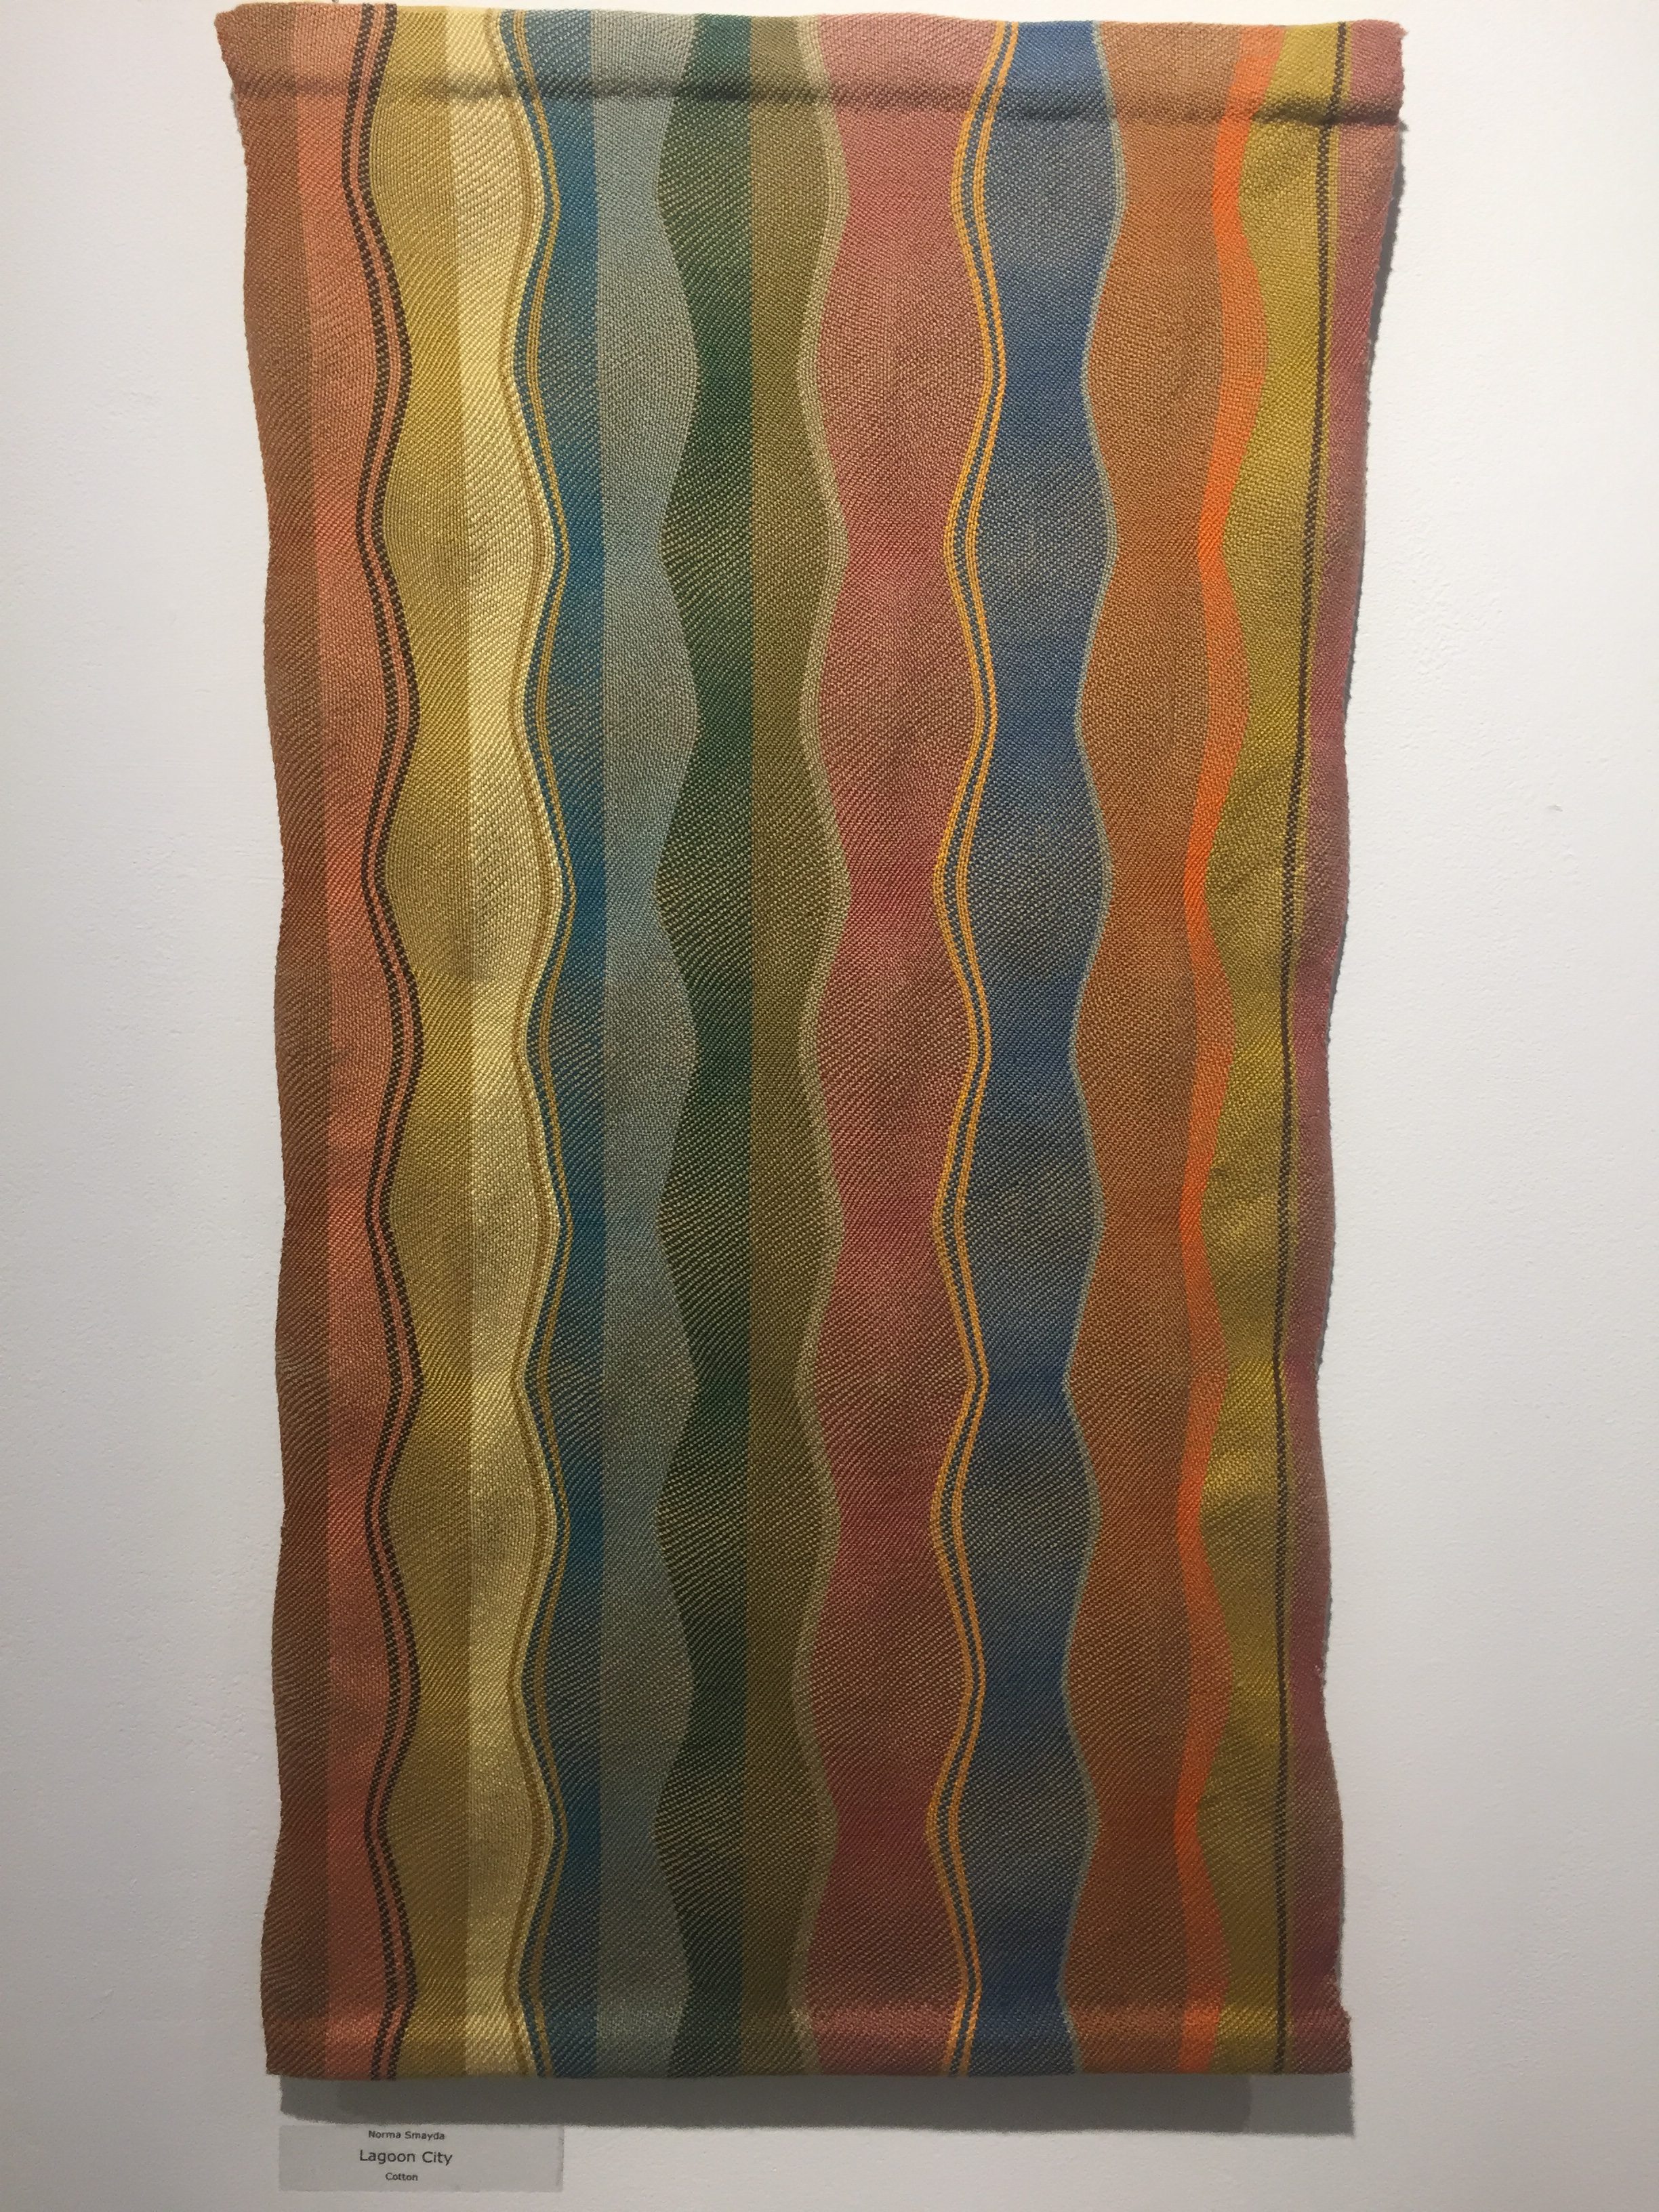
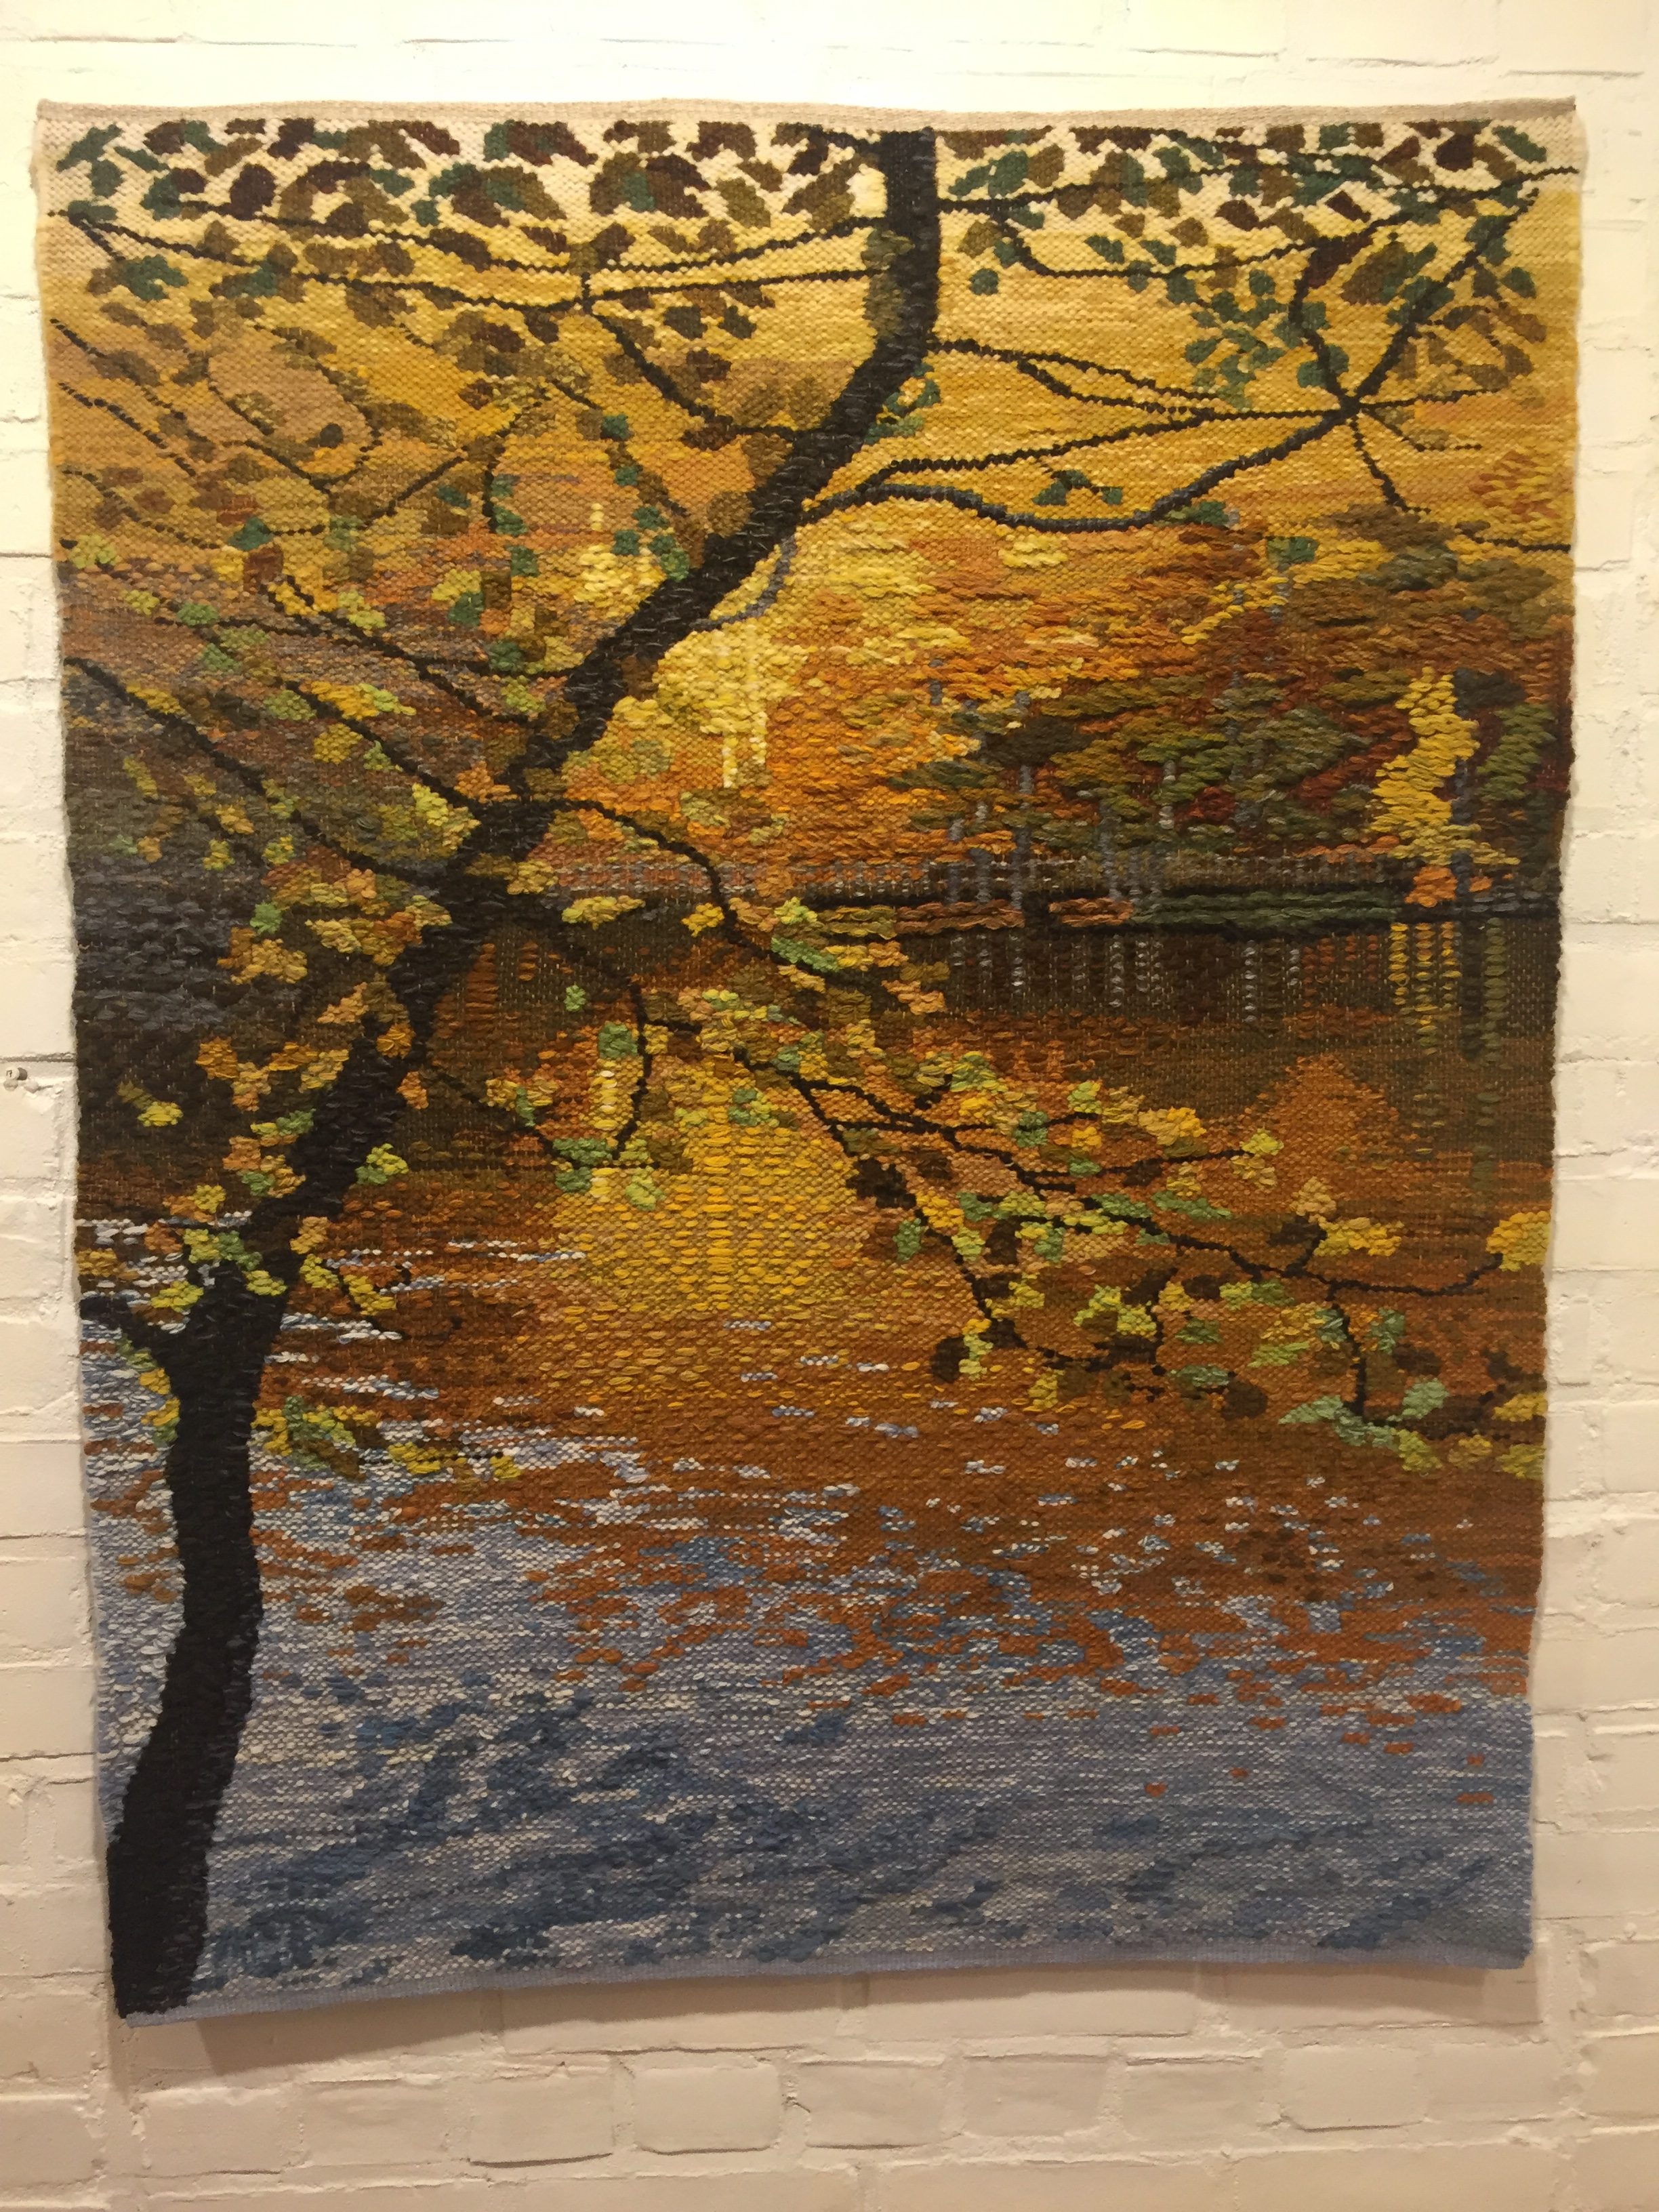
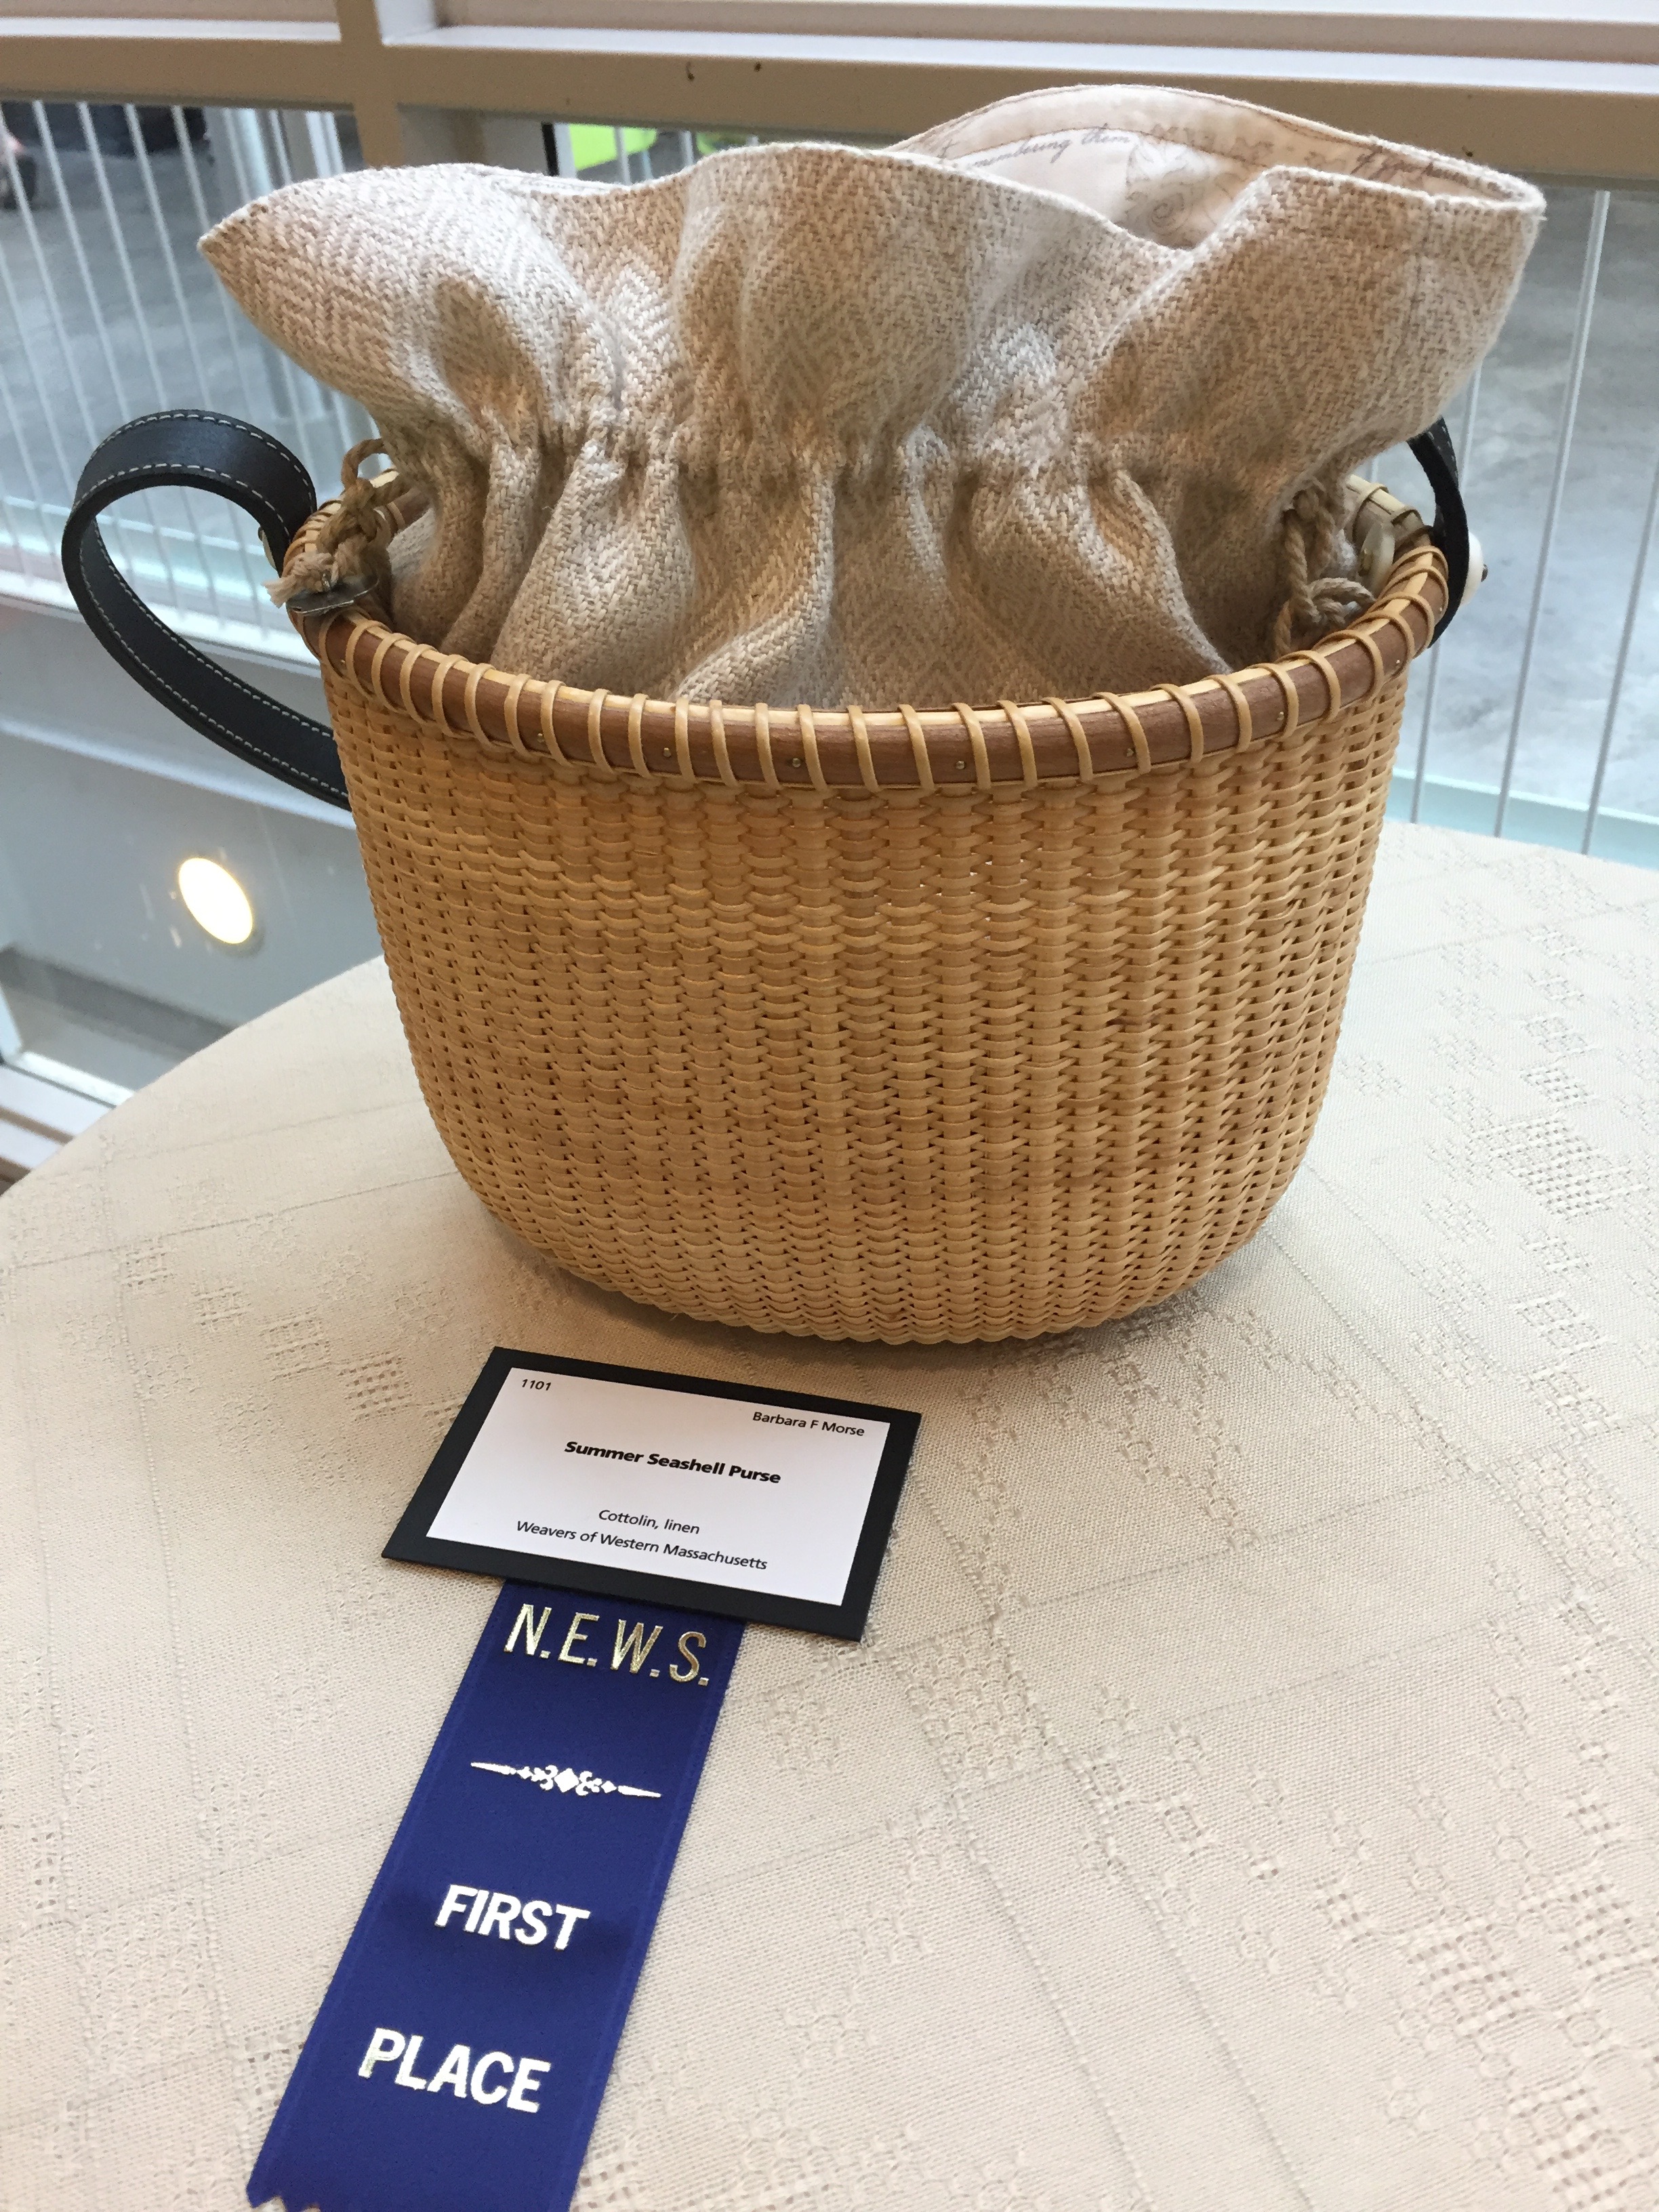
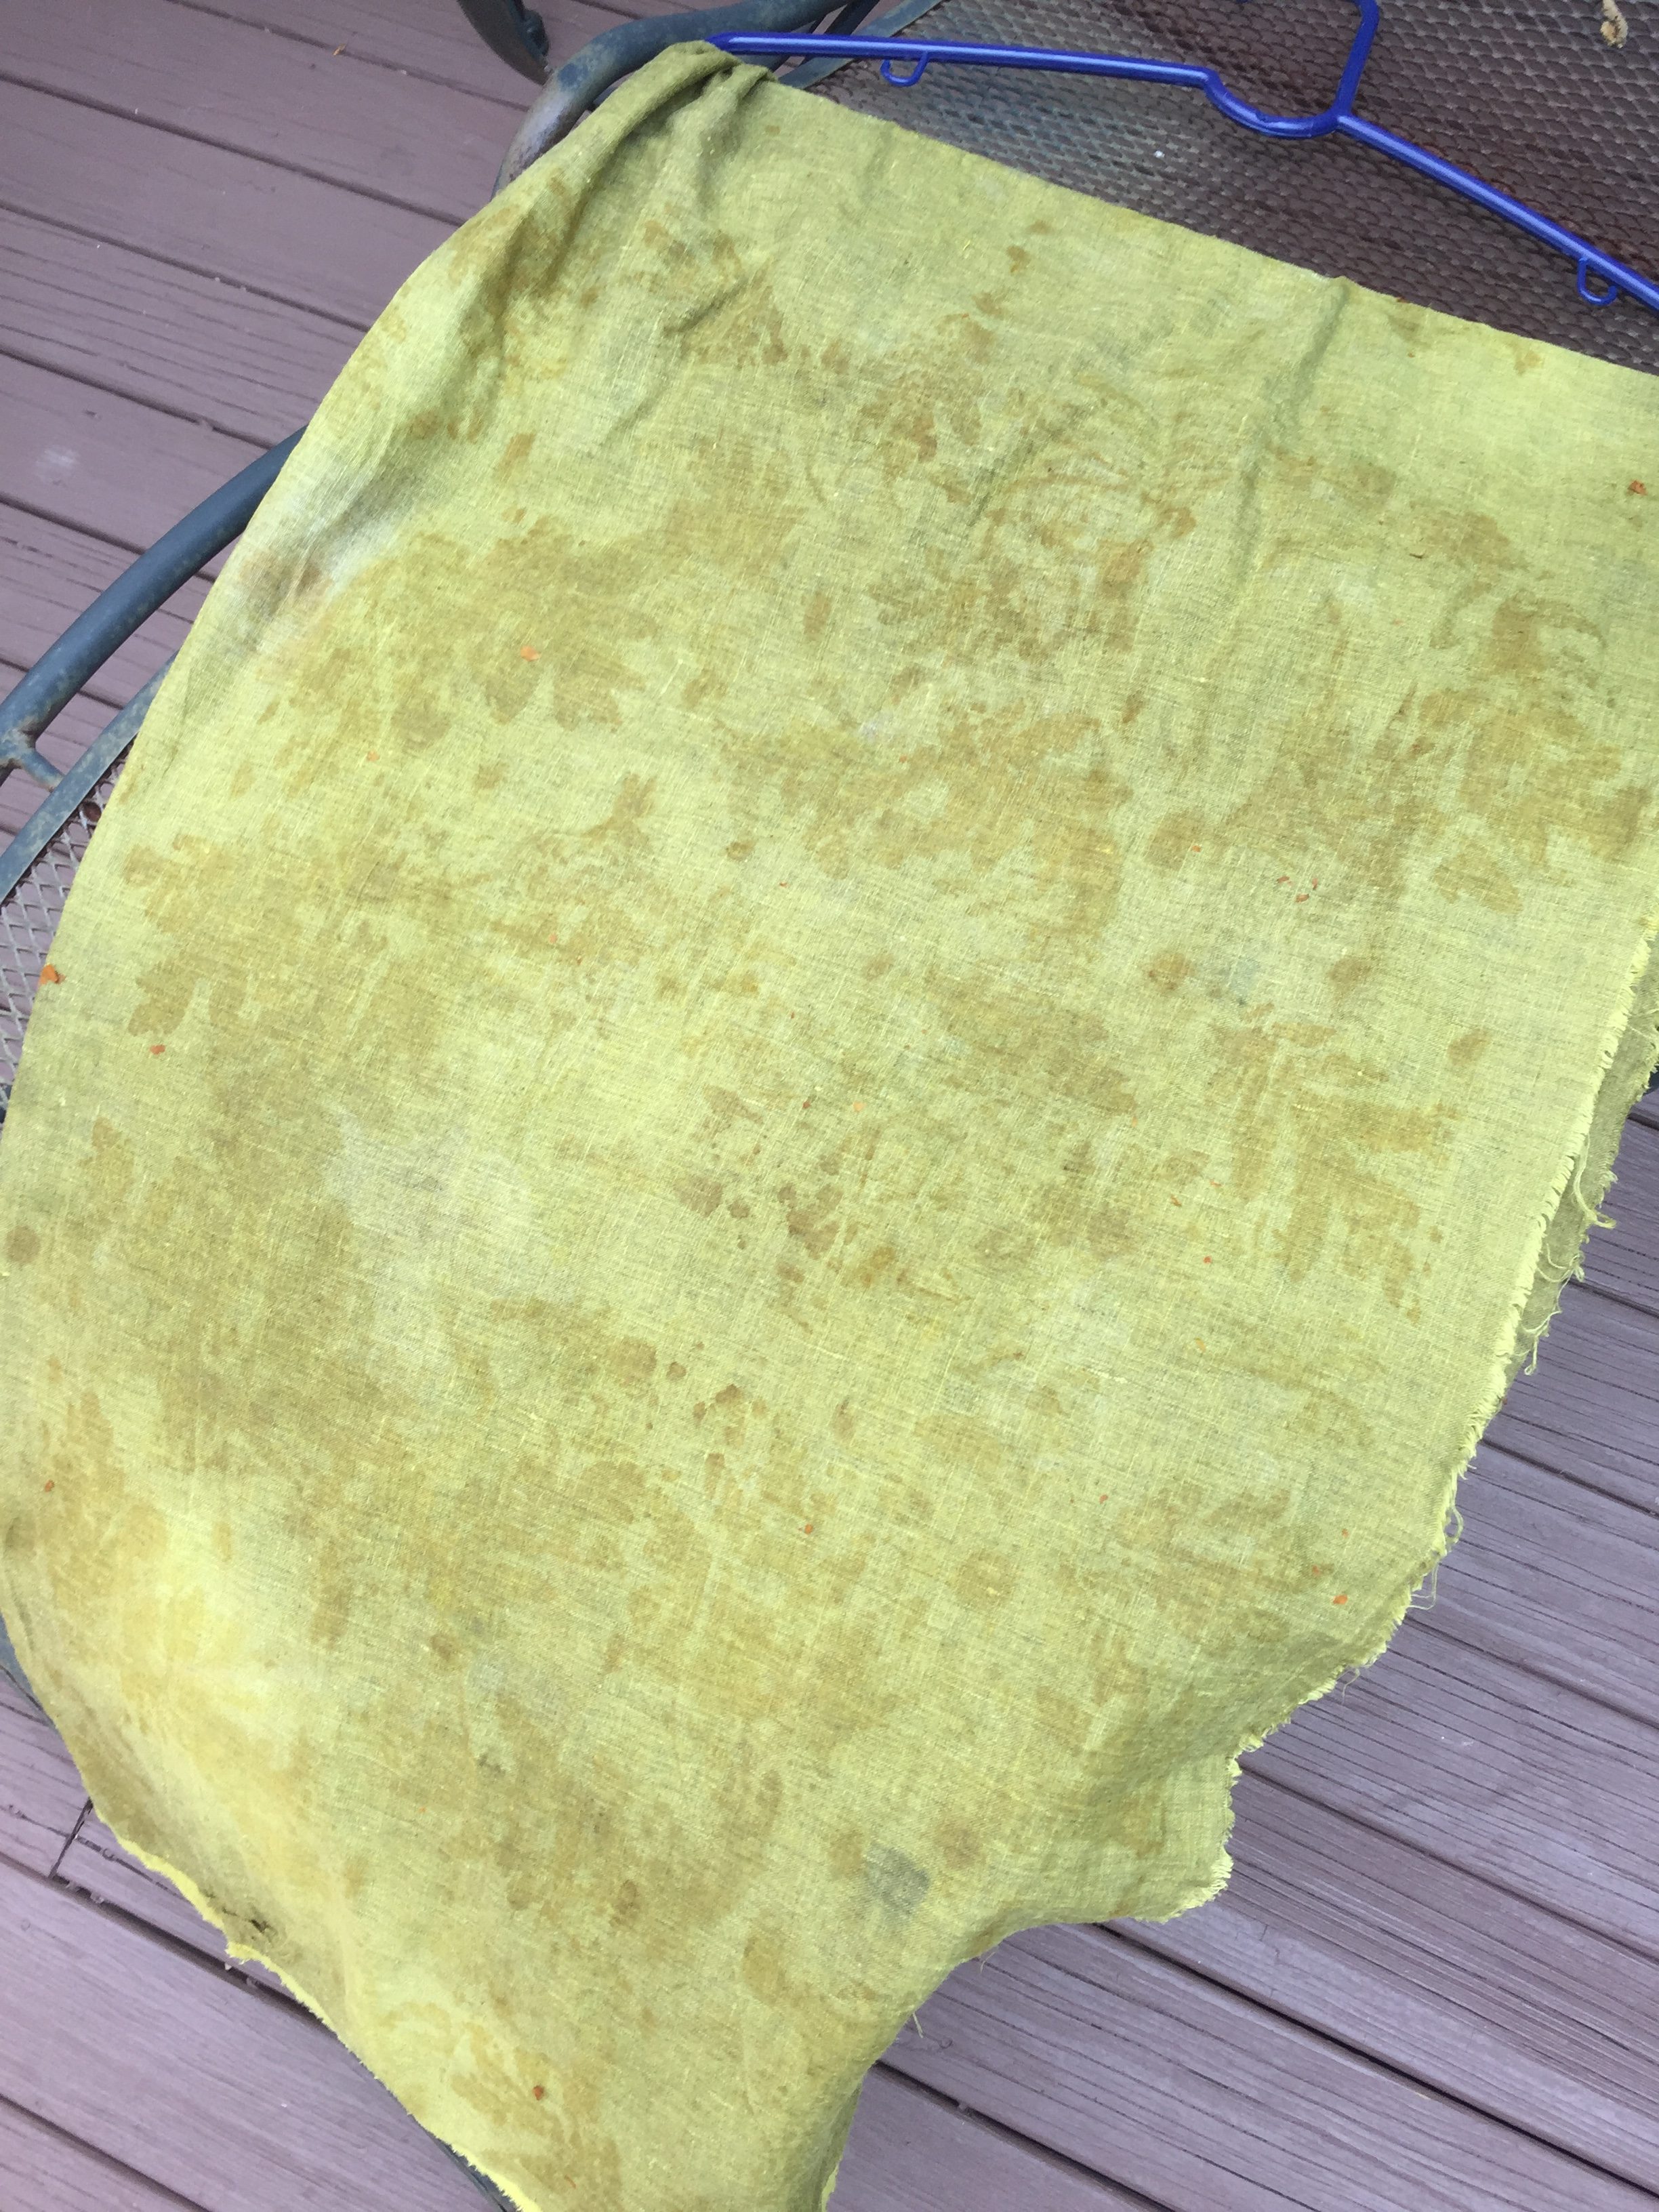
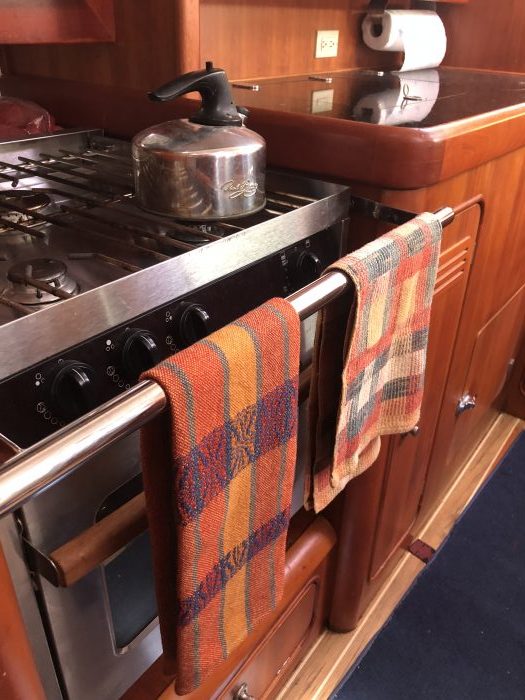
The day before I left home I visited the Hartford Artisans’ annual weaving sale with my friend Jody. We both bought some great treasures, and I bought this kitchen towel to put onboard to help me remember fall at home….there are no naturally occurring autumn colors in the Caribbean, so this feels a little like New England in November. It’s the towel on the left.
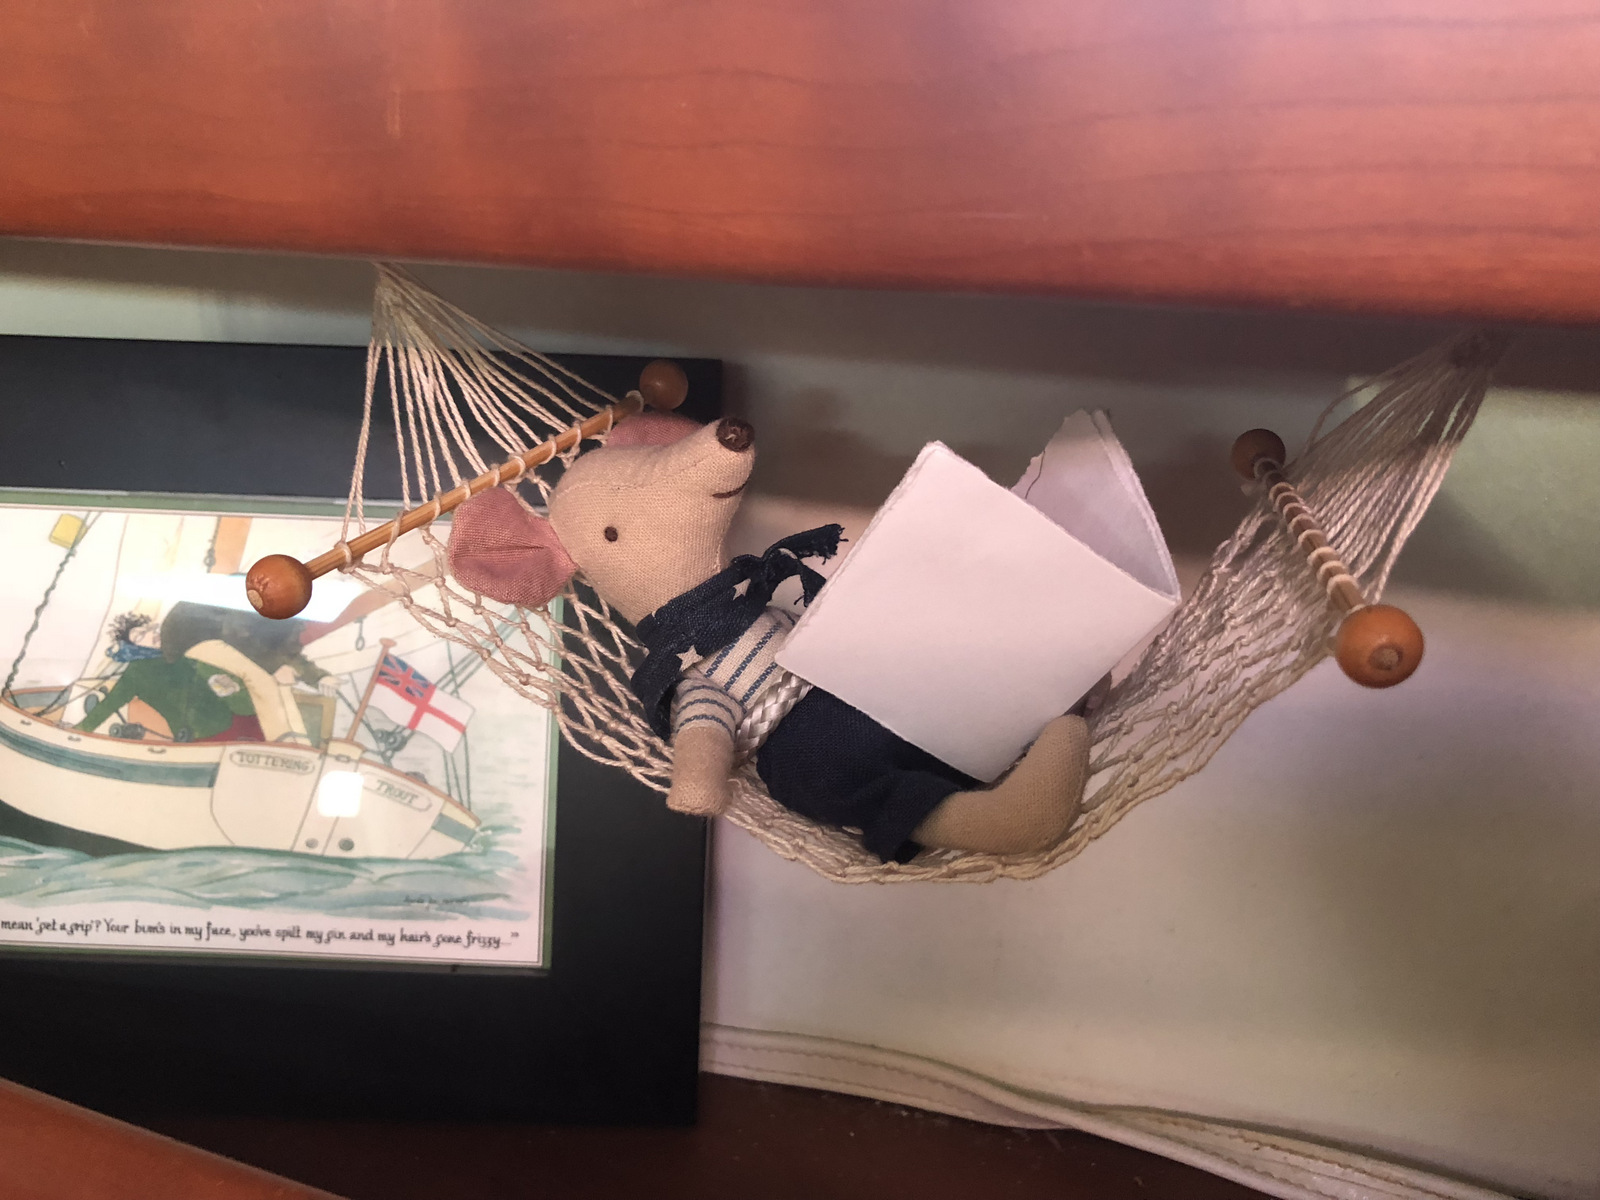
Our mascot, the little sailing mouse, French Louie (who came from a shop in St. Martin, but is originally from Denmark!), has a new hammock. My friend Mary made it for me when she was trying out her skills at net making. She did a fine job, and Louie and we love his new spot for relaxing! Thank you, Mary! Sadly, we will not be visiting St. Martin this year due to the hurricane damage suffered there.
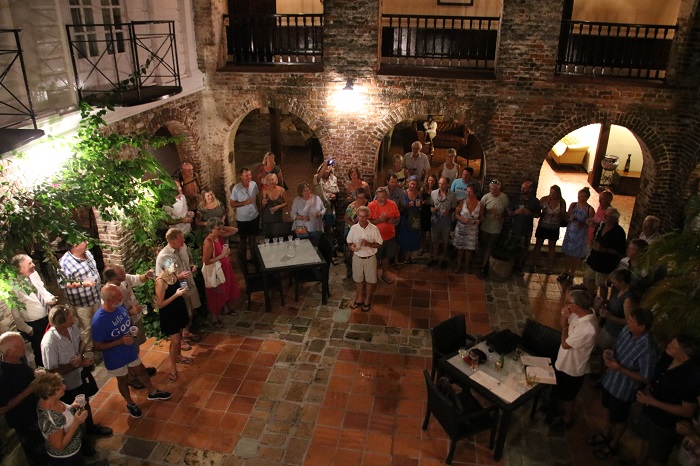
Before he left on the long passage, Bob made a lot of entertainment plans for the boats arriving here. There has been cocktail party one night, and a ceremony by the Antigua and Barbuda Royal Navy Tot Club last night. We were guests at their daily meeting, where in historic fashion one of the members reads from the logbook various events that took place on this day over the past 700 years or so, then toasts enemies and lost friends (Thursday’s toast-there’s a different one for each day of the week) and the health of the Queen, and THEN we each take a tot of rum, all in ‘one go.’ For men, a tot is an 1/8 of a pint. That is 1/4 cup of rum, straight, all in one go! For women guests the tot is half that. Well, let me tell you I failed at getting it down all in one go, and I decided not to attempt the rest of it. I gave it to Bob, who was successful at his own full tot. Sheesh!
Here is Bob in the white shirt at center, thanking the Royal Tot members for their hospitality in hosting us for their daily ceremony. It’s a beautiful setting in the Copper and Lumber historic site that is now an inn and restaurant.
Tonight, Saturday, Bob has arranged another dinner, the first of three. Tonight we will be having fresh sushi, Caribbean style. There is a traditional Caribbean dinner coming up on Monday to welcome the rest of the arrivals–boats who had various equipment problems and boats that are simply slower or had weather issues getting here. One of the restaurants here in Falmouth Harbor is hosting a Thanksgiving dinner on Thursday for all of us who will not be home for that holiday. There are plenty of English and Canadians in our sailing group who will join us for this holiday dinner. Other boats in the harbor are flying home port flags from Sweden, Holland, and France. As the weeks go by there will be more and arrivals from many other places.
For the moment Pandora is in Falmouth Harbor, where we spent a few days on the dock, enjoying the ease of stepping ashore for me, in addition to being plugged into electricity so that I had some air conditioning to help acclimate to this tropical climate! Now we are off the dock and anchored out in the harbor. There is plenty of breeze, but it still takes some getting used to!
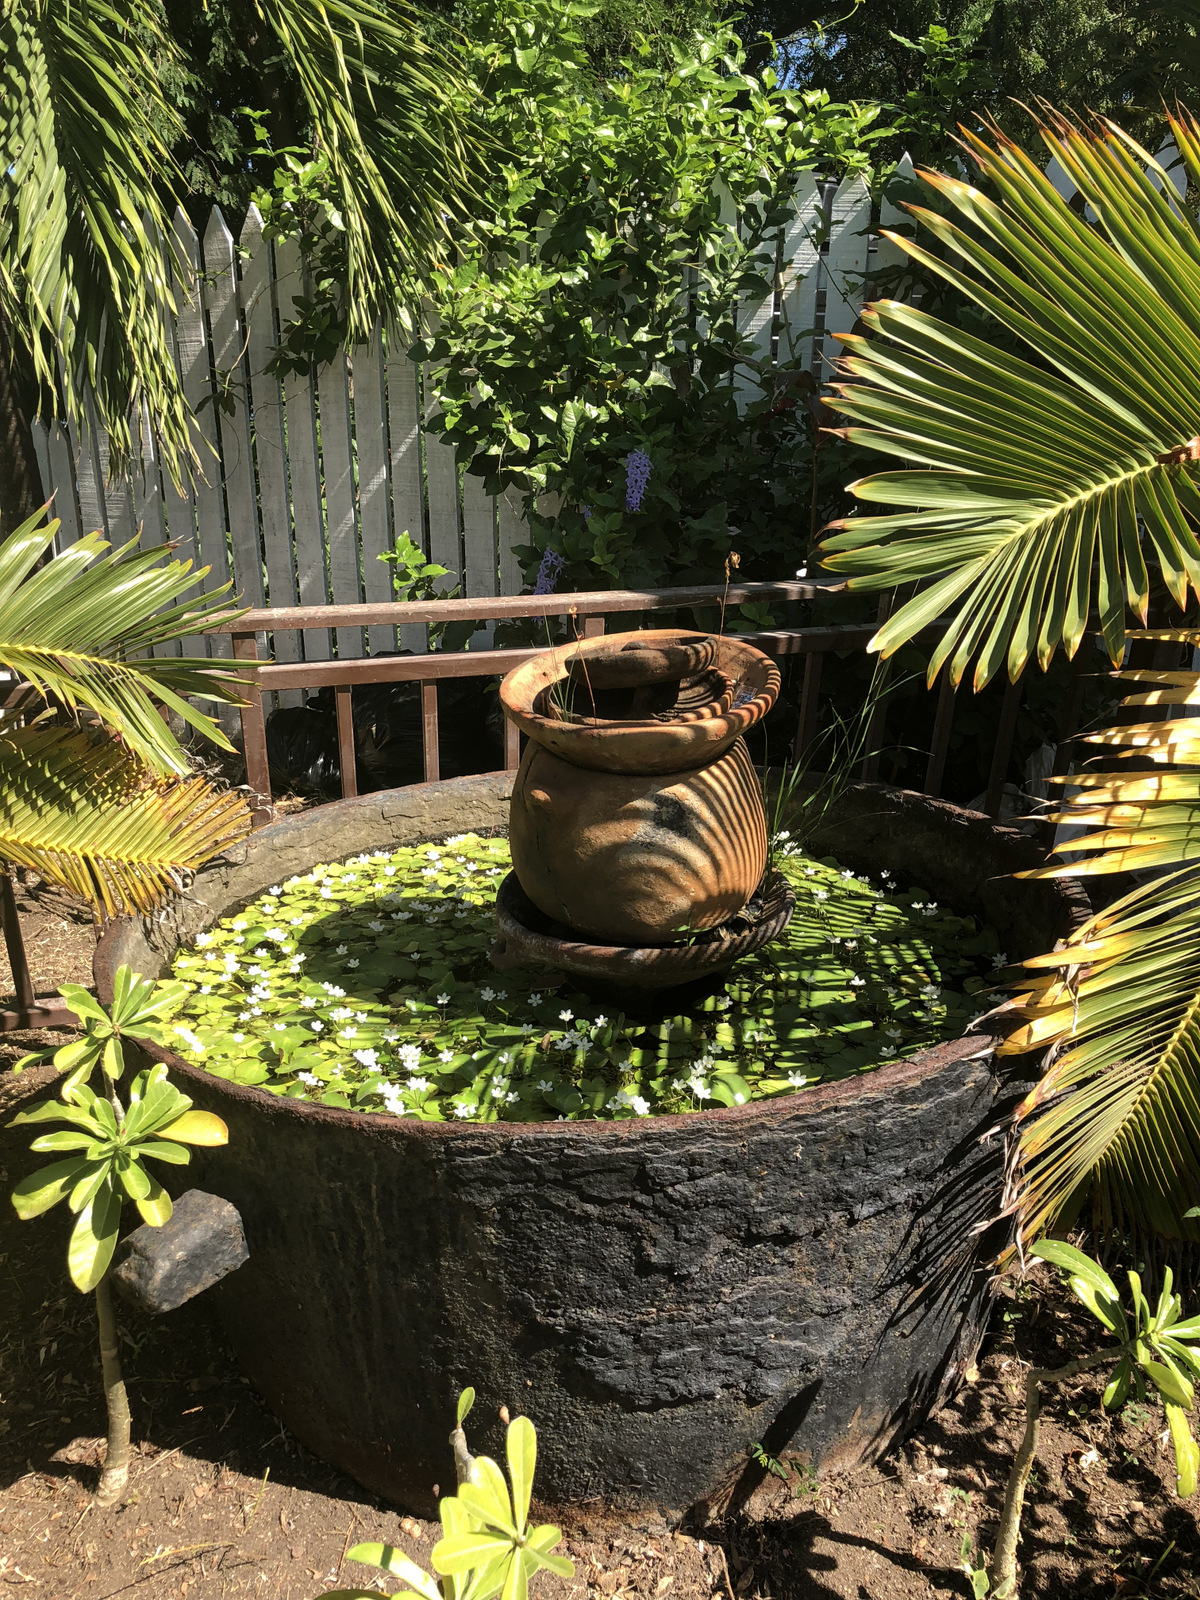
This lovely water garden is near the entrance to English Harbor, just a short walk from Falmouth. I would love to add something similar to my own garden next summer. I know I’ll have to settle for something far less interesting than this giant iron pot that might have been in use when Lord Nelson was stationed here.
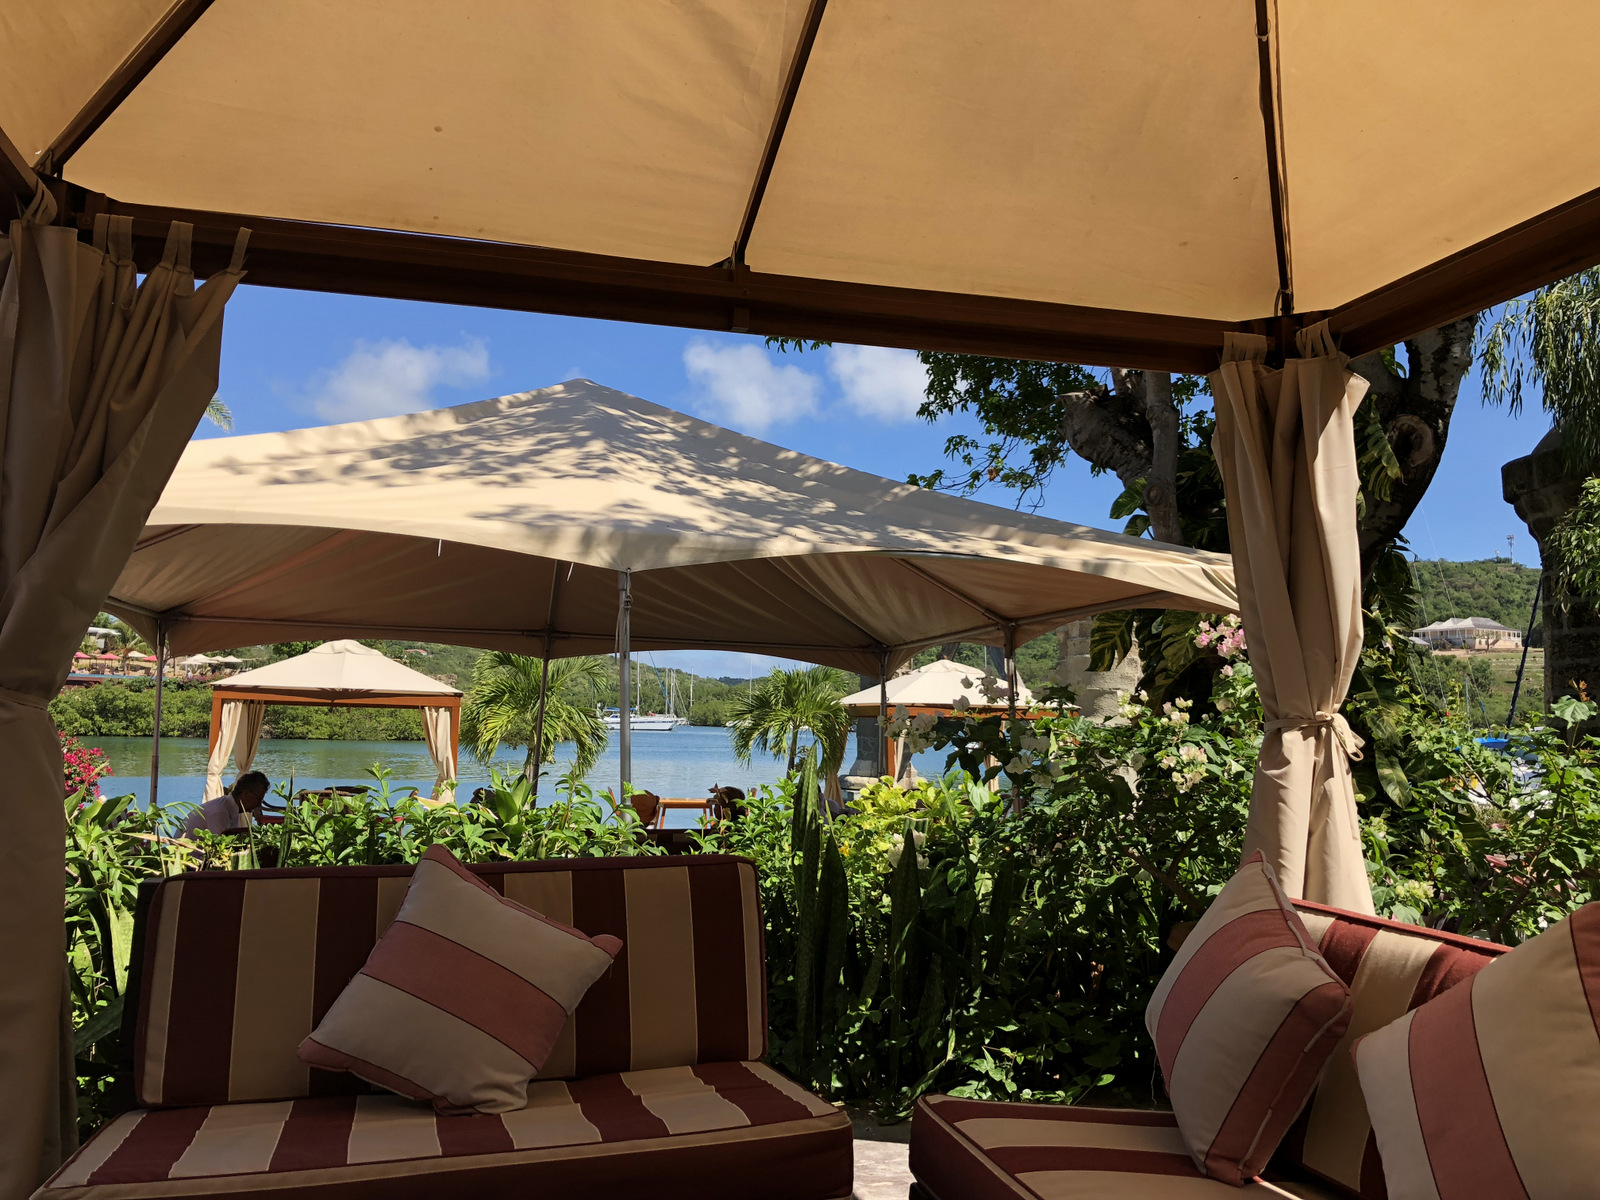
My last post had a photo of Pillars Restaurant where we had dinner after my arrival. Pillars is equally beautiful before the sun goes down.
Before I left I had three wonderful days with our son and his wife, and our adorable granddaughter Tori. She is getting cuter and cuter as well as bigger and bigger! I’m so glad we will see her again over Thanksgiving weekend.

In fact she will be our Princess Tori when she has her christening day on Sunday after Thanksgiving. And speaking of royalty, we have been hearing for days that Prince Charles will be visiting Antigua today as part of a tour to see the hurricane damage among islands that were once British subjects. I am keen to see him! Wish me luck!