NEWS Exhibits (and 2nd Painted Warp Scarf)

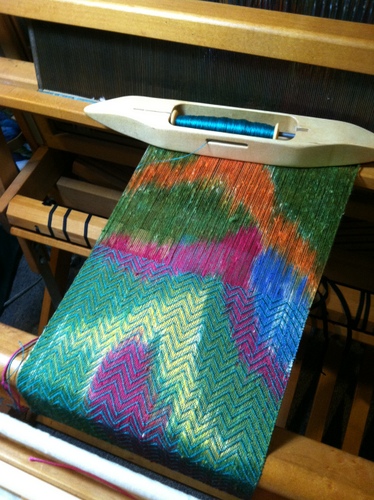
Yesterday I began weaving the second painted area on my workshop warp.  I did not finish this scarf although I was able to finish the first scarf in one day.  After experimenting with various weft colors and weave structures, I found that either plain weave or a straight 1 through 8 treadling sequence looked the best on my brightly colored warp.  I knew I probably couldn’t stand to weave two yards of plain weave.  Now I realize that I could just barely stand to weave two yards of straight treadling!

The first scarf was woven in an advancing twill treadling that had a 72 treadle progression.  This kept me on my toes!  I found I was soon yawning through the simple    1 – 8 repeat of the second scarf….  I ended up watching streaming episodes of “Call the Midwife” to keep myself awake!….and still, I didn’t finish.  Hopefully today!

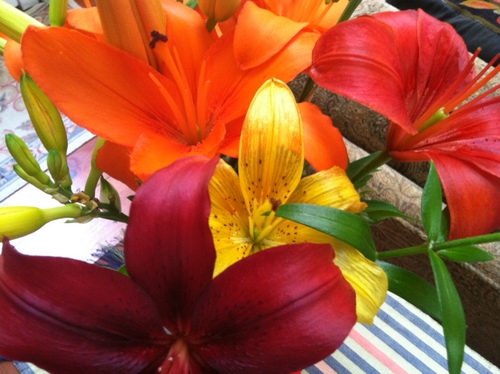
By the time I was painting the second scarf on this warp during the workshop, time was getting very short!  I opted for my simplest photo of a vase of various lilies that I had cut from my son’s garden.

Here is a little tour of some of the NEWS exhibits.  First, the guild exhibits:

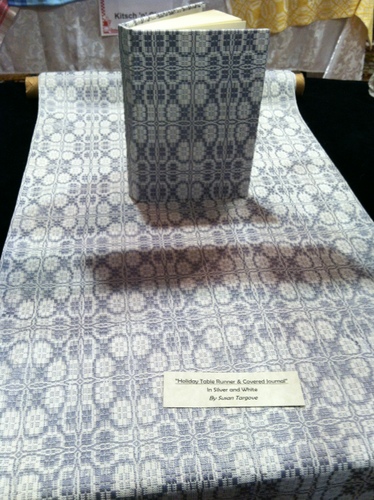
The Rhode Island Guild did an entire exhibit related to books.  The pieces on display were either inspired by literature or had to do with book making.

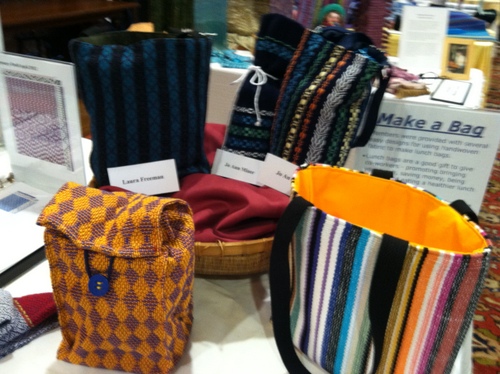
Sorry the focus is a bit off in this photo.  Still, I had to include it because it gave me such inspiration for making bags! Part of the Connecticut Guild’s display was a handbag making project that one of the area groups had completed

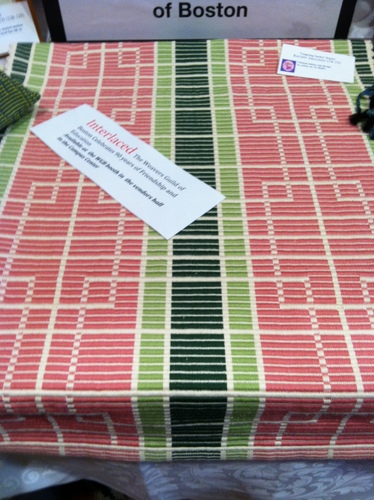
The Boston Guild has published a book of weaving patterns to celebrate their 75th anniversary.  Their exhibit showcased the projects from the book against a backdrop of pages from the book.  This may be my favorite project from the collection!  Certainly it will be the one I tackle first from this terrific book!

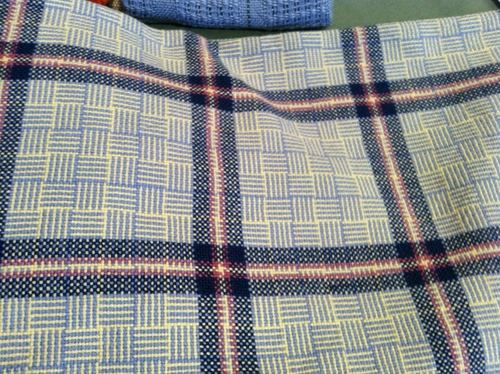
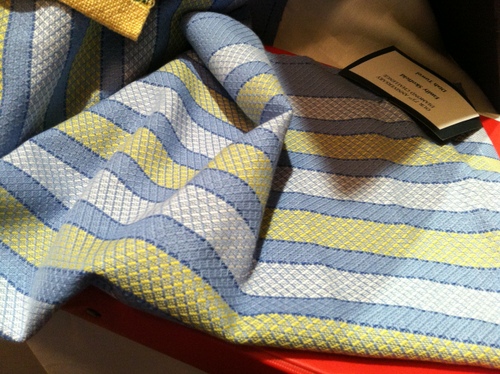
This is a stunning towel woven by my friend Emily from the New Hampshire guild.  Perfect color and structure choices!

I think there was a year’s worth of inspiration in the guild exhibits alone!

NEWS Cont’d, Margo Selby Address

I’m skipping to the end here to describe the keynote address given by Margo Selby on the final night of the NEWS Conference.  She is so young to have made such great strides in handweaving and in founding a commercial textile design business.  She is an enthusiastic speaker with a great deal of positive energy that emanates from her.

Her presentation was focused on the phrase she uses on her website (and is the title of the video that follows): “Beauty is the First Test.”  She does wonderful work with color and texture, and it was particularly compelling to me since I’d just spent the weekend in Sarah Saulson’s class creating cloth that would balance the colors of our painted warps with the various weave structures we had threaded on our looms.

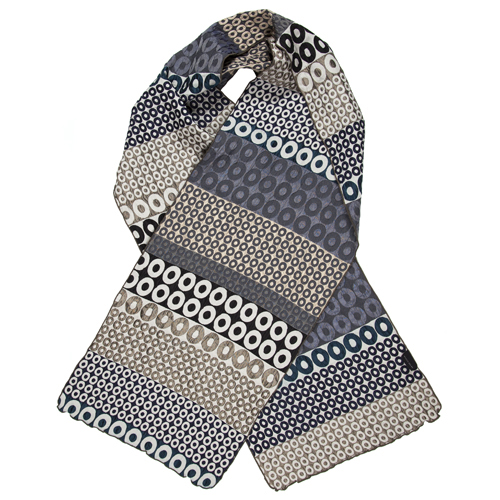
Margo brought lots of items from her commercial textile line: scarves and wraps, small zippered bags, and lovely jackets and tops, all made from her lively fabrics which have silk warps woven with synthetic wefts that create a stretchy, bouncy fabric.  I was completely enthralled with her use of color and stretch and texture and asked where I could find her line in the US, to which she replied that the very things on display were for sale!  It was hard to choose, but when I am in the presence of such beautiful textiles I cannot walk away empty handed….

Margo ended her talk with a video that included her and several other textile artists (and one woodworker). This video includes a bobbin lace maker!!… and how often do you see any attention given to lace makers? The take away message in this video is this: “There is no place in the world for ugly mathematics.”  Clearly, Margo’s motto that ‘beauty is the first test’ demonstrates what we all know, that the mathematic proportions of size, color relationships, use of texture and smoothness,  is the basis of beauty in everything made by hand.

NEWS Conference, in segments

My first NEWS Conference has come and gone.  It was a whirlwind!  There were some great moments and some not so great moments!

My class with Sarah Saulson was titled “Freedom of Expression: Painting Your Warp,” and this is a technique I dabbled with more than a decade ago in a workshop with Betty Vera.  I wondered what might be different about Sarah’s process.  Much was the same, of course, but the smallest alteration can make a huge difference in the final outcome, as well as in one’s ability and confidence to attempt a technique at home, without the safety of a teacher and a roomful of helpful students!  Betty’s class so was wonderful and memorable to me that I was thrilled to try this technique again, and Sarah’s instruction helped me gain the confidence I need to attempt this on my own.  It was a combination of doing the process for the second time and tweaking at the some of the small, but very important details of the technique!  I’m thrilled to try this again as soon as I weave off the warp from this project!

The Process:

Make a warp and dress the loom according to what your finished project will be.  In our case we have put on enough warp at 8″ wide to weave two scarves.  Our guidelines were scarf weight materials, such as 10/2 or 8/2 cotton or tencel, or anything of a similar weight that would produce a drape-y fabric suitable for a scarf.  I have plenty of unlabeled medium-fine silks in my stash so I chose one of those which I documented in my earlier post.  I set it at 30 epi since it seemed slightly finer than 10/2 cotton.

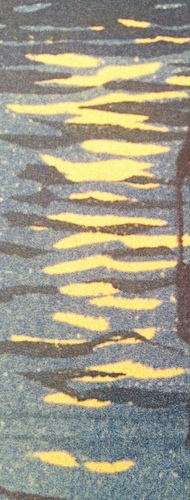
For my first painted scarf warp I chose this image as my inspiration….sunlight on water.  I planned to change the color way to be something representative of light on water in the Bahamas….more aquamarine and periwinkle blue than this image.
The process involves weaving in a stick as tightly as you can once your loom is dressed.
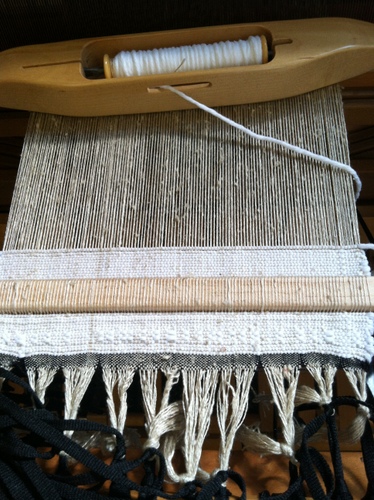
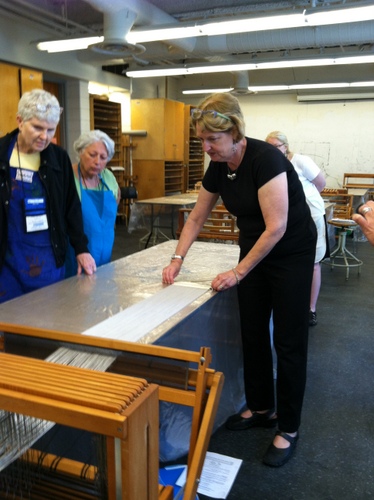
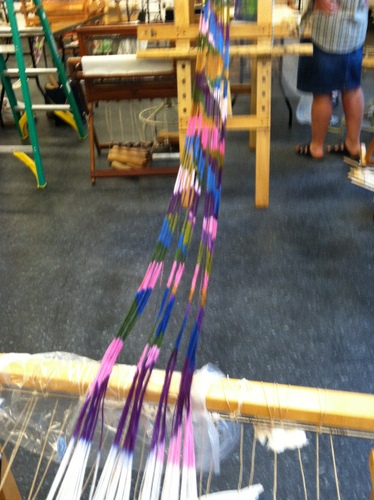
Next, we cut off the bit of weaving with stick from the front beam and used that stick to pull off one scarf’s worth of warp, which happened to be the same length as our painting tables which were covered with plastic drop cloth.  Here is Sarah demonstrating that you want your beater leaning against the breast beam, with your brake released,  as you use the woven-in stick to pull the warp off the front of the loom.   Notice the table has been covered with plastic.
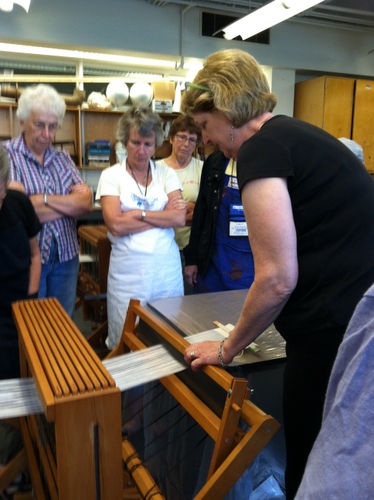
Once you have pulled your warp to the end of the table, you clamp the stick to the table and re-set the brake on your loom.  Then you crank down the tension on your loom so that the warp is stretched tautly from the back beam to the clamp at the other end of the table.  Ready for painting!

Mixing the dyes is no small feat!  This time around I found the process far less intimidating.  It’s still hard for me to get the colors that I have in my head, but of course that is going to take lots and lots of practice.  There is just no substitute for experience.  We were lucky to have Sarah’s guidance on mixing colors.  If you could name the color, she could help you get quite close to it.

So here is the beginning of my sunlight on water. As you can see from the photo, we mixed our dyes in little plastic cups and are using small foam brushes to paint. We are using Procion MX dyes which do not require heat, only a moist environment and time, to set.  MX dyes require mixing in water that has been enhanced with urea as a humectant.  We heavily spritzed our warps before starting to paint.
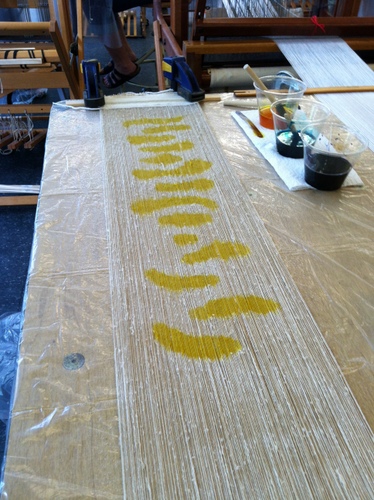
Into the final dye color combination in our little cups we added two very important ingredients!

1.  Dye activator, which only lasts about 4 hours, so we did not add that until we were absolutely ready to paint. Activator can be either soda ash or ProChem’s special powdered activator which is what we used.  I mixed up three colors I thought would get me started on this image, and I did not add activator until I had gotten all three colors to the hue and saturation that I wanted.

2.  The other ingredient is printer’s paste which thickens the dye solution enough to keep it from puddling and spreading as you paint shapes on your warp.

We were all a bit worried that the clock was ticking faster than we could paint when we added the activator, but Sarah was right when she assured us that painting would be the fastest part of this process.  We all got two scarves painted within the four hours of dye activation time.

The second color going on my warp
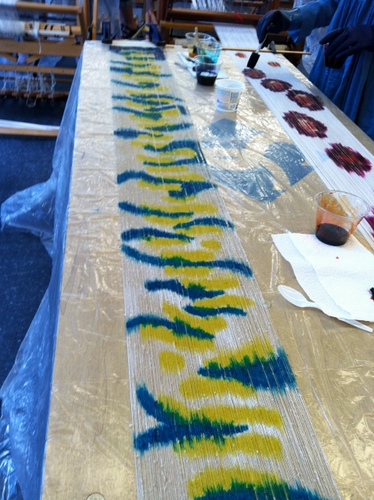
Fellow student (and Connecticut Guild member) busy painting her first scarf!
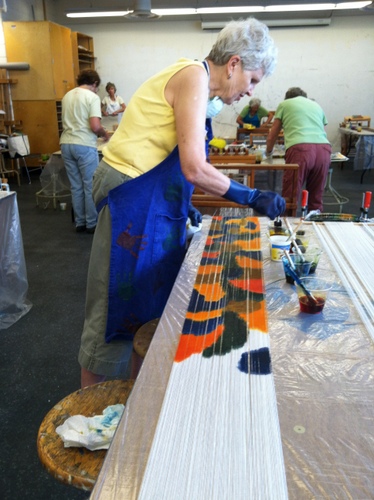
Connie Gray’s floral warp
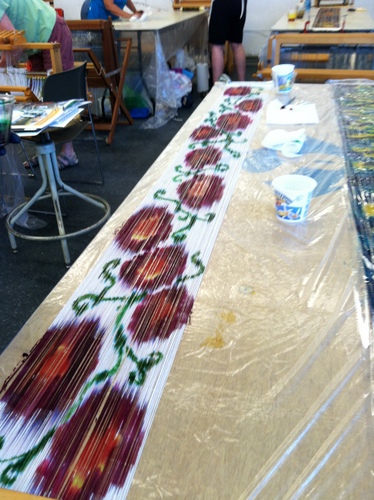
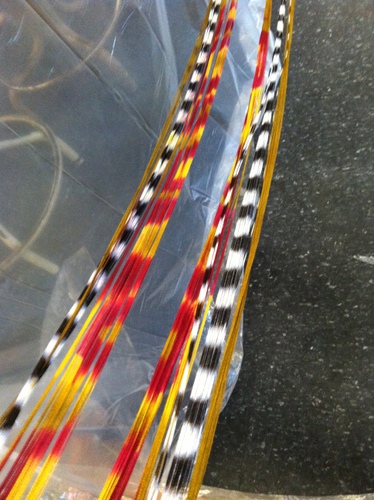
Sarah demonstrated how to roll up the first painted scarf and prepare for the second.  You cover your painted warp with a layer of plastic film, then using the stick, roll up the painted warp as tightly as possible.  The plastic separates the layers of warp from each other, and by rolling as straight as possible, the edges of the warp should not fall in on themselves.
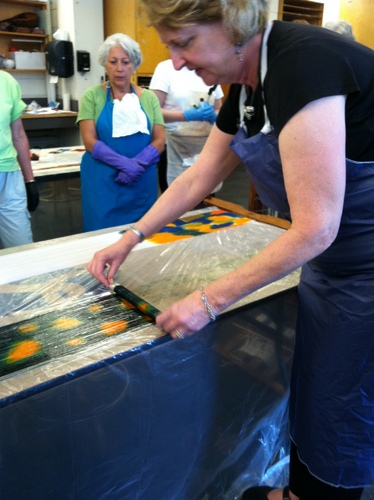
When you have rolled all the way back to the front of your loom, take some time to thoroughly clean the plastic draped table to get rid of all dye from your first painting session.  Then you release the brake on your loom, rest the beater against the breast beam, and begin pulling out the next scarf’s length of blank warp to paint.  When you have pulled out new warp to the extent of your painting table, clamp the sticks with the rolled up painted warp to the table, similarly to the first time. Time to start painting the second scarf!

When you have painted your last scarf, there is no need to roll it up.  Just cover with plastic and begin timing your 4-hour, dye-setting time.  The only exception to this is if you have used turquoise #410 which requires 12 hours to set.  Sarah did not bring that color since this class did not allow for such a long setting time.

Sarah and a few helpers came back to class about 9pm that evening to unwrap our warps from the plastic.  This is necessary because we planned to wind our warps back on first thing on the second day of class.  At this point there was no tension on the warps, and this was the moment I had dreaded!

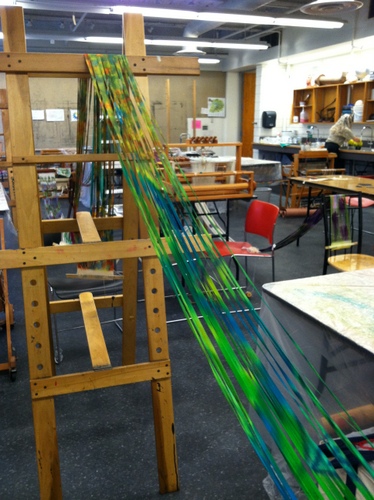
But what an explosion of color greeted us for the second day of this workshop!  Sarah had found as many easels as she could and had draped our warps on them! The warps came off the looms,  and up in the air onto the easels!
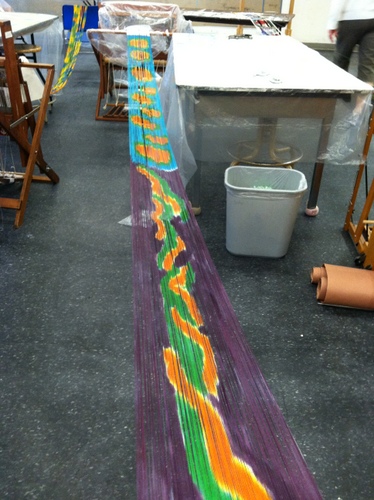
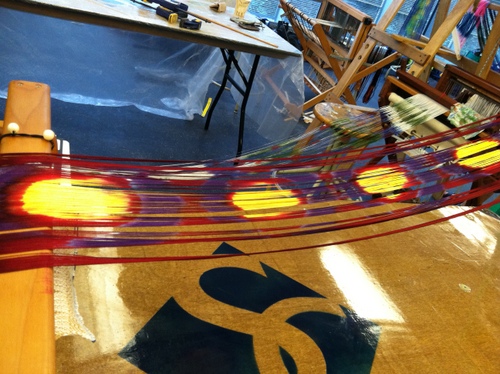
The morning began with rewinding our painted warps onto our looms.  This was the moment I dreaded.  I just did not believe that these warps, now lightly coated in dye, and now without tension, would wind on smoothly.  But they did.

Best tip ever: From Allan Fannin,  begin winding with absolutely no tension on your warp.  Wind only 2 revolutions of your crank, then stop and go to the front of the loom to grab your warp.  Make a smooth hard tug on the loose warp that extends at the front of your loom to tighten down the warp you have just wound on.  Go back and wind on two more revolutions and then go tighten the warp again from the front of the loom.  Repeat this process until the entire warp is back on the loom.  It was a dream to beam this way!

Second Best Tip Ever, which works like a charm on a Baby Wolf (you’ll have to try it yourself on other types of portable floor looms):  when you are ready to tie up your treadles, tip the front of your loom forward and rest it on a chair or weaving bench.  Go the back of the loom and see if the treadles are now at easy an easy to reach height for you to stand or sit in a chair to work with them.  Do you tie ups from this comfortable position!  This gem of advice was given to me by Emily who learned it from someone else.

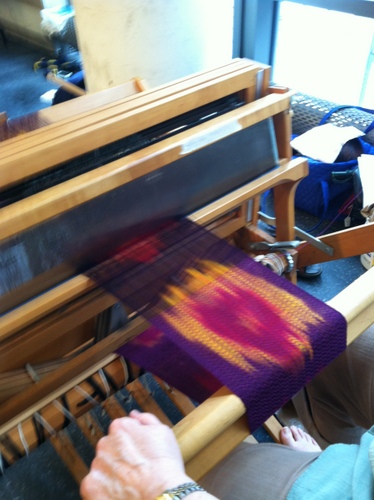
The second day of the class was experimenting with weft color and weave structure.   There were amazing changes in our painted warps due to the weft colors we chose and whether we wove with some simple or complex structure.  My loom was threaded with an 8-shaft advancing twill.  I had the option of weaving it in a straight twill treadling, or point twill, or a very long repeat of advancing twill.  I also had the option to weave plain weave.  So I experiemented with all those possibilities as well as weft color.  I tried yellow, hoping to bring out the sunlight areas of my painted warp, but as I expected, a yellow weft was too garish.  I then chose four different watery colors ranging from medium aqua to emerald green, to a deep periwinkle…..all colors I remember vividly from my Bahamian winter.  In the long run the medium aqua won.  It was in the mid range of the colors used in my warp, and it worked well with all the warp colors without dominating or drowning out any of the other colors.  It also worked well with the structure.  The color I liked almost as much was a purple weft.  The drawback to purple was that suddenly the advancing twill structure was more obvious than the painted warp.  It’s a delicate balance between the two and the aqua did it best!
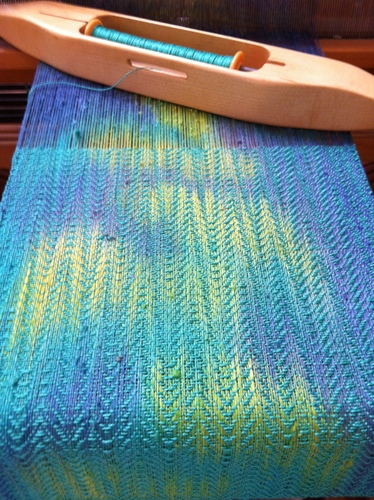
Some people found that plain weave worked best on their warps, so in spite of having threaded more complicated patterns and having tied up their treadles for some interesting weaving, they really had to make peace with plain weave.  It was a dramatic choice for some of the warps.  Most of us felt that if the warps that were painted with fairly realistic images, in our case mostly floral type painting, plain weave was the best choice.

Here are some examples.  The choice of weft here does a great job at subduing the strong colors of the dye.  The twill structure on this warp just did not work, but plain weave is stunning!
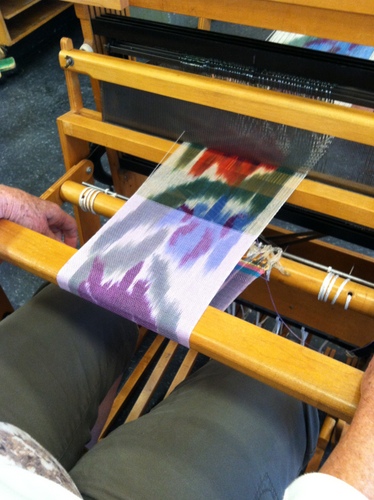
While this is also a large floral looking image, it is not quite as realistic and her choice of twill looks wonderful on this warp!
 

Putting Inspiration to Use

Today I am working on the warping assignment for my upcoming class at NEWS (New England Weavers’ Seminar).  The class is called “Freedom of Expression,” and it will be taught by Sarah Saulson from Syracuse, NY.

Here is the class description from the NEWS catalogue:
In this dyeing and weaving workshop, we will have lots of spontaneous fun painting warps with fiber reactive dyes, after the loom is warped. This wonderful technique allows weavers to work with color and pattern in a loose, free, expressive way, creating large-scale abstract forms and opens the door to a variety of surface pattern techniques, including stamping and stenciling. We will paint enough warp to explore the possibilities of the technique, and for a scarf. We will learn how to mix our own colors working from primary colors/hues.”

The class materials include bringing an image to serve as the cartoon, or at least as the inspiration, for our warp painting.  I am having trouble narrowing down my images to one or two.

I have been taking lots of photos of my garden recently, but I would NEVER think roses should be my design inspiration.  All that pink and green would surely set my teeth on edge….far too cloyingly sweet for a  handwoven fabric! Then I happened to see this fabric on Cally Booker’s blog.  Just goes to show that I should never say ‘never.’

Here are some of the images that I may try to explore in dyeing a warp.

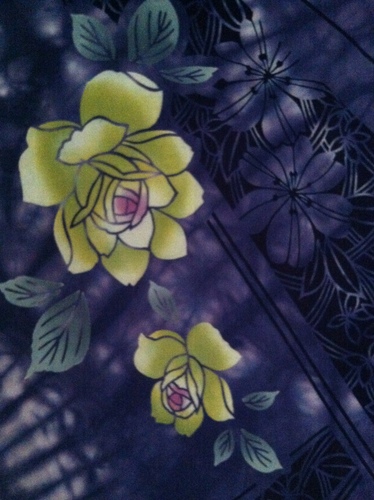
A Kasuri dyed panel that I’ve had for years

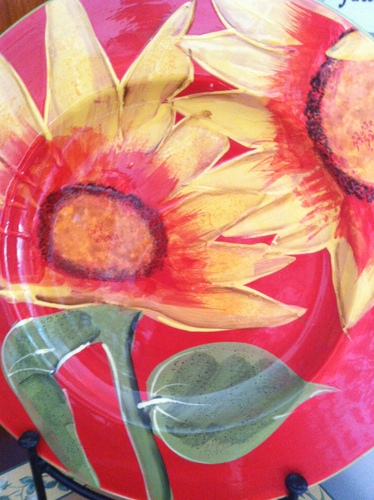
A large painted plate

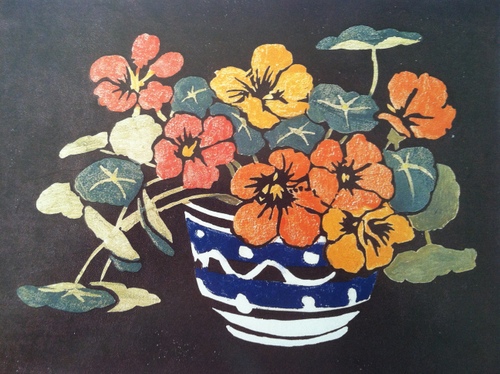
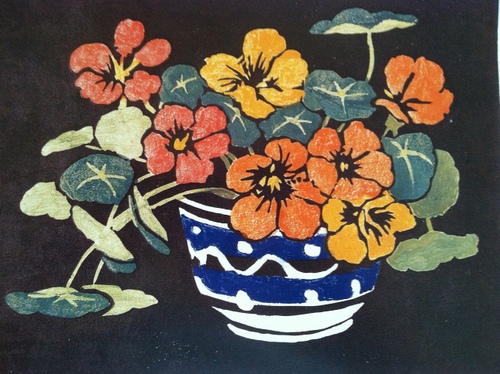
Several wood block prints, including the nasturtiums I’ve been playing around with for a tapestry design

It might be quite nice to have bright blue and dull blue/green mixed with saturated oranges and golds.  But what would I use for weft??

The purples, greens and golds in this image really appeal to me.


Clearly, I’m intrigued with the possibility of combining blues with a range of orange/golds.

My warp is a natural colored silk from my stash.  It is has a beautiful sheen and a slight slub, and it is somewhat finer that 20/2 silk.  I am hoping that 30 epi will be a good sett for it.  If not, well….. I may have an unfortunate experience. There is not time to sample!….and I realize that is a BIG risk.

I was not able to get good lighting in my studio when I took this photo.  The silk is not this golden.

I am taking a break at the half way point in making the warp.  Now I can get back to it.

Summer Solstice

When inspiration strikes it bombards us in many forms and from any direction. …

The past couple of weeks have been full of inspiration for me, starting with the beautiful full moon on the summer solstice, which rose just shortly after dark.  It may not have been quite as amazing as this moonrise, but almost.


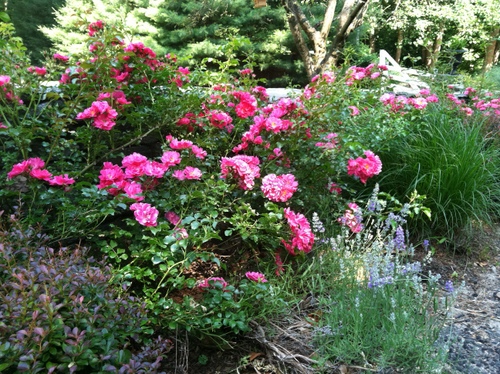
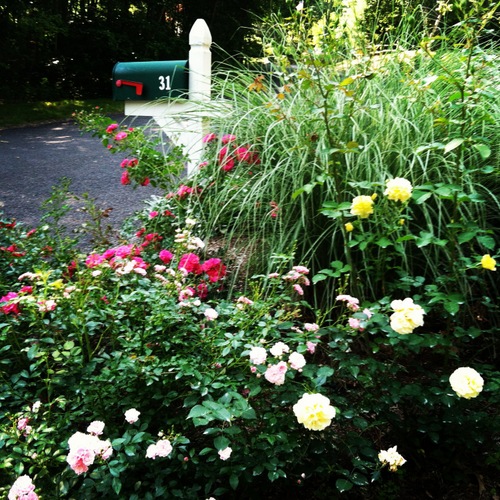
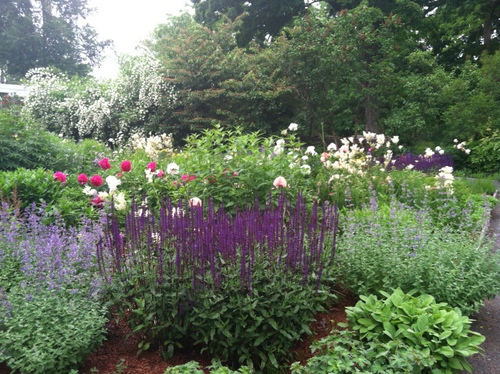
The heat is on now and my garden is flourishing. My roses are at their peak…the subtly changing colors as the light shifts through the day keeps delighting me and distracting me from weaving! There are green tomatoes and plenty of nasturtiums to stuff with cream cheese and herbs or to garnish salads.  These are the salad days.

I was on hold this morning with customer service for a publication and the ‘muzak’ was classical piano.  I think I was listening to Brahms….a piece that is so famous, if only I could remember what it is.  It is haunting me with its beautiful melody, and I don’t know how to identify it…

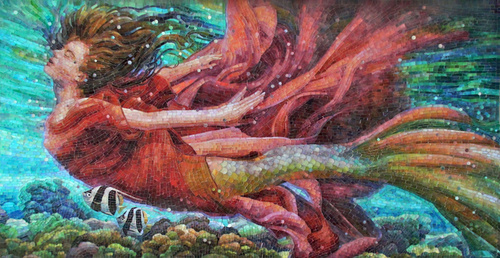
Also this morning a friend of mine shared some links to the works of contemporary mosaicists. Wow!  For years I’ve had my mind on a couple of mosaics from classical Rome with some ideas brewing for interpreting them into tapestry.  These newer works are off the charts!  If mosaics inspire you, take a look at Mia Tavonatti.  Her work gets my pulse racing…

So today I have been working on my last pear hoping I can finish and move on to more exciting projects.

I Love a Parade!!

Gosh!  I can hear Ethel Merman singing this song, and it’s not a good thing to have stuck in my head!  Still, who doesn’t love a parade?

Is all of New England like this?  I just can’t believe how many parades there are up in this area and how enthusiastic everyone is about them!  It sure makes me happy.  So, this is how Bob and I spent a perfect Saturday in June.

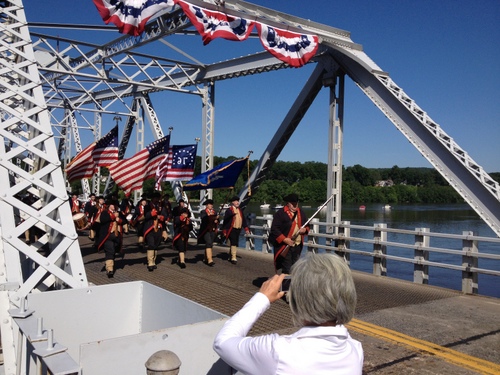
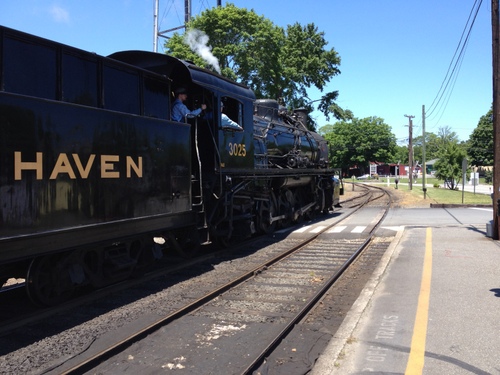
It started with a ride on the Essex steam train, which took us up to Haddam for the start of the Haddam Bridge Centennial parade!

I’ve never seen a parade come across a bridge!  It was great fun!  I’ve now seen the Moodus Fife and Drum Corps at numerous parades in this area.  They are terrific!…and they have a wide range of ages in the group, from what looks like high school students to retirees! ….men and women!

Next over the bridge was the oldest car in the area.  This looks like a horse drawn carriage that was fitted with some kind of motor and a tiller for steering.  There were about 30 antique cars in this parade, and they were all beautiful!

There was a ceremonial opening of the bridge, and isn’t it pretty with its fresh coat of paint?

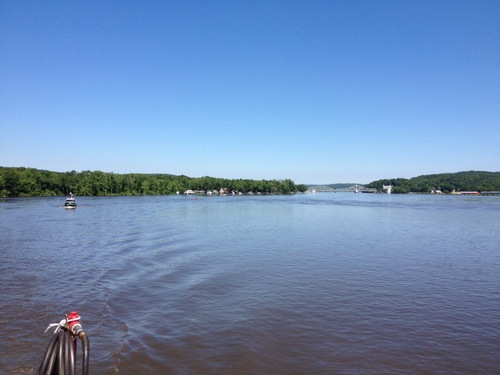
When this bridge was built in 1913, it had one of the longest opening spans.  On this June day in 2013, the river was very swollen with spring rains and the current was running hard.  The local ferry at Chester was not running due to the high waters.  The dock was under water, and the river currents were ripping by at more than 5 knots!

There were festivities all through the town of East Haddam, and we spent some time enjoying the views of the river and the Goodspeed Opera House, which is celebrating its 50th year.  This is a postcard New England town, and when it’s decorated for a celebration it is just breathtaking!

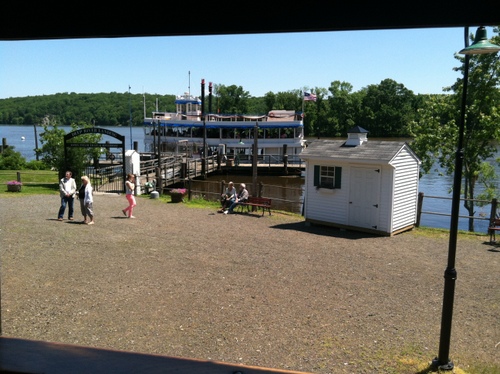
We crossed the river and boarded the Becky Thatcher steamboat for the second half of this great trip.

It’s hard to believe that the banks of the Connecticut River are still so rural and undeveloped.  In our area the river passes through hills called the Seven Sisters.  At the summit of the Seventh Sister is Gillette Castle, an eccentric dwelling built in 1853, by the actor William Gillette who played the role of Sherlock Holmes on stage for many years.

On the western shore on top of another hill in Deep River, is the Mount St. John school for boys.

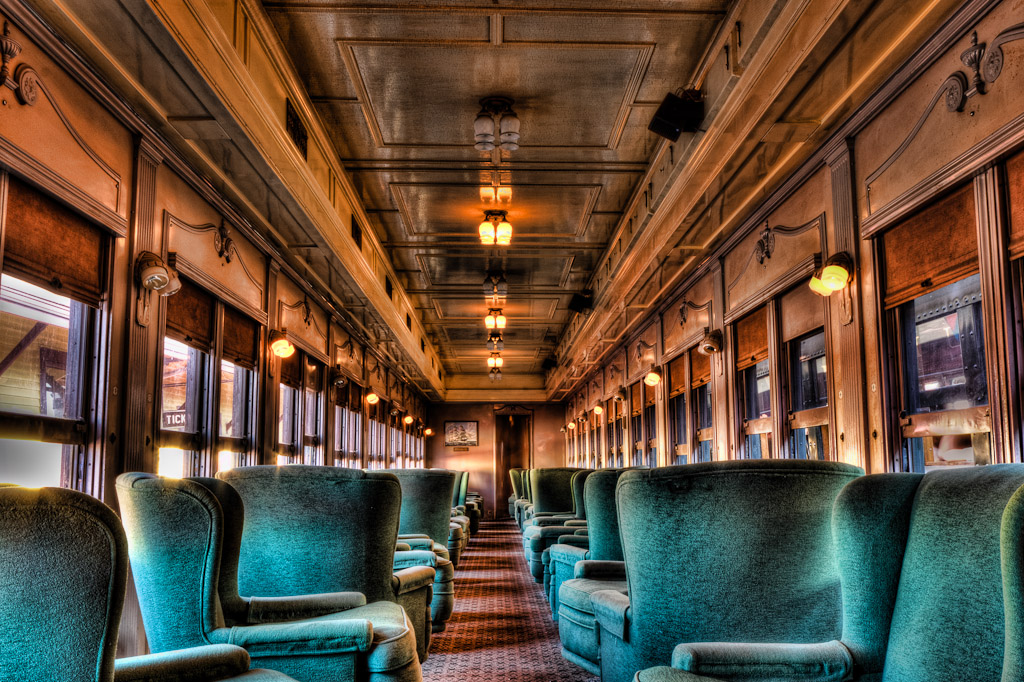
In Deep River we got back on the steam train for our return to Essex.  I loved sitting in the parlour car with comfy swiveling wing chairs!  I didn’t want to leave!

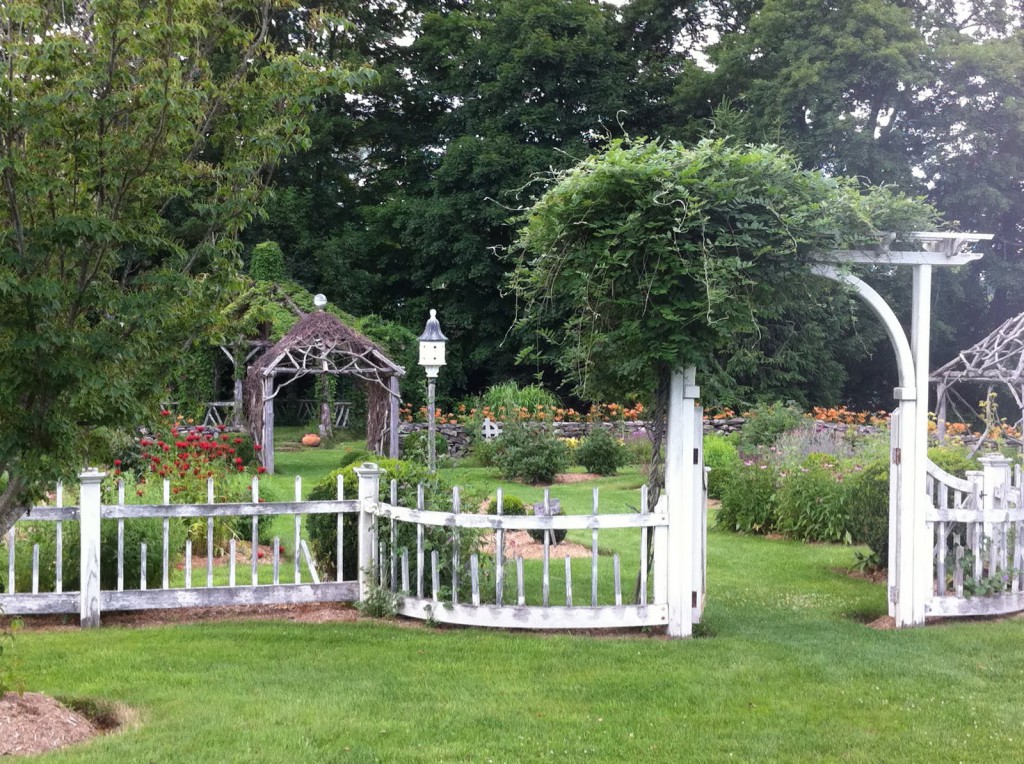
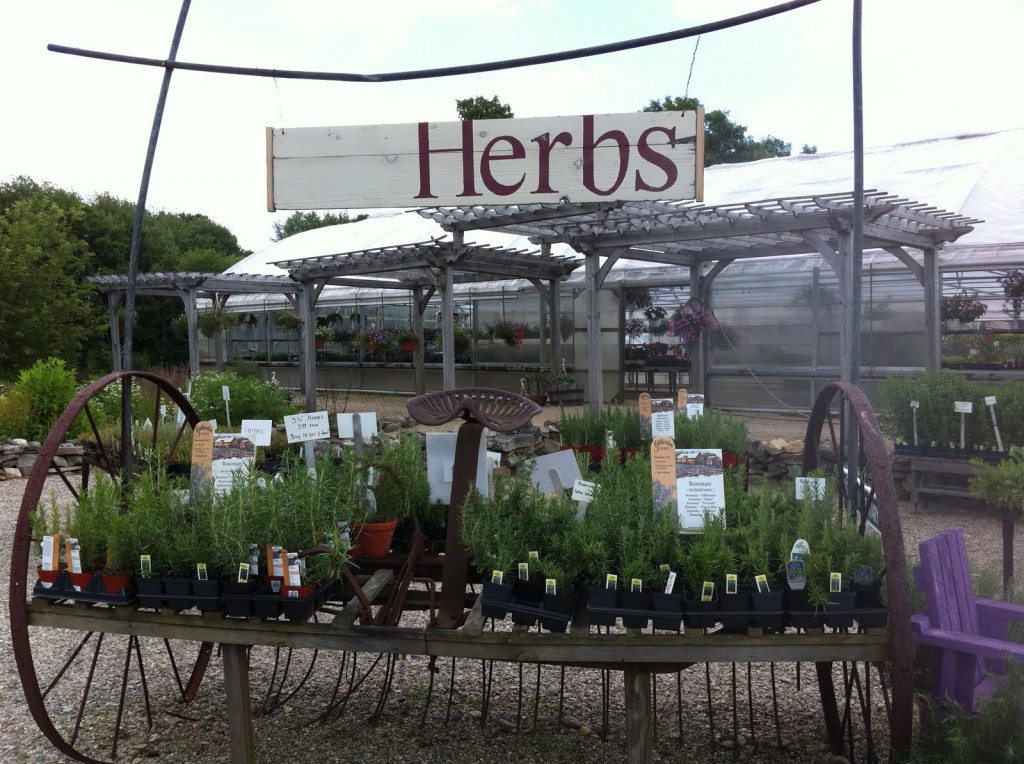
….and this was just the first half of our beautiful Saturday in June.  We then drove across the Haddam Bridge on our own wheels to visit the Salem Herb Farm. 

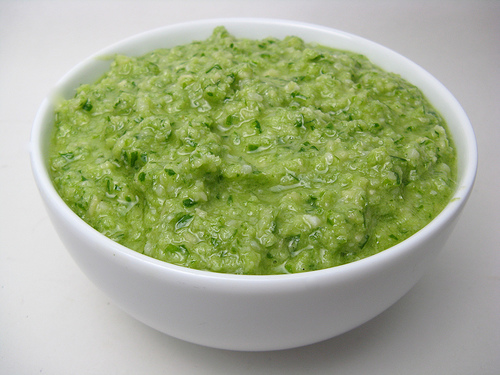
I met my friend Jody who works at the farm.  She grows a large field of garlic at her own home, and now is the time of year when she cuts the scapes in order for the plants to use their energy toward making bigger garlic bulbs.  The scapes are good used like chives, only with a powerful garlic flavor.  Jody loves using scapes to make pesto, substituting scapes for basil.  I thought that was a wonderful idea at a time of year when scapes are plentiful and basil is not quite yet!  So last night’s dinner was scape pesto on linguine with a salad of local lettuce and hothouse tomatoes….a delicious way to end a beautiful weekend!

In Full Swing

Everything seems in full swing now…. I am making progress on projects I missed all fall and winter, and at last (!!) I’ve connected with the interest groups in my new area: weavers, knitters, dyers, and lace makers!  It’s all very exciting and inspiring to me.

Earlier this week I met my oldest friend at the Lyme Art Association while she was dropping of her sculpture “Daughter” that will be on display as part of the upcoming exhibit by the Hudson Valley Art Association. Right nearby was a bronze bust of Robert Frost done by Jose Bascaglia. Exciting works! My friend also has a piece in the National Sculpture Society’s exhibit that is traveling this summer (Lea Ann’s piece is “Virga,” the first image on the page).

It was a soft green drizzly day , and LeaAnn and I decided to walk through the grounds of the Florence Griswold Museum where the gardens were in soft focus.

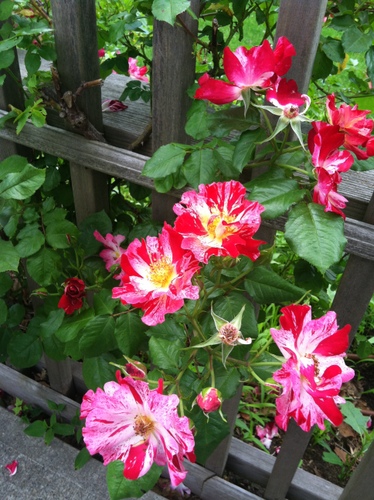
On my daily walks I pass a certain fence that is about 100 feet long and bedecked in this lovely candy striped rose.

Later in the summer this same fence will serve as support for about a million sunflowers.  The sunflower seedlings are already up!  And to add to the ambience there is a huge lawn just beyond this fence border that is home to a beautiful yellow barn and two Weimaraners who are often out frolicking on the lawn.  There is always something beautiful to see at this spot along my walk!
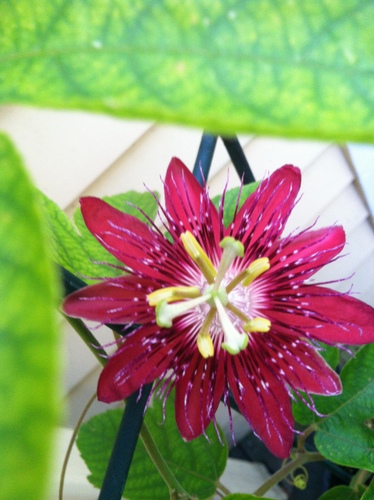
And in my own garden this summer I have a passion flower vine growing in a pot.  The first flower opened this morning!

Surrounded by so many flowers, it’s no wonder I’m thinking about them for my next tapestry.  I am halfway through the final pear in my ‘Trail of Pears,’ so I’ve been designing the next tapestry.  I’m intrigued by a still life based on a woodcut of nasturtiums in a bowl.

I am enjoying taking this pot of nasturtiums and putting it into an environment….perhaps with a window behind and some curtains, the edge of a table…. we’ll see.

Mid-Spring

Is there anything with as much promise as mid-spring?  My gardens, my projects, my whole world is all hope and possibility.

I’ve completed pear #4 in my ‘Trail of Pears.’  Each pear has brought  harder color decisions, and #4 caused me to call on the advice of both my husband and younger son.  I had every shade of gold in my yarn palette out and none of them worked.  Chris helped me let go of my preconceived notion that the pear had to be in the yellow family.  That pear is a tan that I would never have considered if not for Chris. Now it’s finished and soon the background around pear #5 (the final pear) will be finished as well, which will mean making the final pear color choice.  I plan to be at my Wednesday Group class next week so I can get some input from all the weavers there.  Whew!

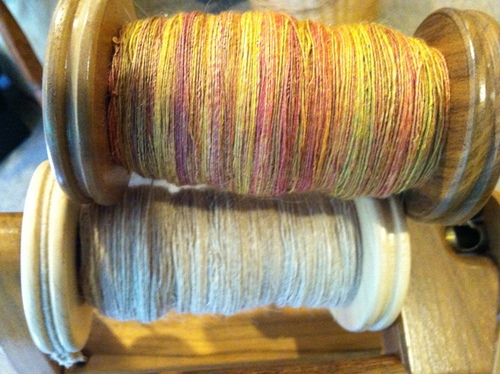
When I’m not weaving the pears I’ve been spinning some silk.  Does anyone remember Carol Weymar who called herself the silk worker. I can’t find her anymore! I used to buy her handpainted silk roving, so I have a little collection of them.  I always wanted a bit more than 2 ounces from her, but she never had more than that of any given painted way.  I took this as a challenge to me to learn to spin finer, hoping to get 1,000 yards out of that 2 oz.  Well, I still can’t do it!

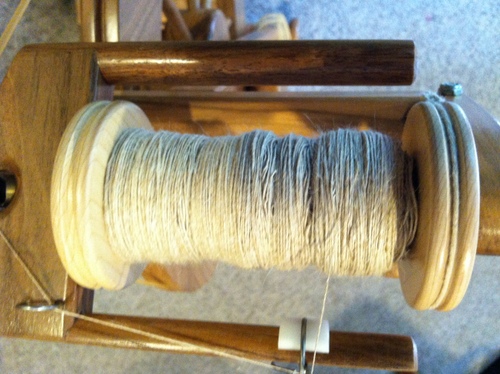
So, to the latest colorway which I will call ‘mid-spring’ (all the colors of a spring garden, except blue) I am adding a strand of luscious 50/50 merino/silk.  The merino is a warm natural color, something I might call ‘almond,’ and the silk is a shimmering white.  Spun together I’m getting a lovely shade of cream and I hope it will be stunning plied with the 100% painted silk from Carol.  I’d like to start plying right now, but I will force myself to let the newly finished merino/silk set overnight.  Boy, I can’t wait for tomorrow!

It’s 90 degrees outside today, one of those abnormally hot spring days we sometimes have.  My basement studio is a cool respite on a day like this, and the view cool and green.

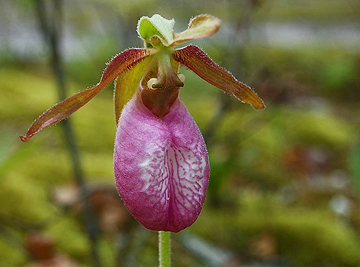
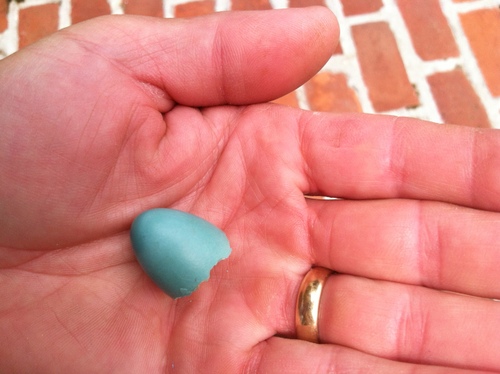
Have I mentioned that I live on the edge of a large nature preserve? May offers up so many beautiful sights there…. lady slippers are in bloom and we found a robin’s egg on the ground! There are dragon flies everywhere, and the hummingbirds arrived.  I’ve seen eagles soaring above our house.

 Yes, it’s all hope and promise around here.


Perfect May

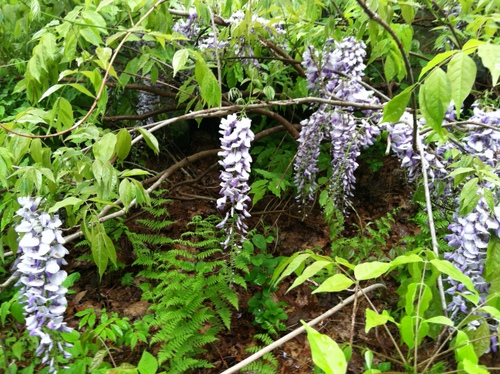
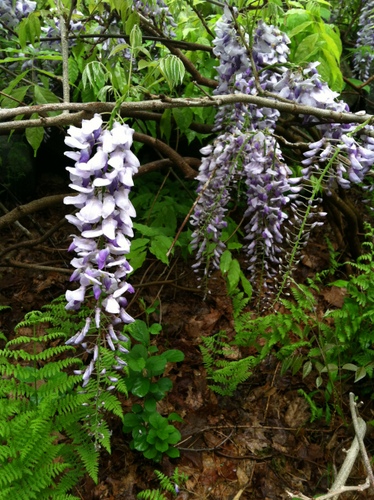
This wisteria vine is growing along the walk I take most days.  This and the azaleas and the spring green of unfurling ferns are what lures me outside each day.

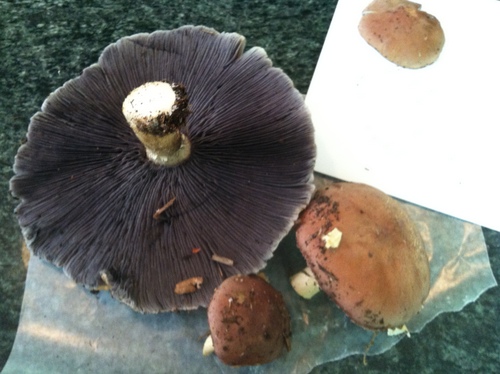
I will enjoy playing with these two images for a tapestry cartoon, even if I never actually weave them.  Back at home I discovered a few mushrooms from the recent damp weather.  I’ve cut them and brought them in for identification.

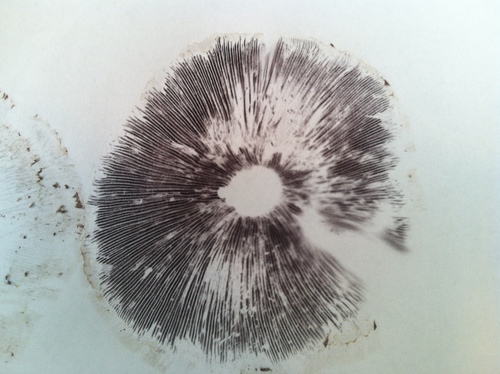
I think they are Agaricus arvensis which are very common gilled mushrooms.  Part of identifying a mushroom involves getting a gill print on white paper (or black paper if the gill print is white). This gill print is a deep grey tinged with purple, very similar to the color of the gills themselves as you can see in the photo above.

This mushroom mostly gives tan, beige and grey in the dyebath; not too exciting since wool naturally comes in those colors.  But if I mordant with tin (and yes, I do have that) I might get a golden brown.  I’ve got 12 oz. of mushrooms, so it is a bit tempting…. and I actually remember where my dye pots are!

And there is news of Bob today.  The wind continues quite favorable for sailing, and he is now in the Gulf Stream so that current is pushing Pandora to speeds over 10 knots.  He is WAY offshore, but roughly the same latitude as the southern part of Georgia.  That’s a lot of ground covered in 48 hours.

Getting Reacquainted with Bobbin Lace

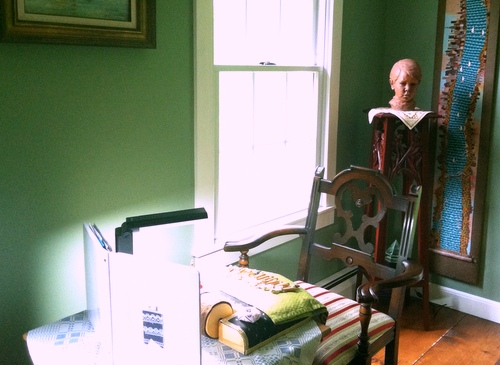
It’s a drizzly Sunday, perfectly May weather, and I have set up my bobbin lace table in an east-facing window.

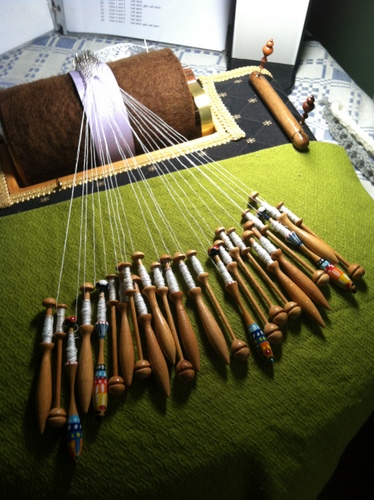
In this spot in my living room I have morning sun coming in over my shoulder.  I am quite lost at the corner of my most recent handkerchief border, so I decided to revisit a pillow with an older project on it.  It is a straight lace that I used on my linen top last summer. It only has 12 bobbins and has a sewing edge,  central spider, and scallop edge.

A great way to spend a Sunday morning!  I’ve heard from Bob via sideband radio that he has been able to sail at 7 knots for the past 24 hours.  He is now off the coast of northern Florida, east of the Gulf Stream, about 150 miles north of the Abacos.  If this kind of favorable wind keeps up he’ll be arriving home in one week!