My first NEWS Conference has come and gone. It was a whirlwind! There were some great moments and some not so great moments!
My class with Sarah Saulson was titled “Freedom of Expression: Painting Your Warp,” and this is a technique I dabbled with more than a decade ago in a workshop with Betty Vera. I wondered what might be different about Sarah’s process. Much was the same, of course, but the smallest alteration can make a huge difference in the final outcome, as well as in one’s ability and confidence to attempt a technique at home, without the safety of a teacher and a roomful of helpful students! Betty’s class so was wonderful and memorable to me that I was thrilled to try this technique again, and Sarah’s instruction helped me gain the confidence I need to attempt this on my own. It was a combination of doing the process for the second time and tweaking at the some of the small, but very important details of the technique! I’m thrilled to try this again as soon as I weave off the warp from this project!
The Process:
Make a warp and dress the loom according to what your finished project will be. In our case we have put on enough warp at 8″ wide to weave two scarves. Our guidelines were scarf weight materials, such as 10/2 or 8/2 cotton or tencel, or anything of a similar weight that would produce a drape-y fabric suitable for a scarf. I have plenty of unlabeled medium-fine silks in my stash so I chose one of those which I documented in my earlier post. I set it at 30 epi since it seemed slightly finer than 10/2 cotton.
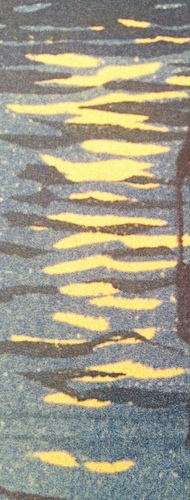
For my first painted scarf warp I chose this image as my inspiration….sunlight on water. I planned to change the color way to be something representative of light on water in the Bahamas….more aquamarine and periwinkle blue than this image.
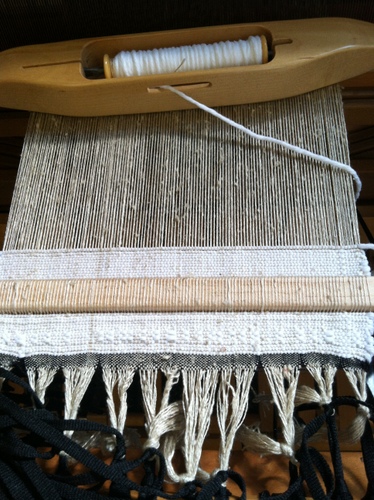
The process involves weaving in a stick as tightly as you can once your loom is dressed.
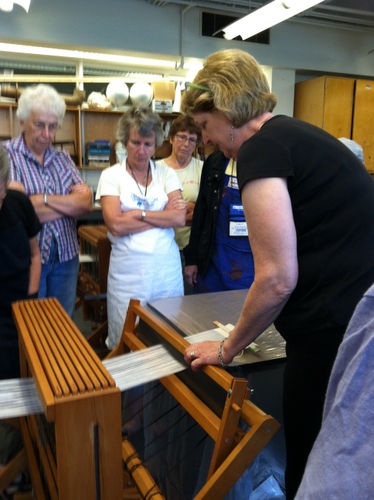
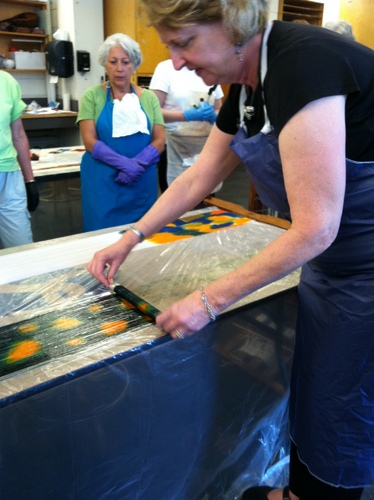
Next, we cut off the bit of weaving with stick from the front beam and used that stick to pull off one scarf’s worth of warp, which happened to be the same length as our painting tables which were covered with plastic drop cloth. Here is Sarah demonstrating that you want your beater leaning against the breast beam, with your brake released, as you use the woven-in stick to pull the warp off the front of the loom. Notice the table has been covered with plastic.
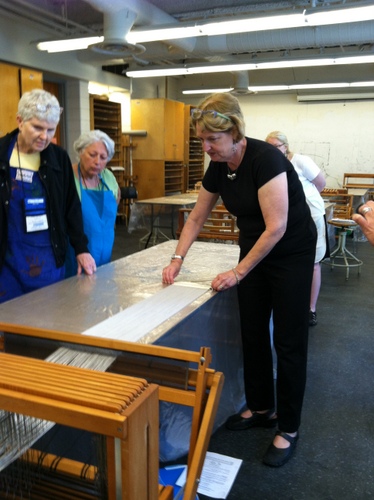
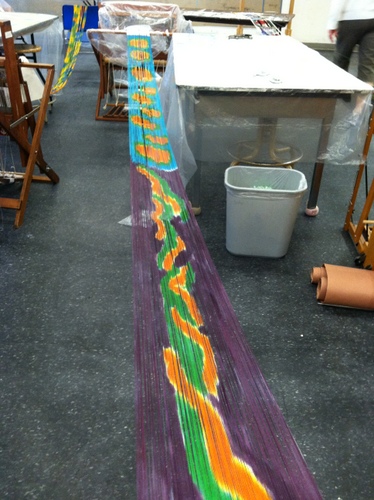
Once you have pulled your warp to the end of the table, you clamp the stick to the table and re-set the brake on your loom. Then you crank down the tension on your loom so that the warp is stretched tautly from the back beam to the clamp at the other end of the table. Ready for painting!
Mixing the dyes is no small feat! This time around I found the process far less intimidating. It’s still hard for me to get the colors that I have in my head, but of course that is going to take lots and lots of practice. There is just no substitute for experience. We were lucky to have Sarah’s guidance on mixing colors. If you could name the color, she could help you get quite close to it.
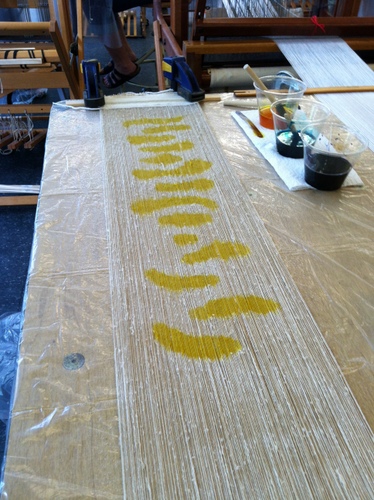
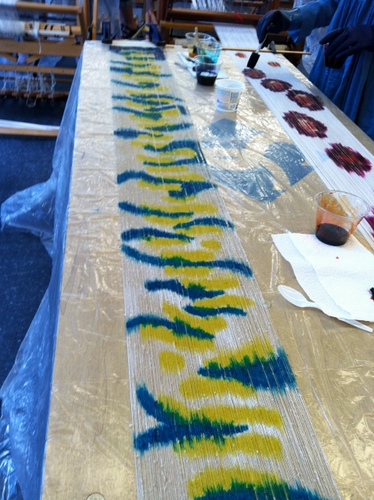
So here is the beginning of my sunlight on water. As you can see from the photo, we mixed our dyes in little plastic cups and are using small foam brushes to paint. We are using Procion MX dyes which do not require heat, only a moist environment and time, to set. MX dyes require mixing in water that has been enhanced with urea as a humectant. We heavily spritzed our warps before starting to paint.
Into the final dye color combination in our little cups we added two very important ingredients!
1. Dye activator, which only lasts about 4 hours, so we did not add that until we were absolutely ready to paint. Activator can be either soda ash or ProChem’s special powdered activator which is what we used. I mixed up three colors I thought would get me started on this image, and I did not add activator until I had gotten all three colors to the hue and saturation that I wanted.
2. The other ingredient is printer’s paste which thickens the dye solution enough to keep it from puddling and spreading as you paint shapes on your warp.
We were all a bit worried that the clock was ticking faster than we could paint when we added the activator, but Sarah was right when she assured us that painting would be the fastest part of this process. We all got two scarves painted within the four hours of dye activation time.
The second color going on my warp
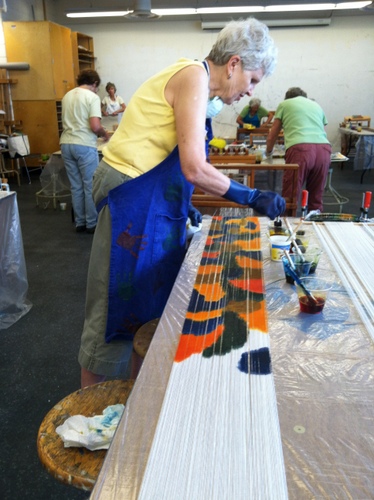
Fellow student (and Connecticut Guild member) busy painting her first scarf!
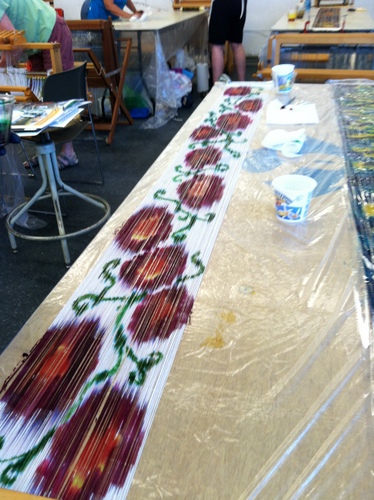
Connie Gray’s floral warp
Sarah demonstrated how to roll up the first painted scarf and prepare for the second. You cover your painted warp with a layer of plastic film, then using the stick, roll up the painted warp as tightly as possible. The plastic separates the layers of warp from each other, and by rolling as straight as possible, the edges of the warp should not fall in on themselves.
When you have rolled all the way back to the front of your loom, take some time to thoroughly clean the plastic draped table to get rid of all dye from your first painting session. Then you release the brake on your loom, rest the beater against the breast beam, and begin pulling out the next scarf’s length of blank warp to paint. When you have pulled out new warp to the extent of your painting table, clamp the sticks with the rolled up painted warp to the table, similarly to the first time. Time to start painting the second scarf!
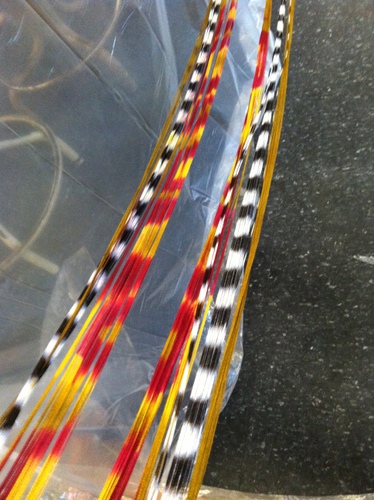
When you have painted your last scarf, there is no need to roll it up. Just cover with plastic and begin timing your 4-hour, dye-setting time. The only exception to this is if you have used turquoise #410 which requires 12 hours to set. Sarah did not bring that color since this class did not allow for such a long setting time.
Sarah and a few helpers came back to class about 9pm that evening to unwrap our warps from the plastic. This is necessary because we planned to wind our warps back on first thing on the second day of class. At this point there was no tension on the warps, and this was the moment I had dreaded!
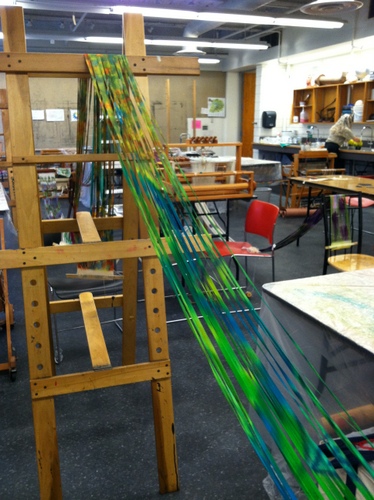
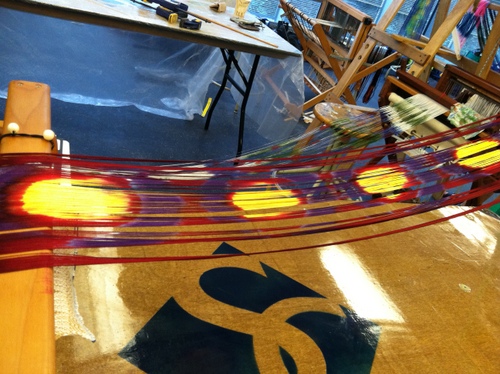
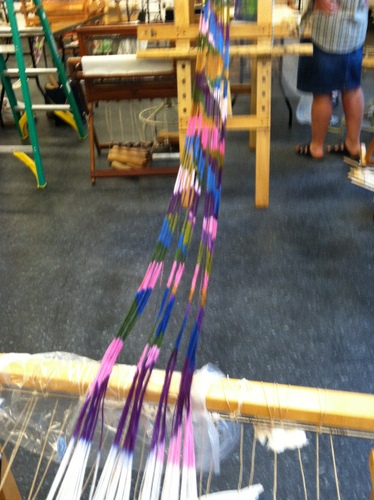
But what an explosion of color greeted us for the second day of this workshop! Sarah had found as many easels as she could and had draped our warps on them! The warps came off the looms, and up in the air onto the easels!
The morning began with rewinding our painted warps onto our looms. This was the moment I dreaded. I just did not believe that these warps, now lightly coated in dye, and now without tension, would wind on smoothly. But they did.
Best tip ever: From Allan Fannin, begin winding with absolutely no tension on your warp. Wind only 2 revolutions of your crank, then stop and go to the front of the loom to grab your warp. Make a smooth hard tug on the loose warp that extends at the front of your loom to tighten down the warp you have just wound on. Go back and wind on two more revolutions and then go tighten the warp again from the front of the loom. Repeat this process until the entire warp is back on the loom. It was a dream to beam this way!
Second Best Tip Ever, which works like a charm on a Baby Wolf (you’ll have to try it yourself on other types of portable floor looms): when you are ready to tie up your treadles, tip the front of your loom forward and rest it on a chair or weaving bench. Go the back of the loom and see if the treadles are now at easy an easy to reach height for you to stand or sit in a chair to work with them. Do you tie ups from this comfortable position! This gem of advice was given to me by Emily who learned it from someone else.
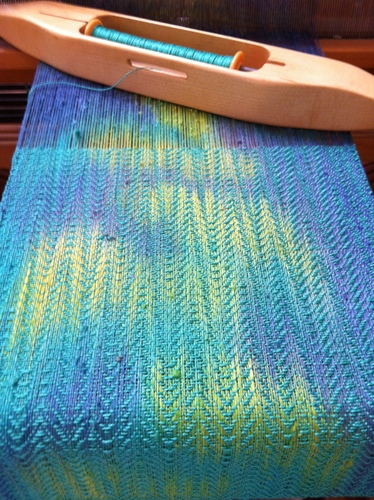
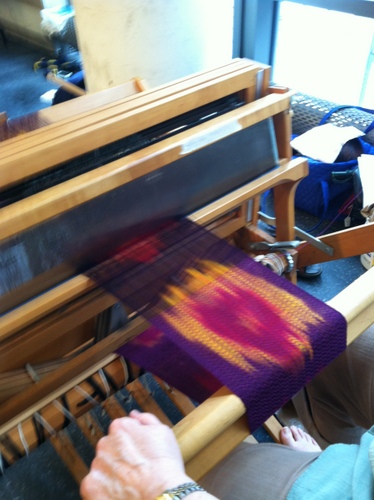
The second day of the class was experimenting with weft color and weave structure. There were amazing changes in our painted warps due to the weft colors we chose and whether we wove with some simple or complex structure. My loom was threaded with an 8-shaft advancing twill. I had the option of weaving it in a straight twill treadling, or point twill, or a very long repeat of advancing twill. I also had the option to weave plain weave. So I experiemented with all those possibilities as well as weft color. I tried yellow, hoping to bring out the sunlight areas of my painted warp, but as I expected, a yellow weft was too garish. I then chose four different watery colors ranging from medium aqua to emerald green, to a deep periwinkle…..all colors I remember vividly from my Bahamian winter. In the long run the medium aqua won. It was in the mid range of the colors used in my warp, and it worked well with all the warp colors without dominating or drowning out any of the other colors. It also worked well with the structure. The color I liked almost as much was a purple weft. The drawback to purple was that suddenly the advancing twill structure was more obvious than the painted warp. It’s a delicate balance between the two and the aqua did it best!
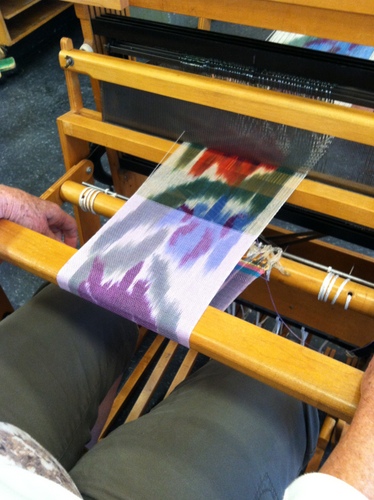
Some people found that plain weave worked best on their warps, so in spite of having threaded more complicated patterns and having tied up their treadles for some interesting weaving, they really had to make peace with plain weave. It was a dramatic choice for some of the warps. Most of us felt that if the warps that were painted with fairly realistic images, in our case mostly floral type painting, plain weave was the best choice.
Here are some examples. The choice of weft here does a great job at subduing the strong colors of the dye. The twill structure on this warp just did not work, but plain weave is stunning!
While this is also a large floral looking image, it is not quite as realistic and her choice of twill looks wonderful on this warp!

Love it! Can’t believe the warp just rolled back on. I can’t wait to see the finished products.
Pingback: NEWS Cont’d, Margo Selby Address | ArgoKnot