Weaving and Dreaming
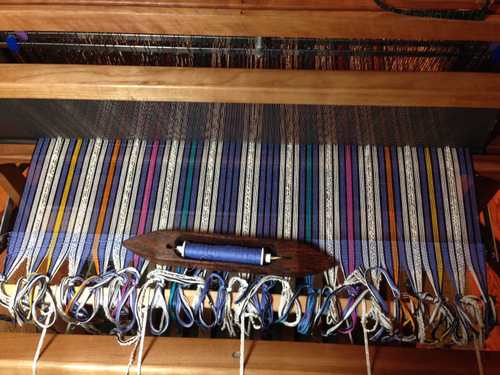
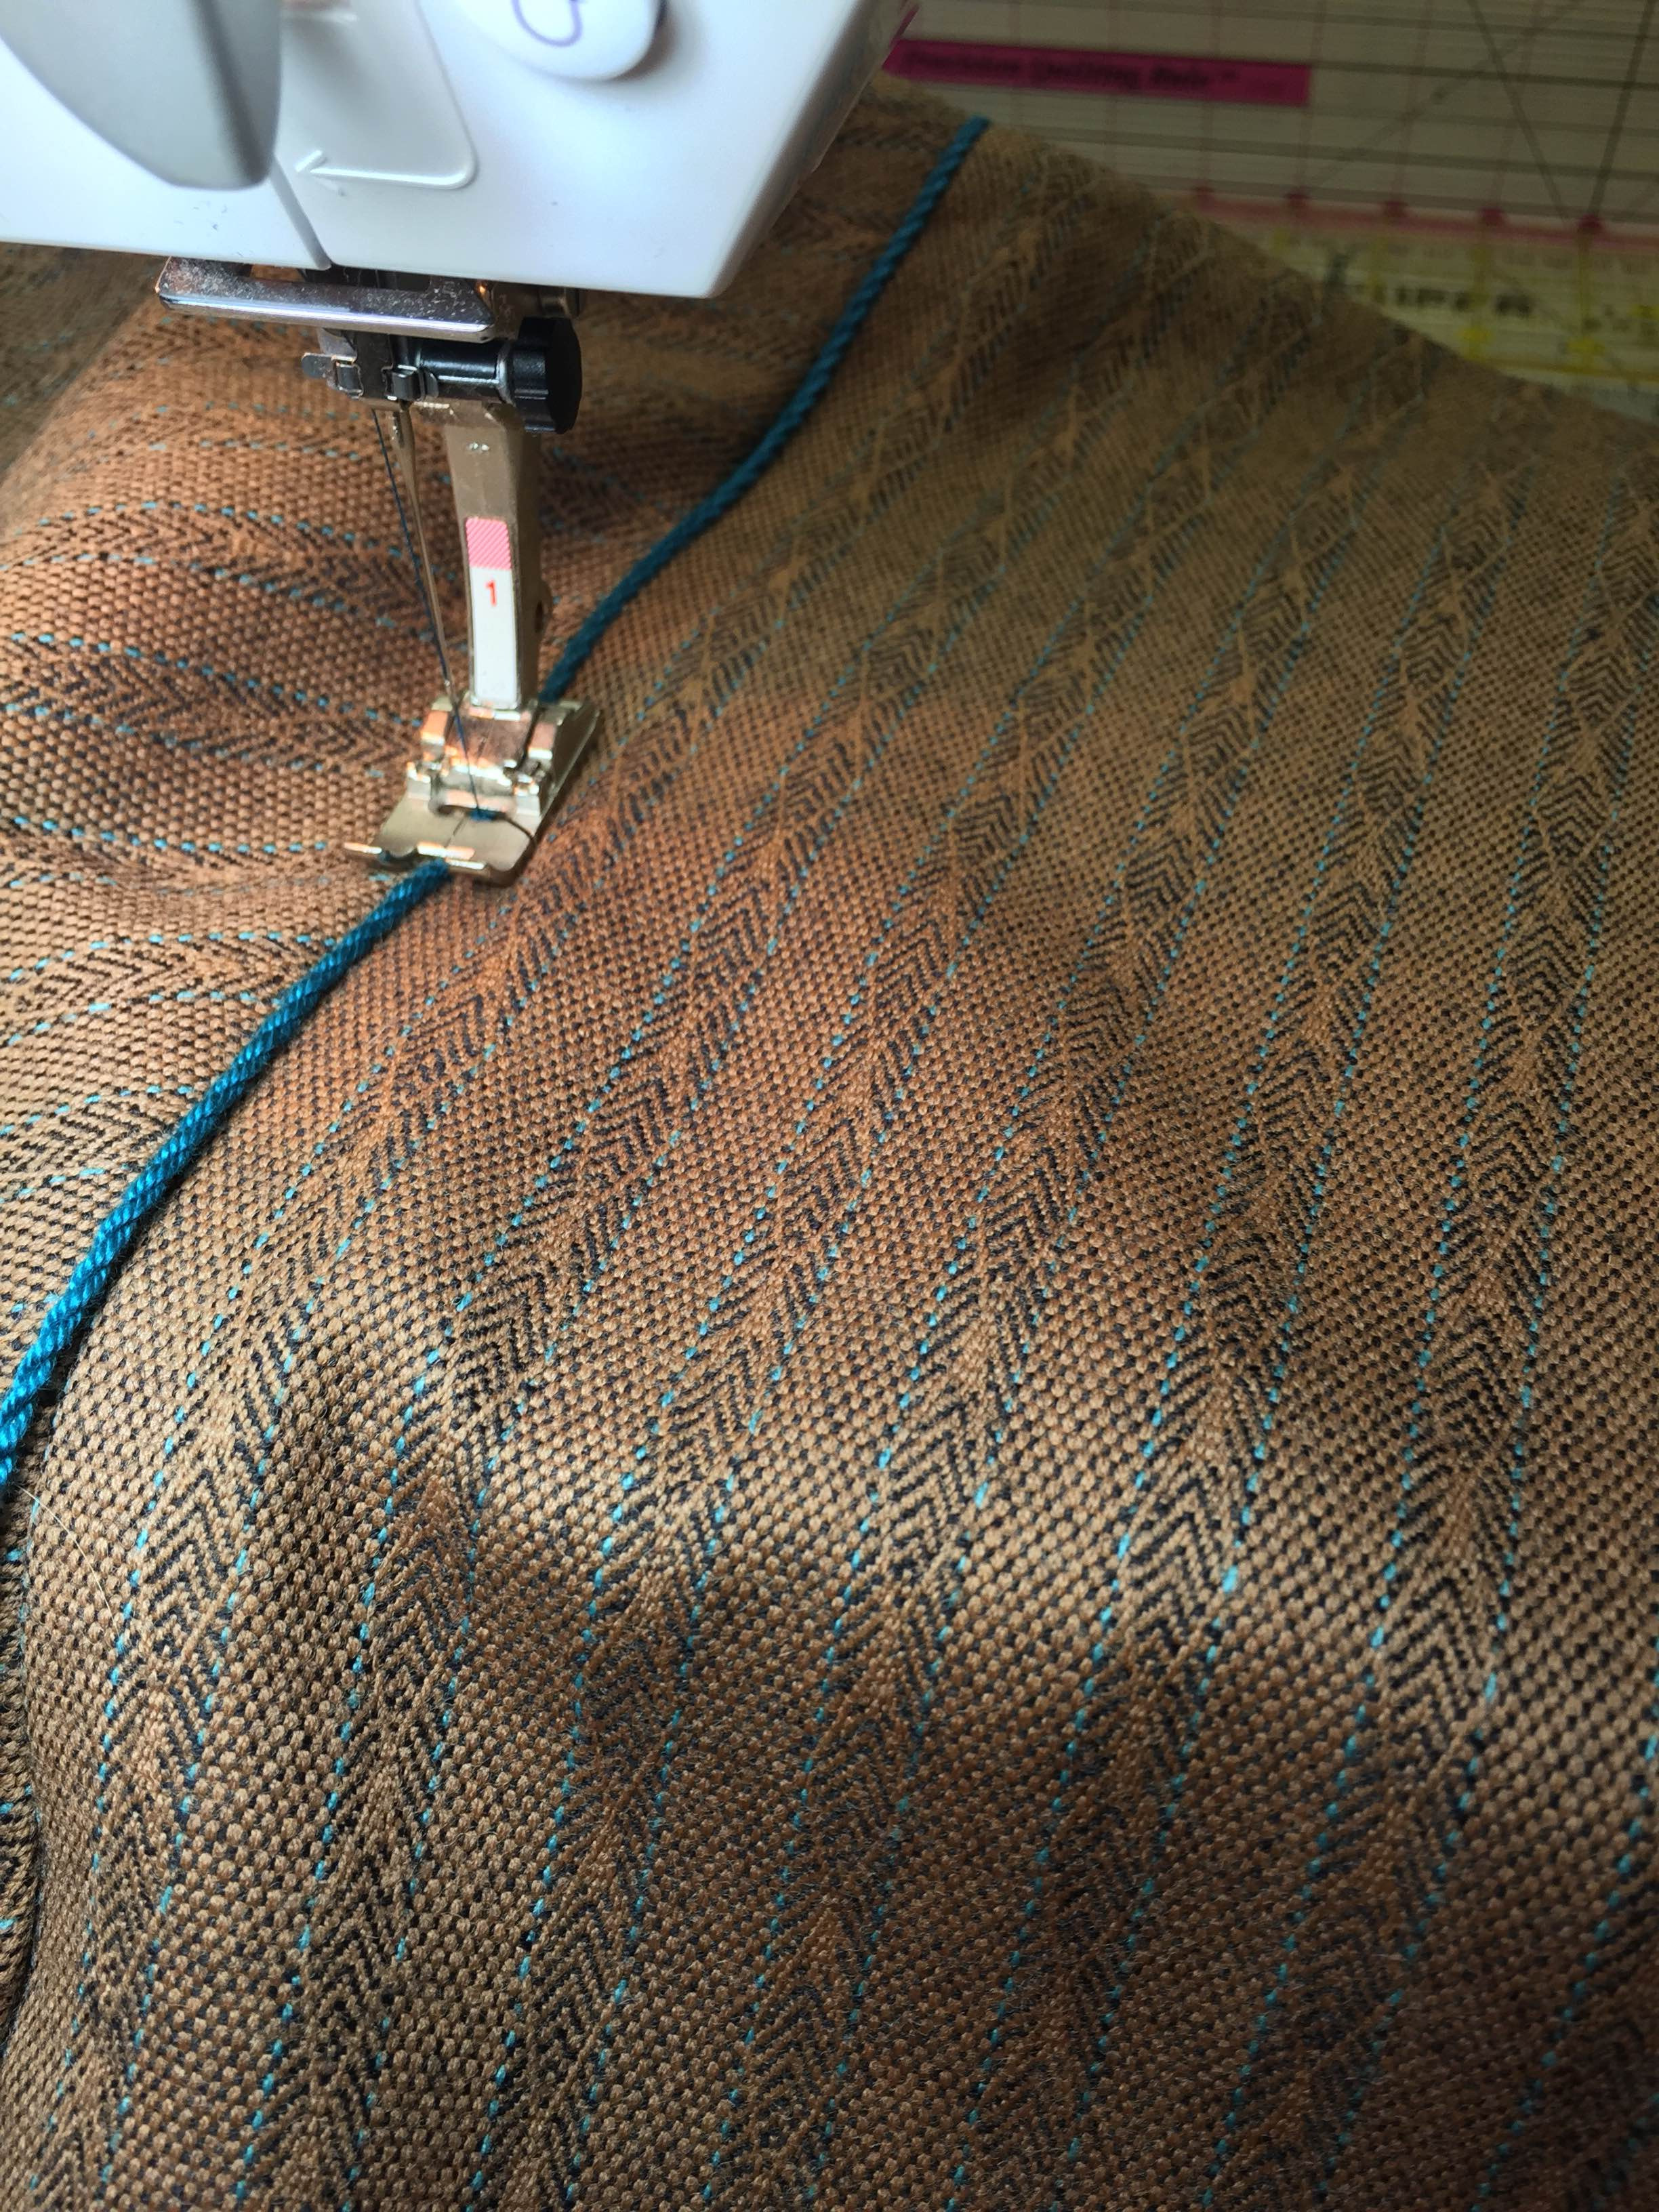
I’m dreaming about my next project as I zoom along on the current one. There are always surprises, and this yardage has had its share. Last fall I decided to make the warp a yard longer than I’d figured when I bought the materials. Yeah, so, it should not have been a surprise when I ran out of warp and had to fudge a second warp out of a solid grey to blend into this handpainted warp.
Then, for some reason, I neglected to make the mental leap to realizing that if my warp is now a yard longer than planned I might not have enough weft! That only occurred to me after I started weaving, about 2 weeks ago. Really, I amaze myself sometimes.
So I’ve spent this morning thinking about what I might use as weft for the rest of this yardage. I have not yet run out of handpainted JOY weft, but it was time to decide if I should switch to a solid color now so I had enough yardage that is clearly different to make a significant part of my garment–like sleeves or front bands.
I spent some time this morning digging through bins stacked pretty high, looking for a bin of tencel. Luckily most of these bins are clear so I can what’s in them. But wouldn’t you know the bins at the bottom of my various stacks are not clear so I had to unload everything to check out what is in those bins at the bottom of each stack. No luck in finding any tencel. I have lots of tencel, but at the moment I have no idea where it is!
So I moved on to looking at color cards for tencel, and found that there is no coral shade that comes even close to what I want. That led me down the rabbit hole of looking through my silk bins and silk color cards. I have the perfect shade of coral that I’d love to use, but not nearly enough of it! So I called Treenway and have placed an order for two 1000-yard skeins of a loely coral color #27. Those skeins will not arrive for almost three weeks. Sigh…Does this happen to you? Please say it does!
Fast forward to the end of the day. I wove another half yard today, in plain weave now, with the handpainted weft. Just moments ago, when I advanced the warp, I saw that I am only about a yard away from the end. That means I will have 5 yards of fabric instead of 6. The mistakes just pile up faster than I can keep track of them! I could swear I made a 7 yard warp and that’s why I ran out of materials. I have no idea what happened last fall, and I don’t know where my notes are! I hope this sounds familiar to you. Now I think I need to call Treenway and cut my order in half!
Luckily there have been some marvelous experiences lately to balance the derangement going on in my weaving. While others are busy heading off to Milwaukee for Convergence, I have gotten to enjoy some inspiring events much closer to home.
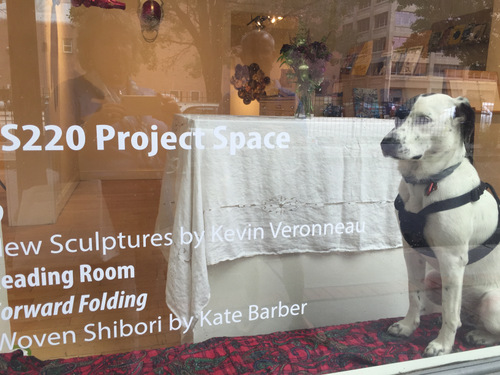
First is an exhibit in Providence that will be closing soon. I wish I’d seen it sooner so I could have spread the word earlier. I believe it closes this weekend. There is a small gallery called The Reading Room of the AS220 gallery, on Matthewson St. where Kate Barber has a wonderful exhibit of her recent work, called “Forward Folding.”

This postcard image is a detail of one her works on display, and it is stunning. Her exhibit is in an intimate setting with beautiful lighting. I stayed longer than I would have imagined to view her 22 pieces. There was such zen in the room I could not tear myself away. Kate is doing wonderful things with shibori on the loom which she uses to create crimped cloth. Some of the works are also dyed and embroidered.
There is a wonderful mascot at the gallery who watches for visitors and then greets you at the entrance. I’ve now forgotten her name. She is so calm that I almost mistook her for a ceramic dog!
Across the river, in Old Lyme, my local area weaving guild members are hard at work getting ready for the annual town festival where some of us will demonstrate various textile techniques. The big Clemens loom is ready for demonstrating the weaving of a traditional Canadian rag coverlet bed covering. Jody will the be first weaver, although she needs three helpers to do this. This is her coverlet that will be woven first. It will be 9 ft. wide by 9 ft. long. It’s a big undertaking!

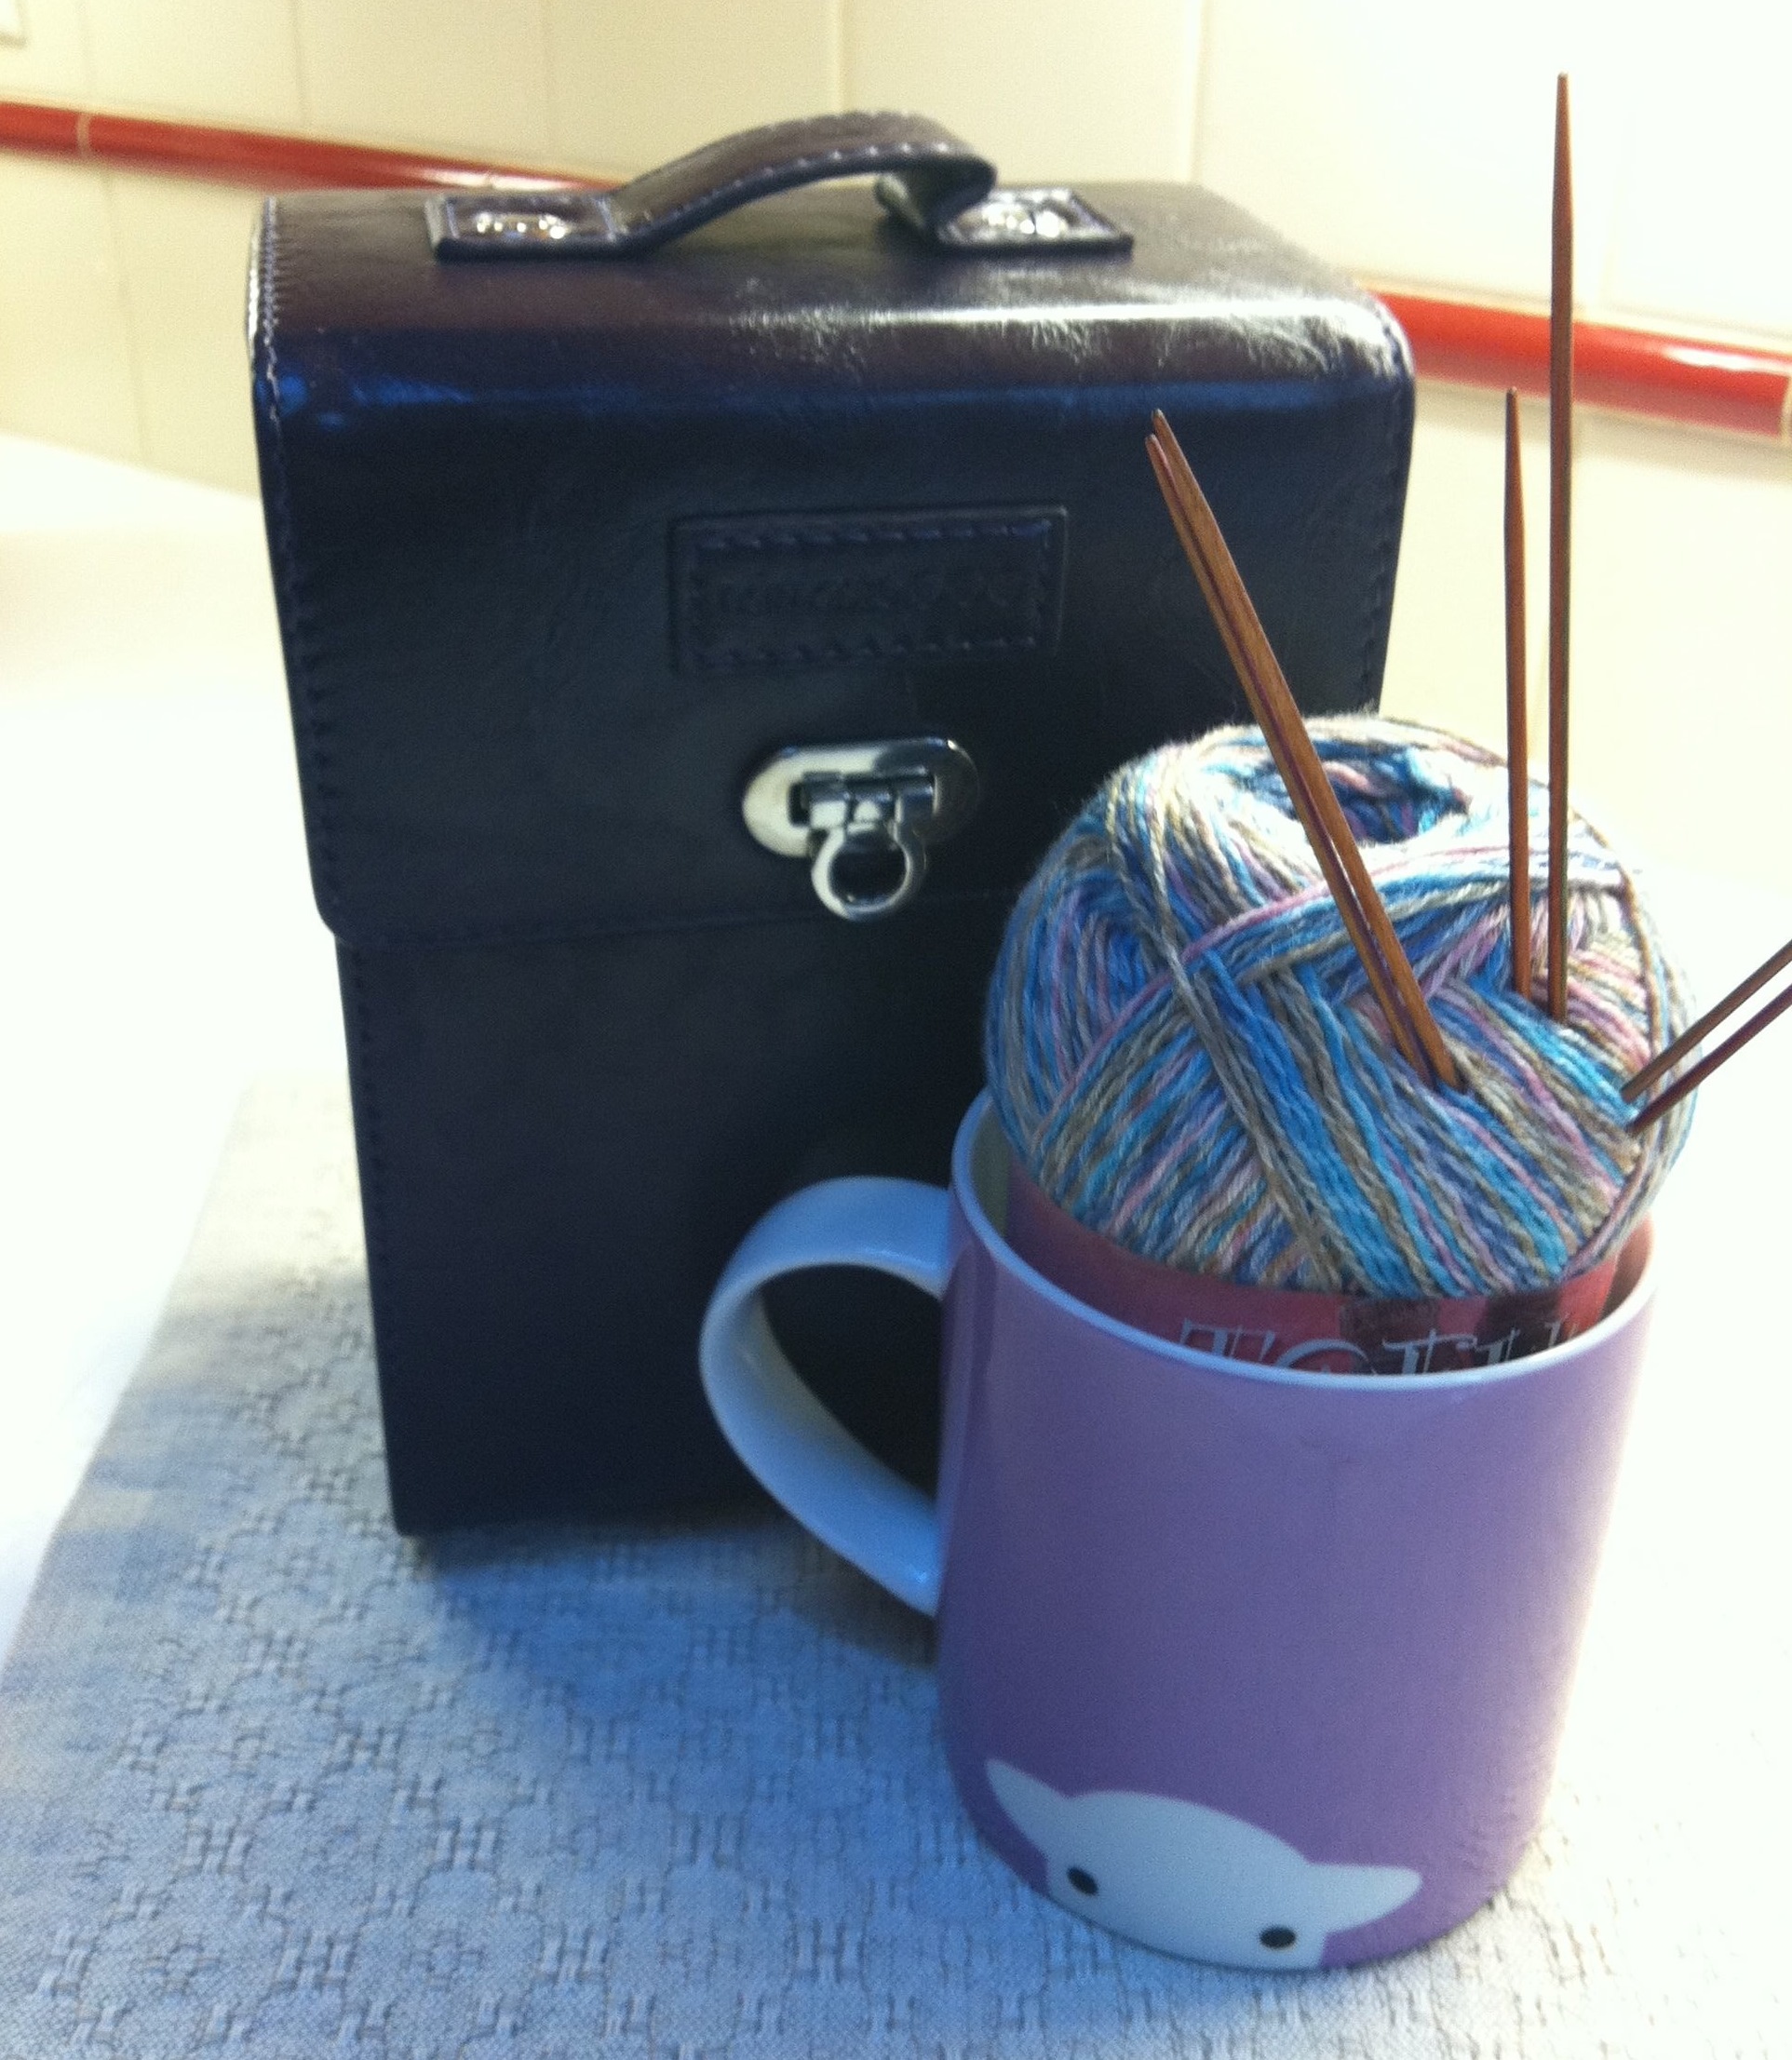
This Saturday, July 30, Jody and her crew will be weaving on this behemoth loom, and others in our guild will be demonstrating various textile techniques. I plan to bring my spinning wheel to spin some lovely tussah silk sliver that a Connecticut woman who calls herself HoneyBuns prepares and dyes. I am spinning a wonderful colorway of rosey coral and gold.
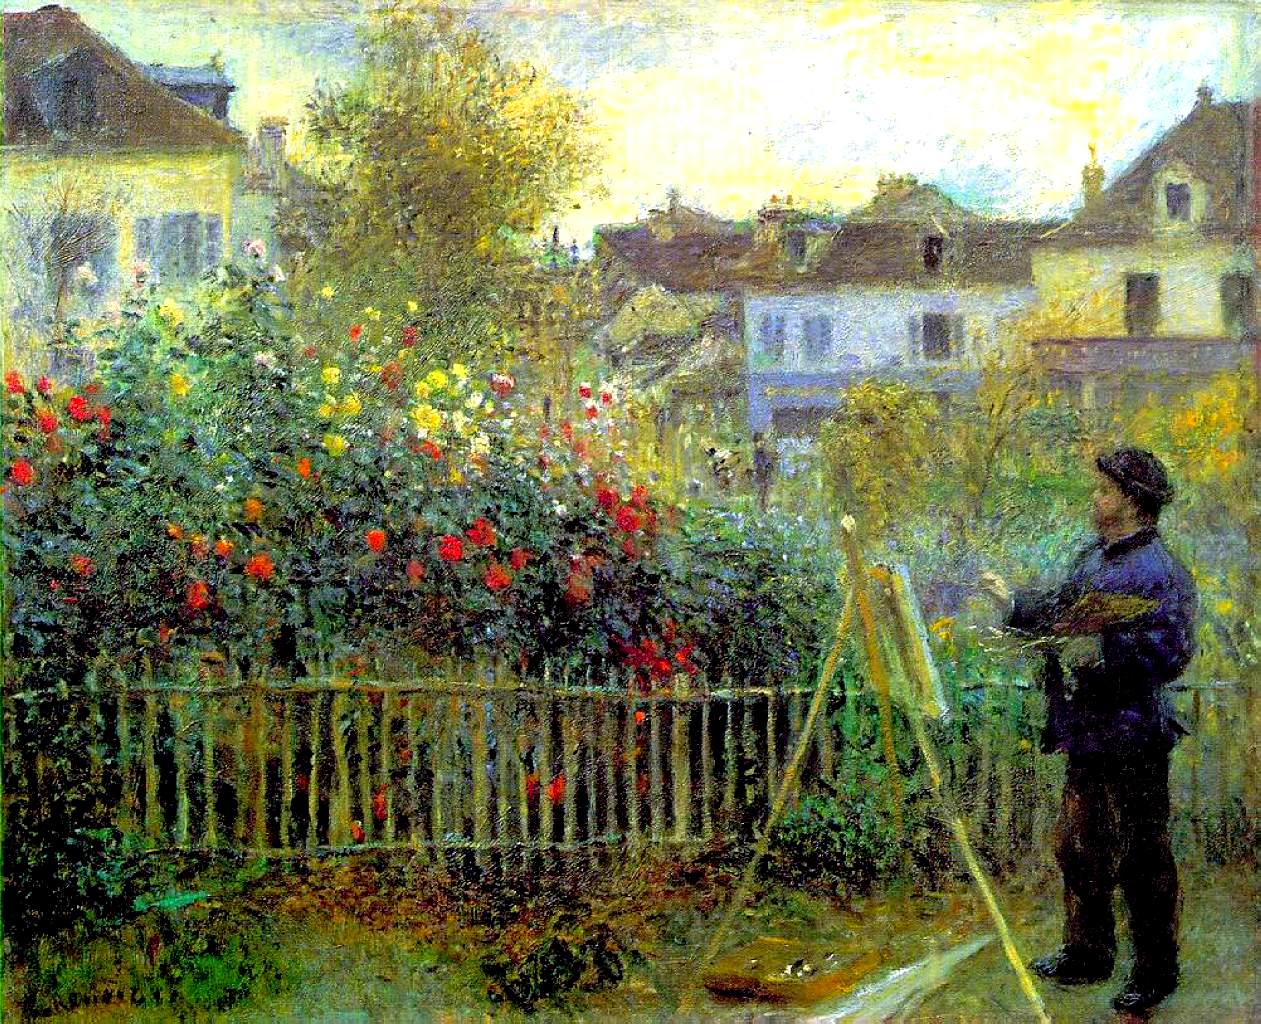
Yesterday Jody and I went to see a wonderful film about an exhibition that is currently traveling through Europe. It was a stunning film and almost made up for the fact that I won’t get to see this exhibition in person. The exhibition is called “Painting the Modern Garden: Monet to Matisse,” and the film has the same name. The Royal Academy of Art put this exhibit together. It was quite moving, and I enjoyed sharing it with Jody and two other weavers from my local guild who also attended.
There were scenes of the exhibition itself, including a large room where Monet’s waterlily triptych has been displayed together for the first time ever, since each of the three pieces is owned by different museums. There is current footage of the gardens where each of the artists painted a century ago, and there are wonderful old photographs of the artists. The best image was Renoir’s portrait of Monet in the garden at Giverny, doing a painting of his own. I did not know that this portrait is owned by the Wadsworth Atheneum, so sometime in the future I will be able to view it in person!
Here is a short excerpt from the film:
Here is one more video with the curator discussing Monet’s Agapanthus triptych.
To all of you heading off to Convergence, have a wonderful time! I’ll be thinking of you and what I’m missing. Meanwhile, I am enjoying the down time of being at home in the studio. Maybe I’ll soon get to start the next project I’m dreaming of–I didn’t even tell you what it is!