
Doesn’t that sound like an amazing project? I certainly thought so! I am having my first go-round on this idea, based on my local area guild having a workshop on this with Suzi Ballenger. You may know her as the current President of Handweavers’ Guild of America. Yes, I mean that Suzi!
Suzi started making shoes in the early 2000s when she found an article about it in one of the popular craft magazines from the 1980s. The magazine was “Decorating and Craft Ideas,” issue July/August, 1982. She made espadrilles for herself, her children, and other females in her family. Now she’s made quite a few with her handwoven fabric. We are lucky that Suzi lives in nearby Rhode Island, so she didn’t have to travel far to be with us in person. She first ran a zoom meeting to give us background and instruct us on the prep work we’d need to finish before the date of our in-person workshop last week.
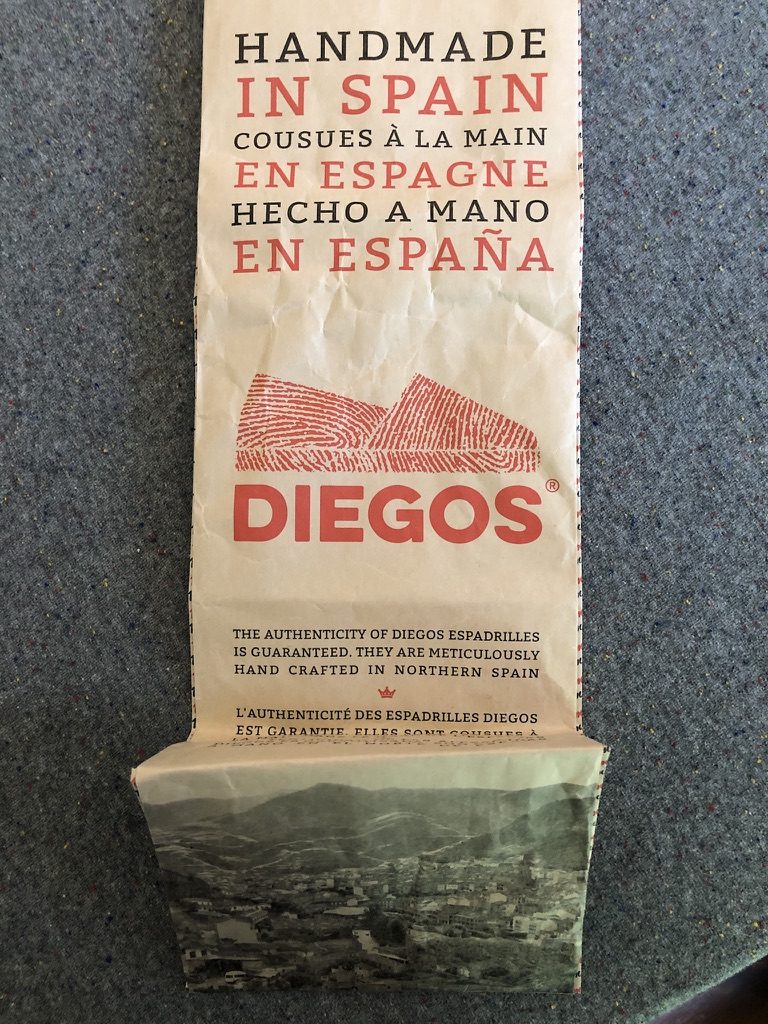
We all ordered our supplies from Diegos’ Etsy shop. All the supplies are made in Spain, but they have a warehouse in New York state, so shipping costs and time were reasonble. The soles are made of jute and the bottoms are coated in a layer of natural rubber. If you want to buy material for the uppers, they have power looms weaving quite interesting fabrics. Since I always make a trial run or “muslin” of a new pattern, I opted to buy one of their fabrics. Take a look at their Etsy shop because the choice of fabrics is quite exciting!

This is a weft faced fabric, like a wide inkle woven band. The weight of the fabric feels like canvas.
My supplies arrived quickly from Diegos’ warehouse in Champlain, New York.
There is a page on their website that describes the process of making the soles, making the fabric and putting it all together as espadrilles. I enjoyed seeing the loom that weaves the fabric.

There is even a documentary film to watch that is 8 1/2 minutes
Our espadrille soles have been coated in rubber, and I notice that the video did not cover that. But let’s get down to Connecticut’s Area 4 weaving guild project.
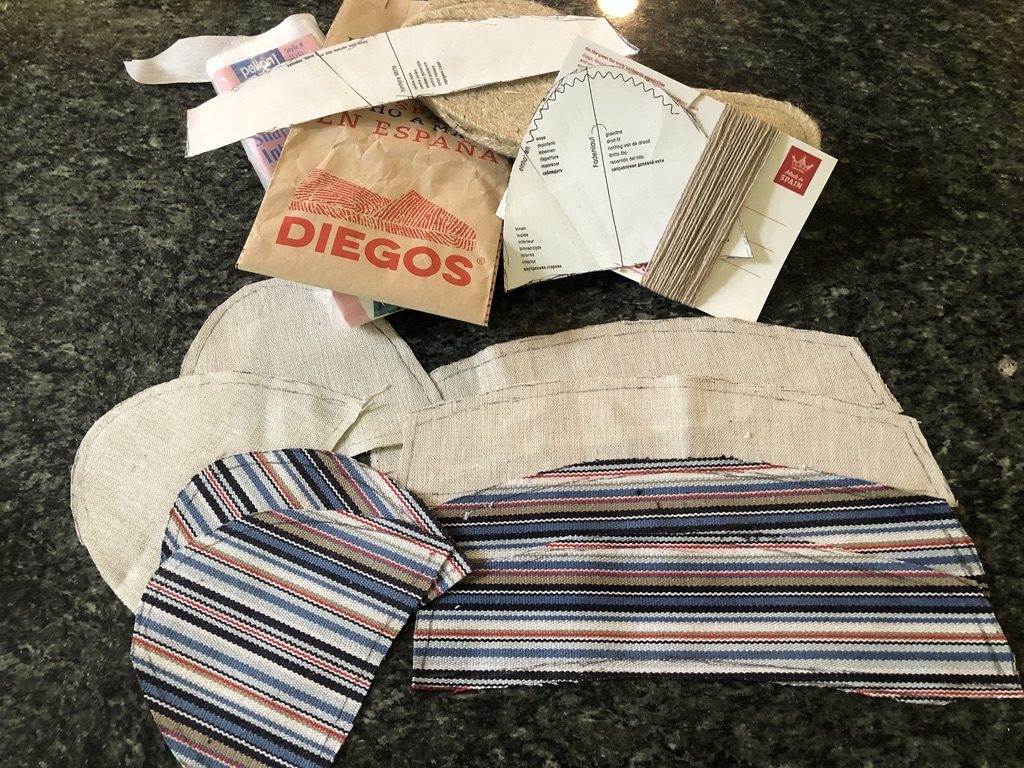
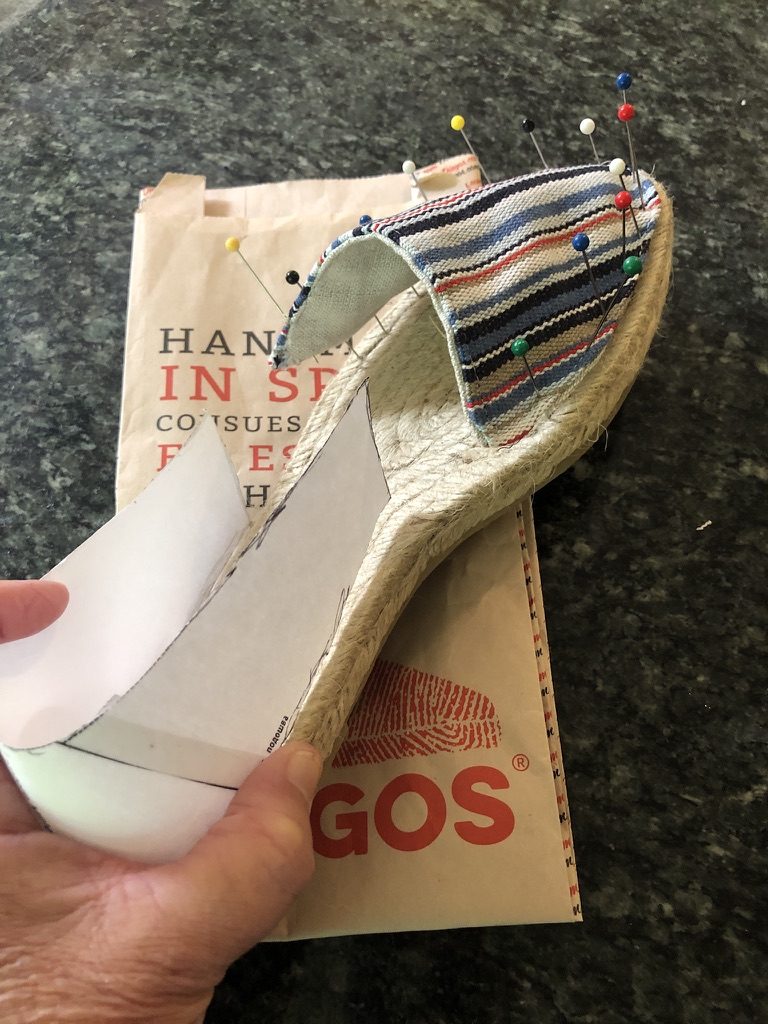
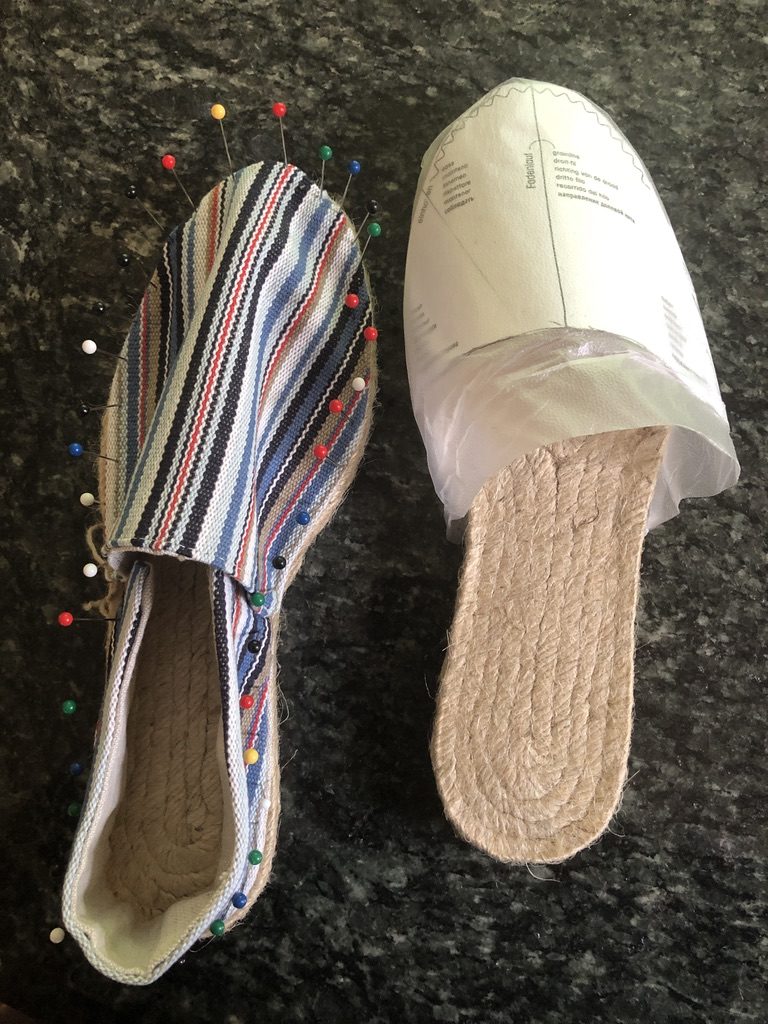
Suzi Ballenger gave us paper patterns to use as templates for our uppers. She suggested cutting out the toe box and heel backs on the cutting lines and finishing all raw edges with double fold bias tape. My bias tape sewing skills are not up to par, so I’ve opted to line my uppers so they have finished edges. I am using natural lightweight linen for the lining, and I’ve put some adhesive lightweight interfacing on the lining. Here are my materials gathered, ready to start.
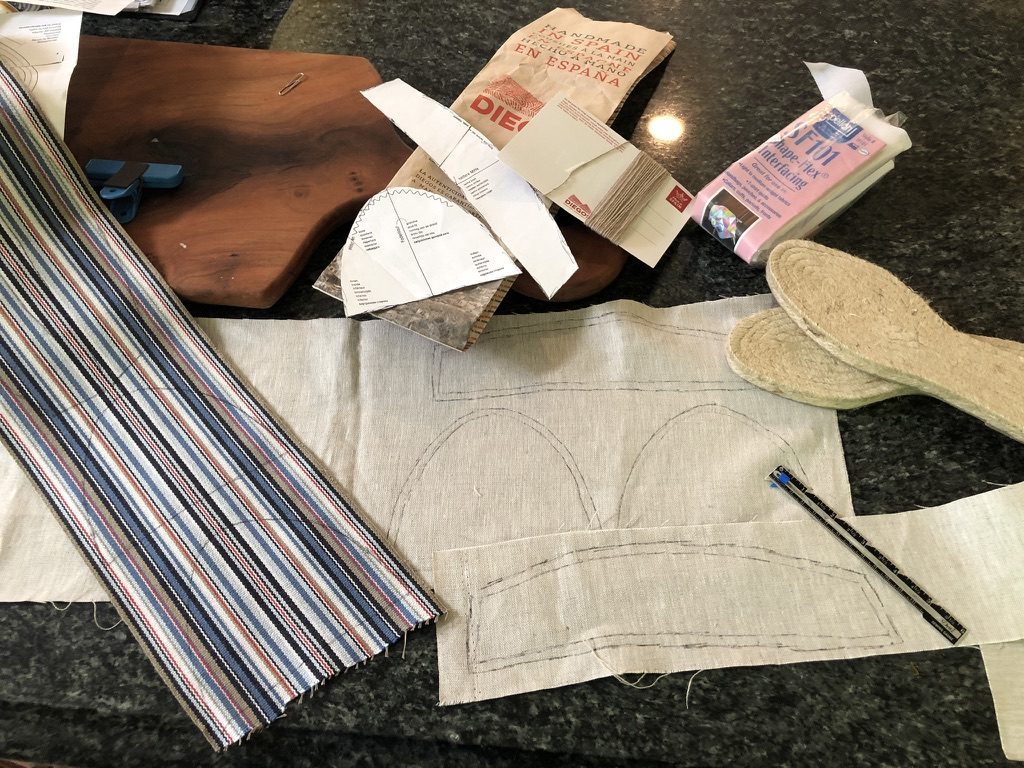
I’ve added a 1/4″ around all the pattern pieces so that I can sew the fabric to a lining and have the finished pieces be the size of the pattern piece.
I finished one toe box and decided to test it for size.
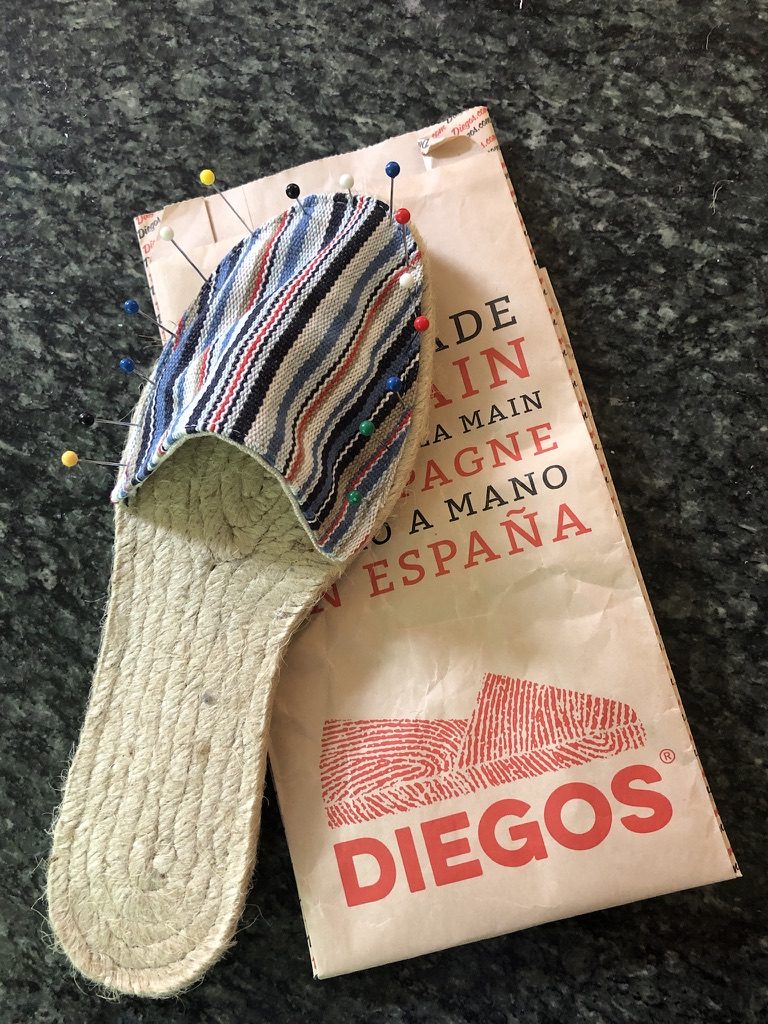
I am a bit concerned that the upper does not reach far enough back on my instep to attach to the heel piece. Looks like I was right. The upper toe box piece needs to reach back to at least the instep. Back to the drawing board to resize the toe box! I added 1 1/2″ to the length of the toe box, which includes the 1/4″ seam. It’s a good thing I ordered extra fabric.
I wrote all the above about a month ago! Where does the time go? I have my new toe pieces ready to sew onto the sole of the shoe, but I still haven’t done it! Maybe today. I really want to move on to writing about other things, and I really want to wear these shoes this summer!
My Area 4 group got together late last week, and about three people have finished their espadrilles and were wearing them. I hope that’s the impetus I need to finish my own!