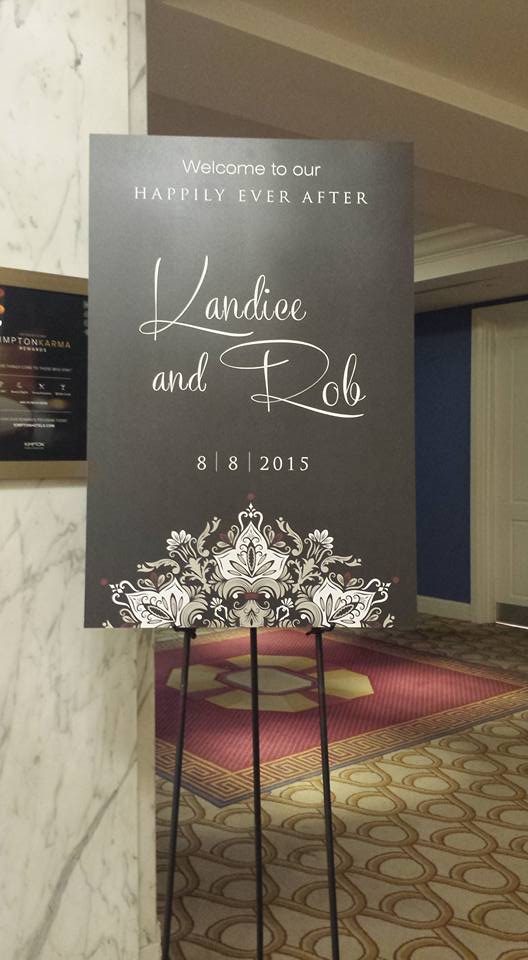
Past Wedding, Full Forward on Inspiration!
First a moment of shamless personal happiness: our older son was married over the weekend in Baltimore. It was a glorious event! I enjoyed every detail of it starting with our private time with the almost newly weds when we arrived on Wednesday evening last week, right through to the after-wedding-Sunday-brunch. It was a small wedding, but the honored guests came from as far as San Francisco and Denver and Florida, to as close as right down the street. It was a congregation of close knit friends and relatives. It couldn’t have been better!
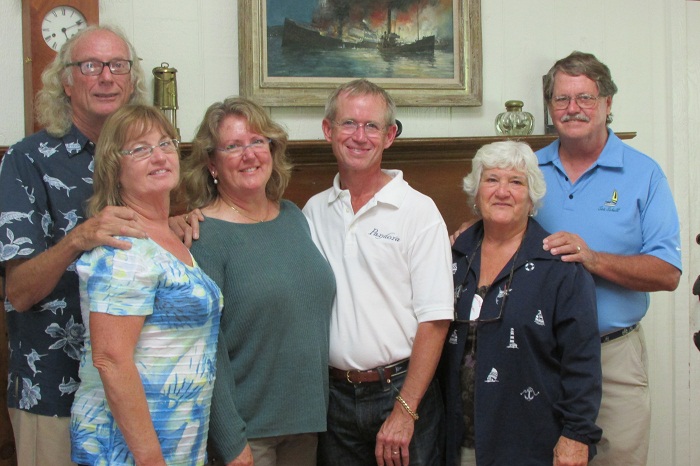
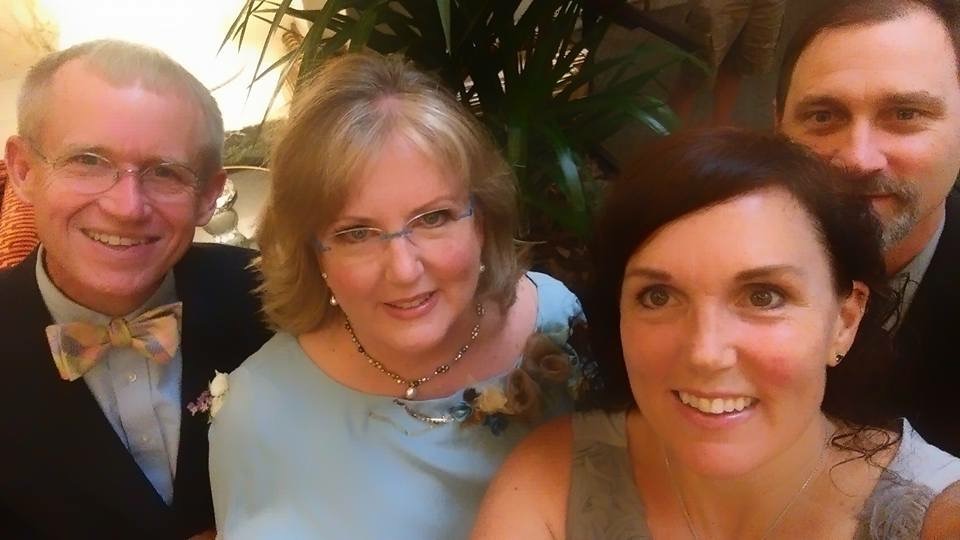
We invited our very oldest friends–two couples we’ve known since long before either Rob or Chris were born–Chris and Pat and LeaAnn and Garrett– and a dear friend, Craig, who has been more than an uncle to our boys….and my sister Sheryl and her family–Carl, Madison and Chloe. It was perfect!
Elevator selfies are certainly the rage now!
 The wedding party was large for so small a wedding– 6 bride’s maids, 6 groom’s men,
1 groom’s dog, 3 flower girls, and 2 ringbearers. The groom’s dog may have stolen the show. After walking down the aisle with the groom, he then gave the groom a ‘high-5’ moments before the bridesmaids entered.
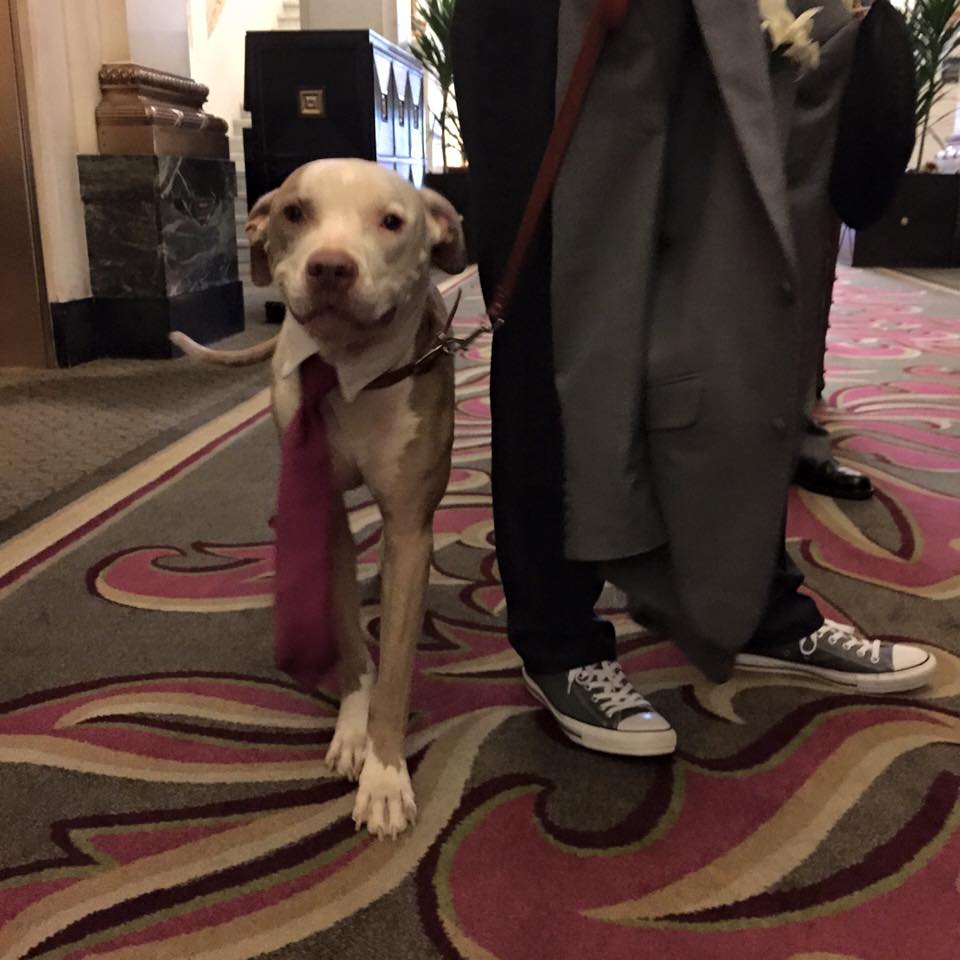
He lay down peacefully between the bride and groom when the vows began.

When he began to make nesting movements with the bride’s beautiful wedding dress, he made no fuss at being moved in front of the groomsmen. Just look at all those Chuck Taylors!

He got to spend a few moments at the reception before he was sent up to the bridal suite to to relax with a very attentive friend.

Here are more moments from the day… I loved every minutes of it!
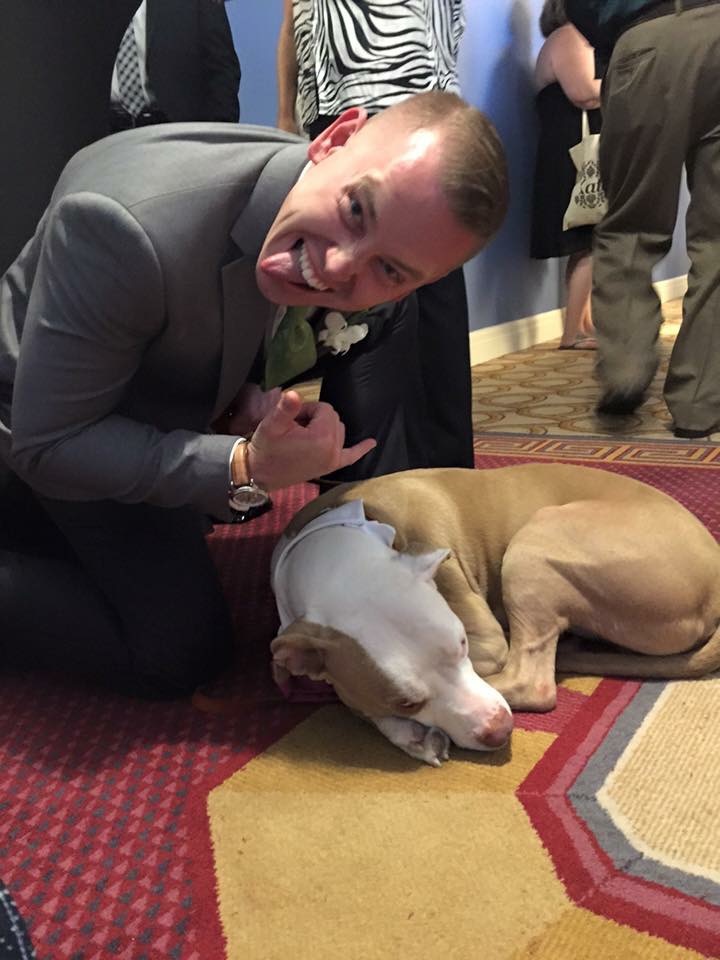
Photo ops in the beautiful Hotel Monaco in Baltimore.

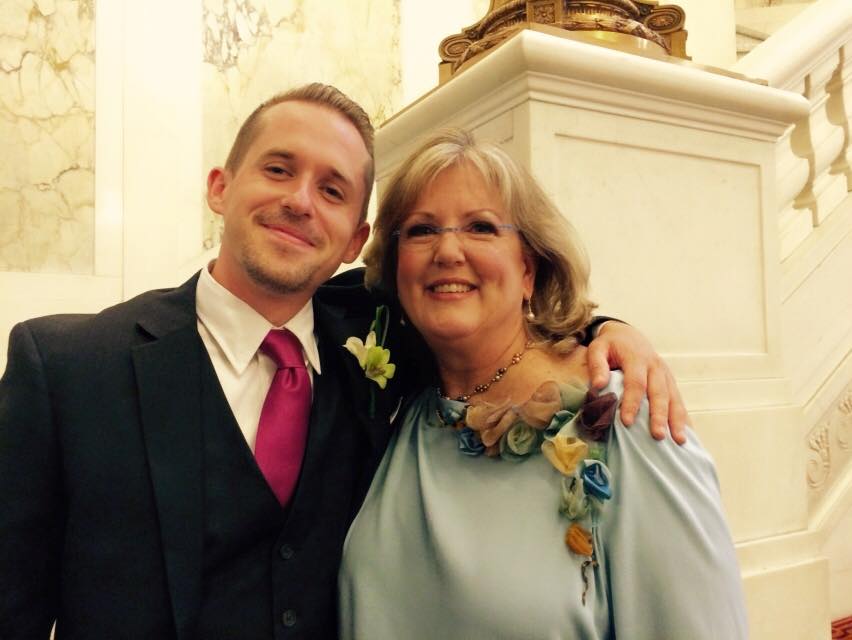
The best man and the mother of the groom–moi!
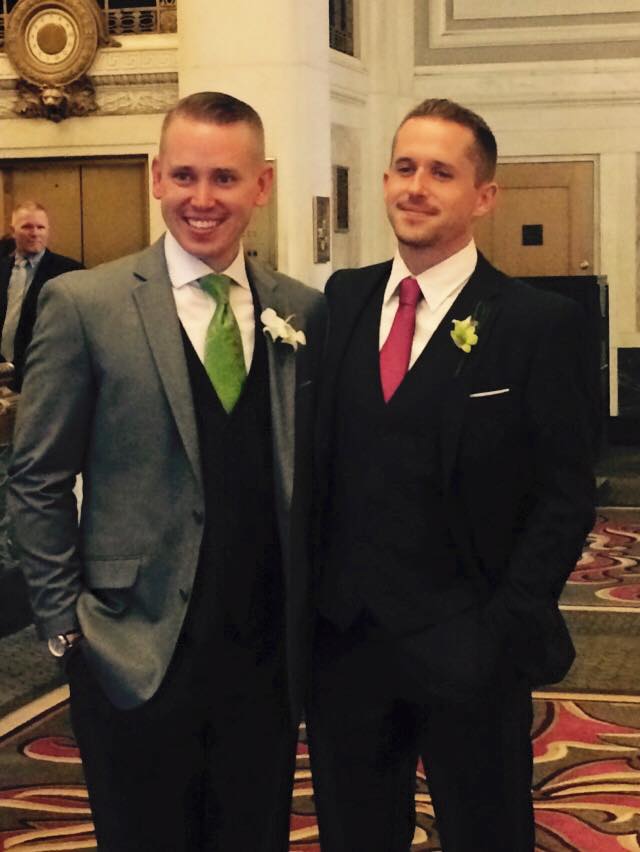
I am shamelessly proud of these two young men–the groom and his best man brother!
The finale of the ceremony!

That wonderful moment for any mother of the groom!
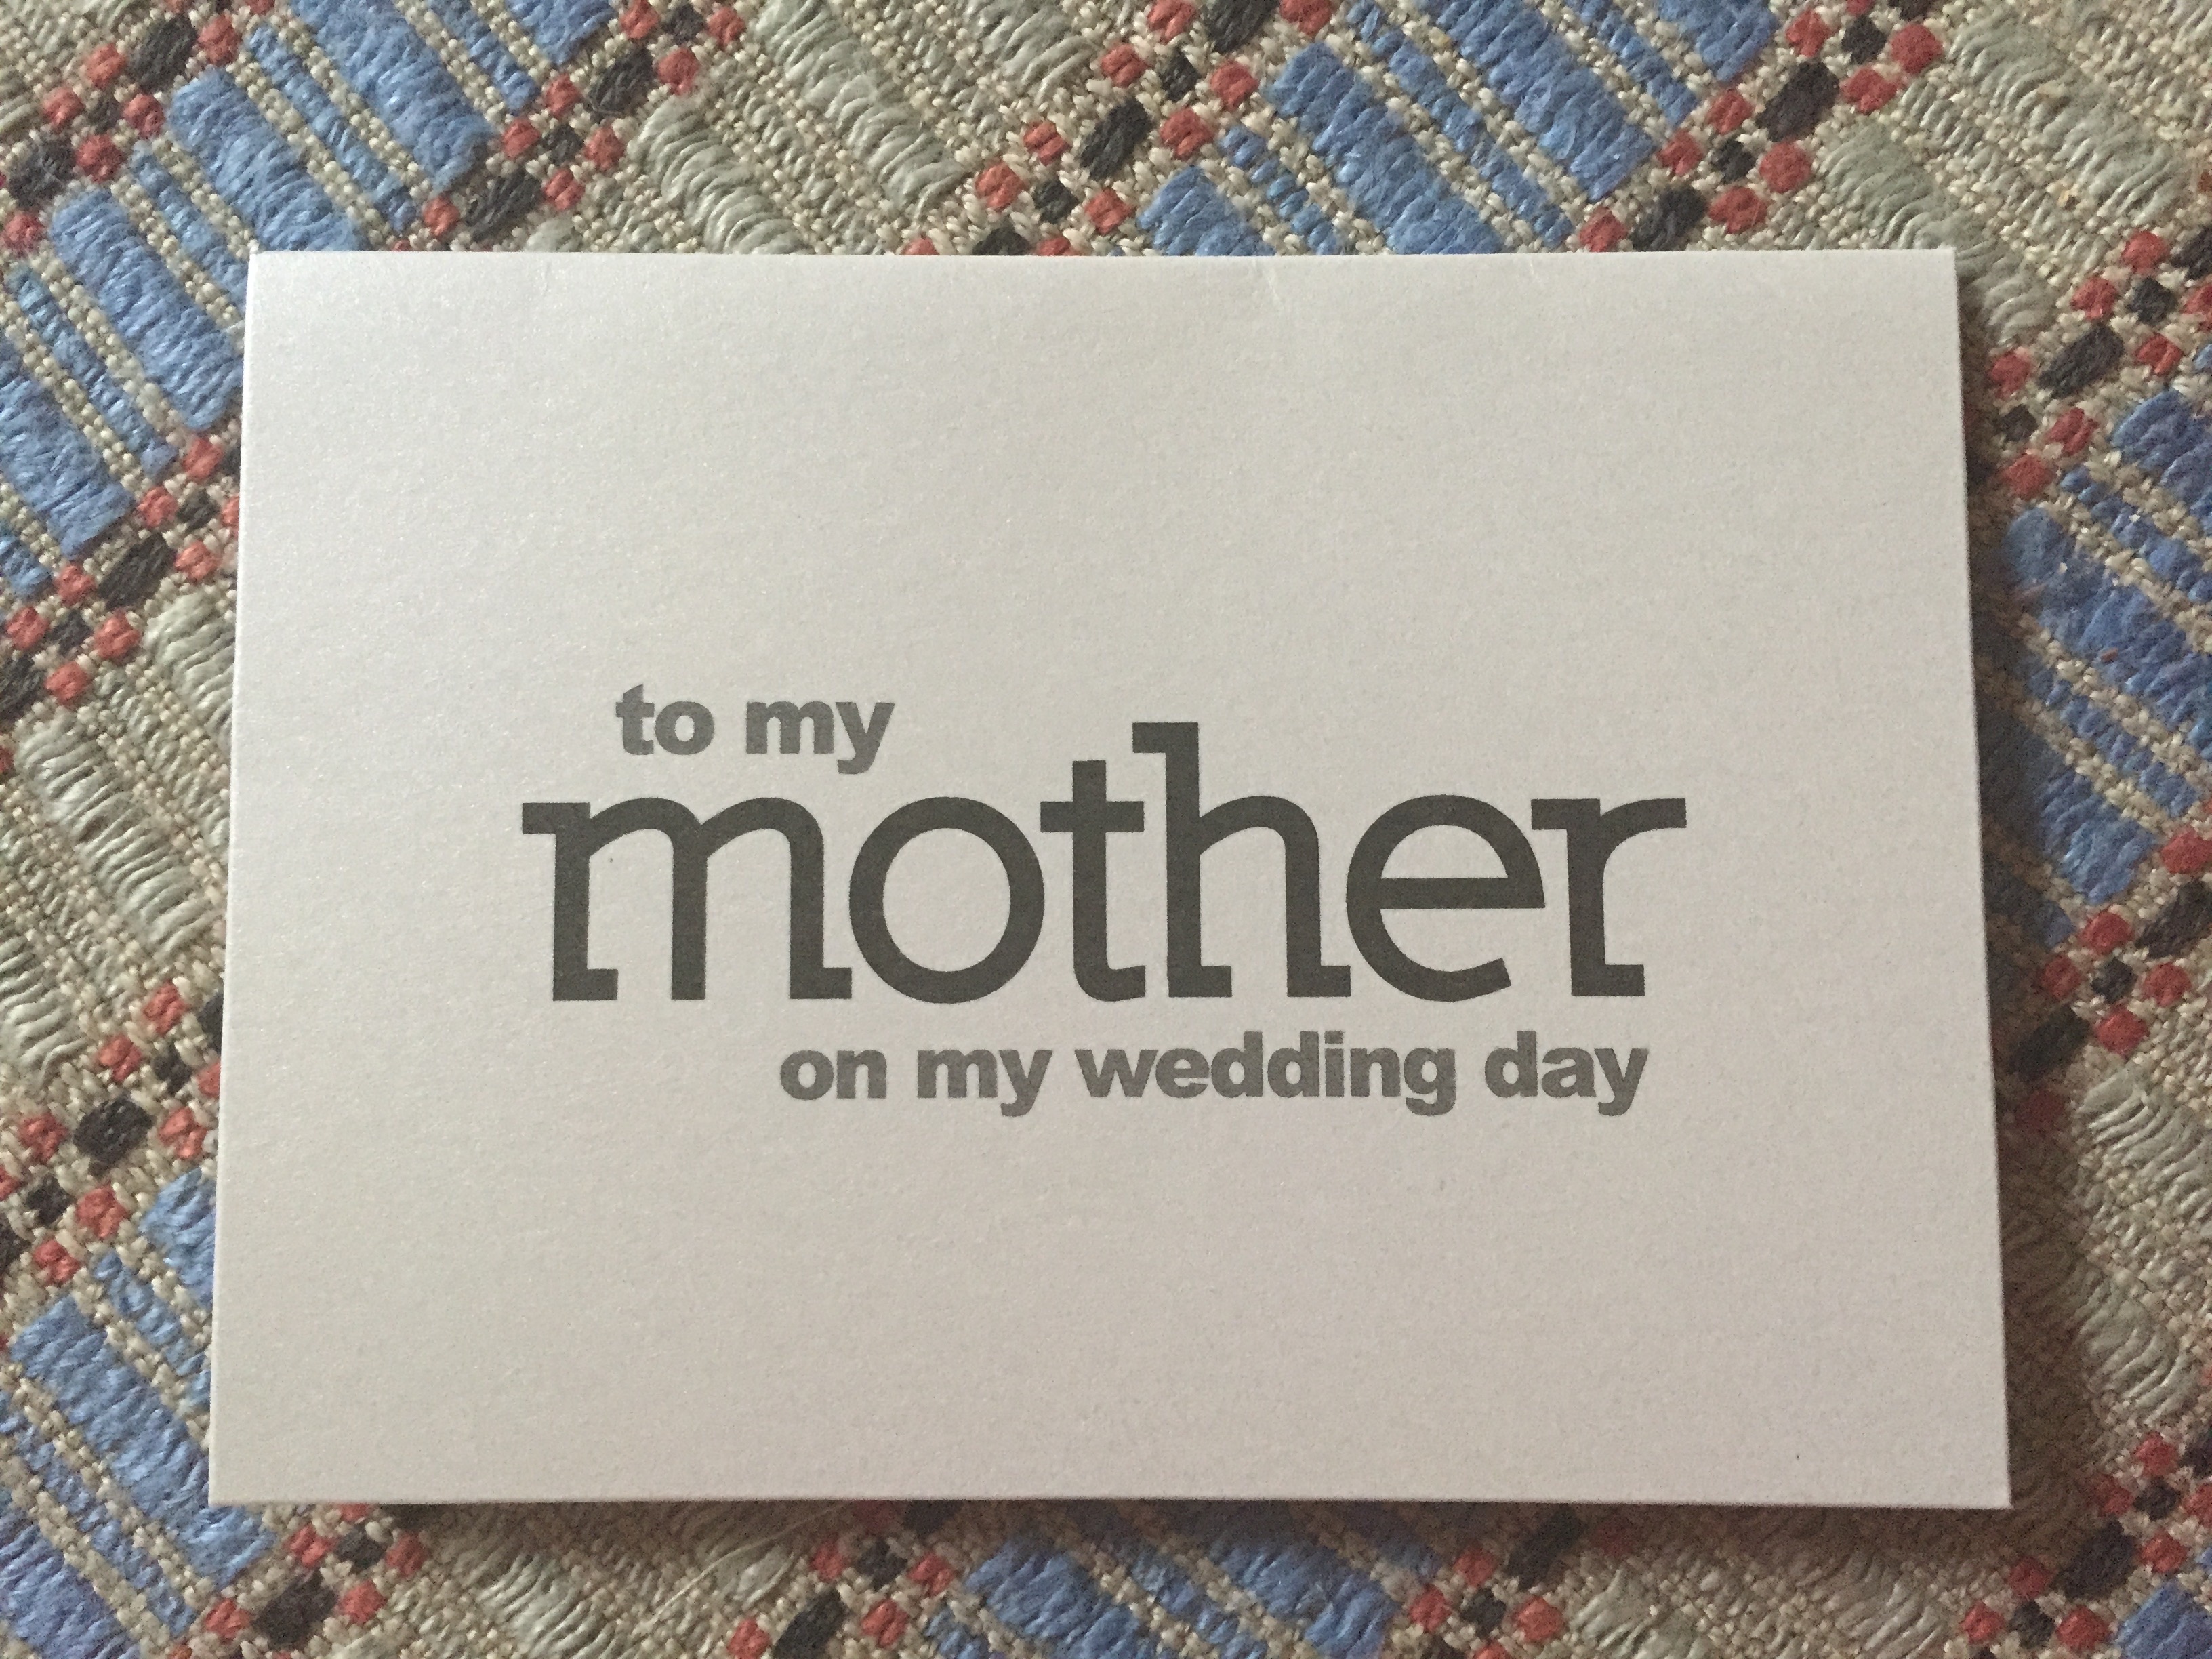
The very best moments of this weekend aren’t documented with photographs. It was spending some wonderful time with both our sons, our new daugher in law, our friends, my sister and her family. It was finding two very sweet handwritten notes from my son thanking us for so much, acknowledging what a wonderful relationship we’ve had over the years behind us and the years to come. This note arrived with a gift just moments before I left our room to go down to the ceremony. It just doesn’t get any better!
With a little help from my friends (there’s always a Beatle theme when our family is together) Bob and I hosted a brunch for the newly weds on Sunday morning at their new house in the suburbs of Baltimore. If not for Pat and Jeremy, and of course Bob, the brunch would not have been nearly as buttoned down as it was! I guess we were way too busy hosting to get any photos.
I am so indebted to our old friends and my sister’s family for making such a long trek to be part of this event. Being with them put the frosting on the cake and the cherry on top!
Now back at home I am relishing the all the memories and enjoying looking through all the candid photos taken by friends. We’ll have the photographer’s images shortly.
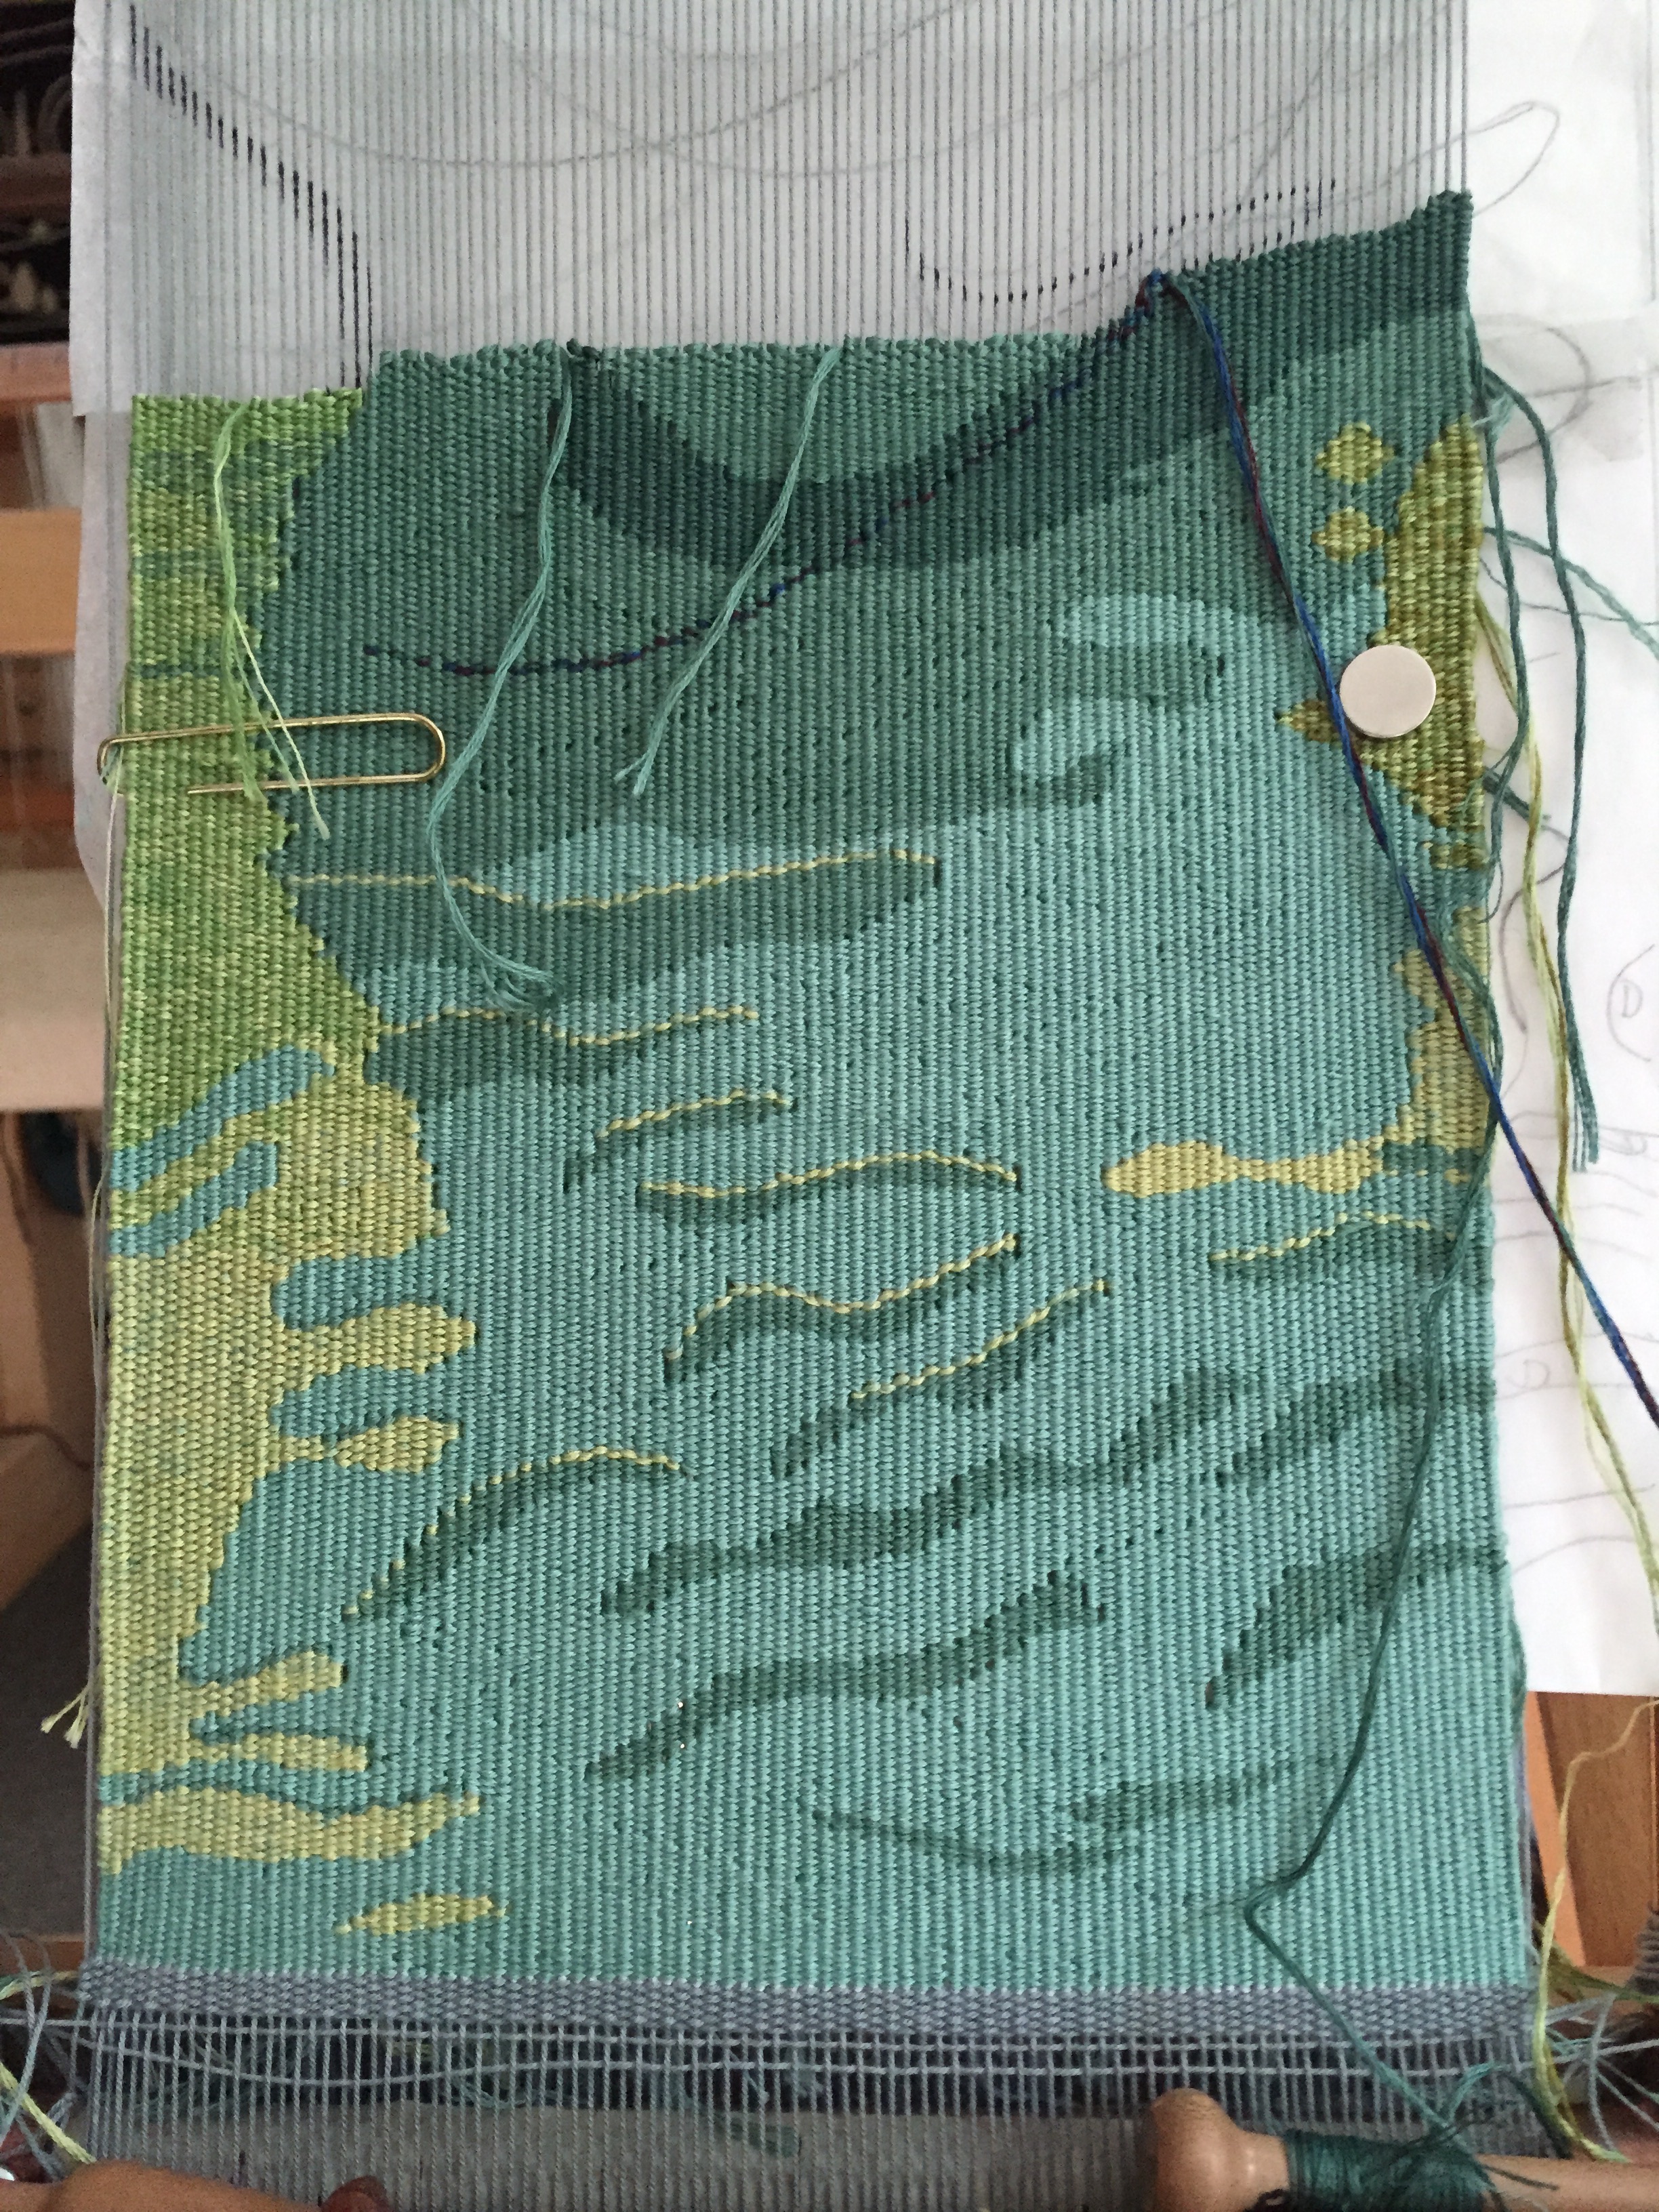
I have turned my attentions back to the tapestry presentation I’ll be giving in early September to the weavers’ guild in Rhode Island, to working on what I’ve lovingly called the “Archie Project” for the past ….. years. I refuse to admit how long this project is taking!
Bob and I took inventory of his stash of dowels in the workshop to determine what he might need to buy in order to make a backstrap for loom for me. It looks like we have everything needed! I might be weaving by early next week.
This morning LeaAnn sent me links to a wonderful illustrator and writer who lives in Wales — Jackie Morris. My imagination took off while reading her blog. On Saturday, while we were celebrating a wedding, she wrote this:
The summer is always busy. It’s hard to find the silence required for clear thought. George MacKay Brown talked of writing poetry as ‘the interrogation of silence.’ I know not everyone needs it to work, to think, but I do.
…I become more fascinated by silence as I grow older. But finding silence is different to being silent. When you choose to stop speaking you unnerve people. They fill the silence, the space you leave. They interpret your silence in their own way.
At the end of her post she invited people to comment on how they achieve the silence they need to think and work, or to respond that they do not need to find this silence.
I agree whole heartedly with her description about needing inner silence and attempting to find it. There is no one place where I find mine. Sometimes it is easy to retreat to a wonderful silent place, and sometimes, no matter where I go I cannot get to it. I’m certain it has more to do with the state of my mind than the features or faults of any physical place. It all comes down to me. I just have to learn to be still and let it come.
As a weaver I often find that being at one of my looms is the best place for me to be silent and reap the benefits of where silence can lead. It doesn’t always work, but it is almost foolproof. On a floor loom or at a spinning wheel there is a rhythm of mechanical music that takes me deep into my inner self where there is a vast landscape of something like silence.
In tapestry I almost silently lift each warp thread by hand to create an image, and in that case it is my own deep thinking about the image that draws me away from the world, from any other noise but that deep music inside me. These are the reasons I return to weaving again and again.
After all the busy-ness of this summer–the SSCA extravaganza, visiting friends, the biennial weaving conference, and the wedding–it’s time to find that silence and get some good work done.