The finishing procedure for mounting a tapestry is my least favorite activity. I think most tapestry weavers would agree. Yet it has to get done. I can’t say the results make the drudgery worth it, but the resulting finished piece is a wonderful thing!
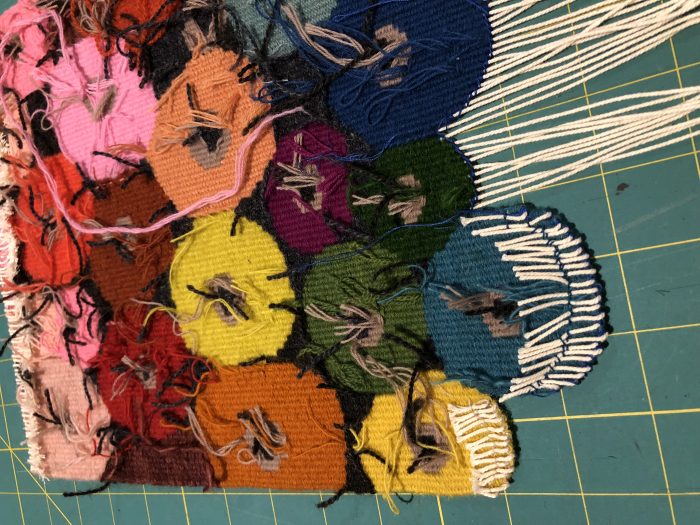
First, I turn the tapestry to the back side and trim the longer weft ends to shorten them. It looks like I was not yet done doing that on this piece. With weft ends that sit close to the selvedges on the side, I try to tie them to a weft end that is further in from the selvedge, in order to keep them from sticking out the side and being visible. If I’m going to mount the tapestry, I can make sure all weft ends along the selvedge edges are well tucked to the back as I sew the tapestry to the frame.
In this photo I am turning down the warp threads along the bottom of my piece and using backstitch to capture and constrict the warp threads on the back. This is the technique that Archie Brennan uses taught to members of the Wednesday Group. I am capturing two warp threads with each backstitch, and then moving forward by one warp thread as I work my way from left to right across the piece. (I am left-handed.) I know this is hard to see.
Here is a video from DMC showing how to do backstitch (right handed).
Imagine that these stitches go around your warp threads and catch a bit of the weaving– just do not let your needle go all the way to the right side of the tapestry. Just catch a bit of weft while encircling the warp threads that you’ve folded to the back of the tapestry. When you tighten each backstitch, it constricts the warp threads you’ve captured in the stitch. When you’re done you can take a small pair of pliers and, while holding the tapestry for resistance, you can use the pliers to pull each warp thread snugly to the back of the piece. Just be gentle when doing this!
This piece I’m finishing happens to have a shaped edge, so I’ll show you that I still do a running backstitch to capture the warp threads along the shaped edge. It’s the same as doing a straight edge of warp threads.
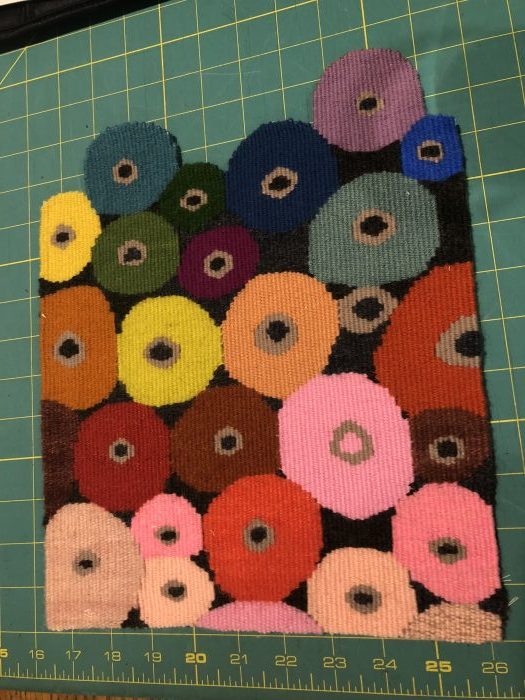
Here is my piece, with both edges finished. I am using a cutting board with a 1-inch grid as a work surface.
After measuring my finished piece I can decide how to mount it. In general, smaller pieces hang better if mounted in a way that keeps them firm and stationery. I often use stretcher frames for paintings. I buy them from art supply sources. Where I currently live, Jerry’s Artorama is my closest choice, and I can order them online without having to drive there.
I have skipped showing how to cover your stretchers with fabric. This is an individual choice. I usually use two layers of fabric. My outer fabric is usually linen. This has two benefits:
1. Two layers of fabric will protect your tapestry from any damage that could happen from coming in contact with wood.
2. Two layers of fabric allows you more choice for your outer fabric. It is no longer necessary to find something quite as sturdy if there will be two layers.
Linen is my preference because it’s a sturdy, natural fabric that works well with the varied weft materials I use in my work. For this piece I’ve used a medium weight, navy blue linen. Underneath it is a layer of heavy natural linen. My husband does a great job of stretching the linen on the frames for me. He gets a neat edge. I will add that you want the tucks of fabric in your corners to be at the top and bottom of the piece. When the tucks, or folds, are on the sides, you will see them when the piece is hung on a wall. No good!
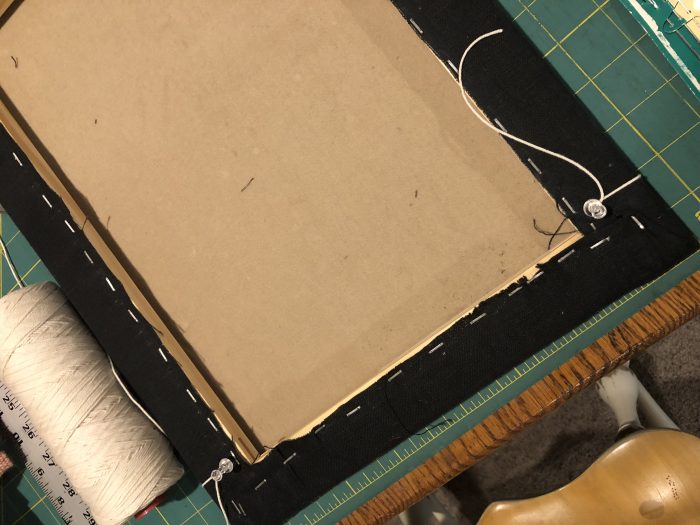
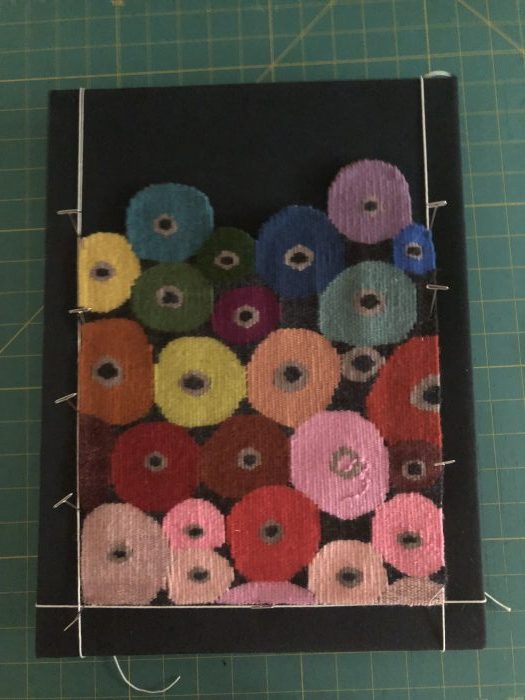
In the photo above, and the one below, I am making guide lines to help me place my tapestry on the frame. This is what Susan Martin Maffei taught me, and I think it’s brilliant! As you can see, on the back of the frame I have inserted push pins at the borders of where I want my tapestry. For this piece I want the tapestry to fit 1″ away from the side edges, and 1.5″ inches in from the top and bottom. I make these measurements on the back of the frame and insert a push pin in each corner at that spot.
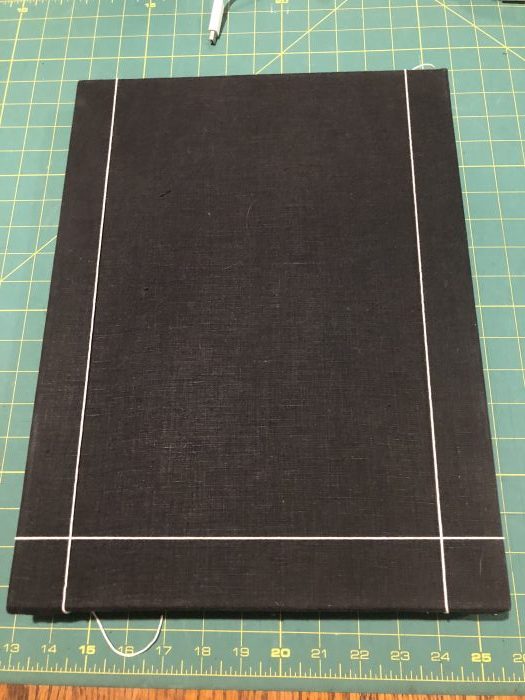
Then I can take some tapestry warp and wrap a line from the pushpins on the back across the front, both top and bottom, and across each side. When I’m done the front looks like this. I still have one guide line to add at the top of this frame. The warp thread is tied to a pushpin, then wrapped the front of the frame and tied to its coordinating pushpin on the back. Now I have guidelines for sewing my piece to the frame!
With the guidelines in place I can now pin my tapestry to the frame. I have used t-pins for this.
I prefer to use a curved needle for sewing the tapestry to the frame. I also use thread that matches the weft, and that means that I may have to change thread color a number of times during the sewing process. I catch a bit of tapestry and insert the thread through the backing fabric. It’s slow….
When done, I add a hanging device on the back, which is usually two small eye screws and a length of picture hanging wire. Done!
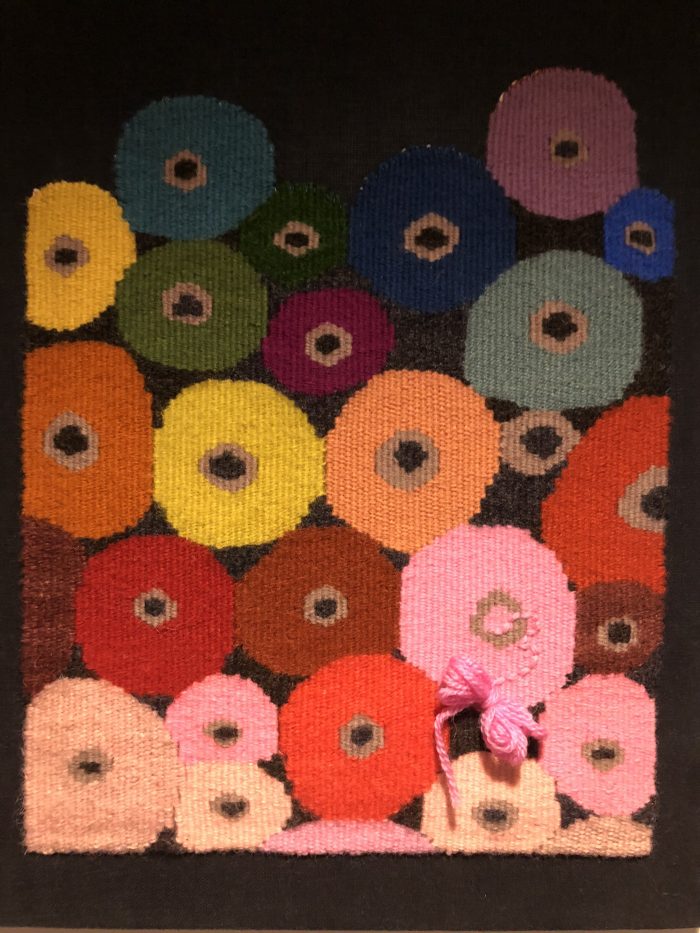
You may notice a butterfly of yarn and some ’embroidery’ on the piece that wasn’t in the photos previously. Originally I used the ‘flying shuttle’ technique to weave in something resembling a lowercase, cursive ‘z.’ Then Susan Martin Maffei and a few others in the Wednesday Group asked me to consider hanging the whole piece in the other direction–with the shaped edge at the bottom. After some time I removed the flying shuttle ‘z’ and left that extra weft hanging on the back of the piece. A couple of years went by. This piece was pinned to my big bulletin board. In the long run, I wanted the piece as it was originally. So I took that bit of weft still hanging on the back and tried to work it back in where it had been. Of course, now that is not officially ‘flying shuttle’ anymore, but I feel that it still counts since I’d done it originally. I finished off with the butterfly. Don’t you have spools with extra thread/yarn stuffed into the center of the spool? I have lots of those!



Thank you so much for this important and timely lesson on finishing a tapestry. I’m a learner and have avoided finishing any of my pieces. Now it’s time to make the attempt.
New to your site, after seeing your FB post. Love your work.