
The draft for this pattern is from a workshop Laurie Autio gave our guild in fall of 2014, called “Designing for Block Weaves Using Twills as Profiles.” In the post I wrote I about this I called it a ‘blended draft’ which Laurie says it is NOT! So I’m not certain what to call the procedure of taking a twill circle (1-2, 2-3, 3-4, 4-5…etc) and using that sequence as a profile draft for plugging in a different weave structure, such as huck.
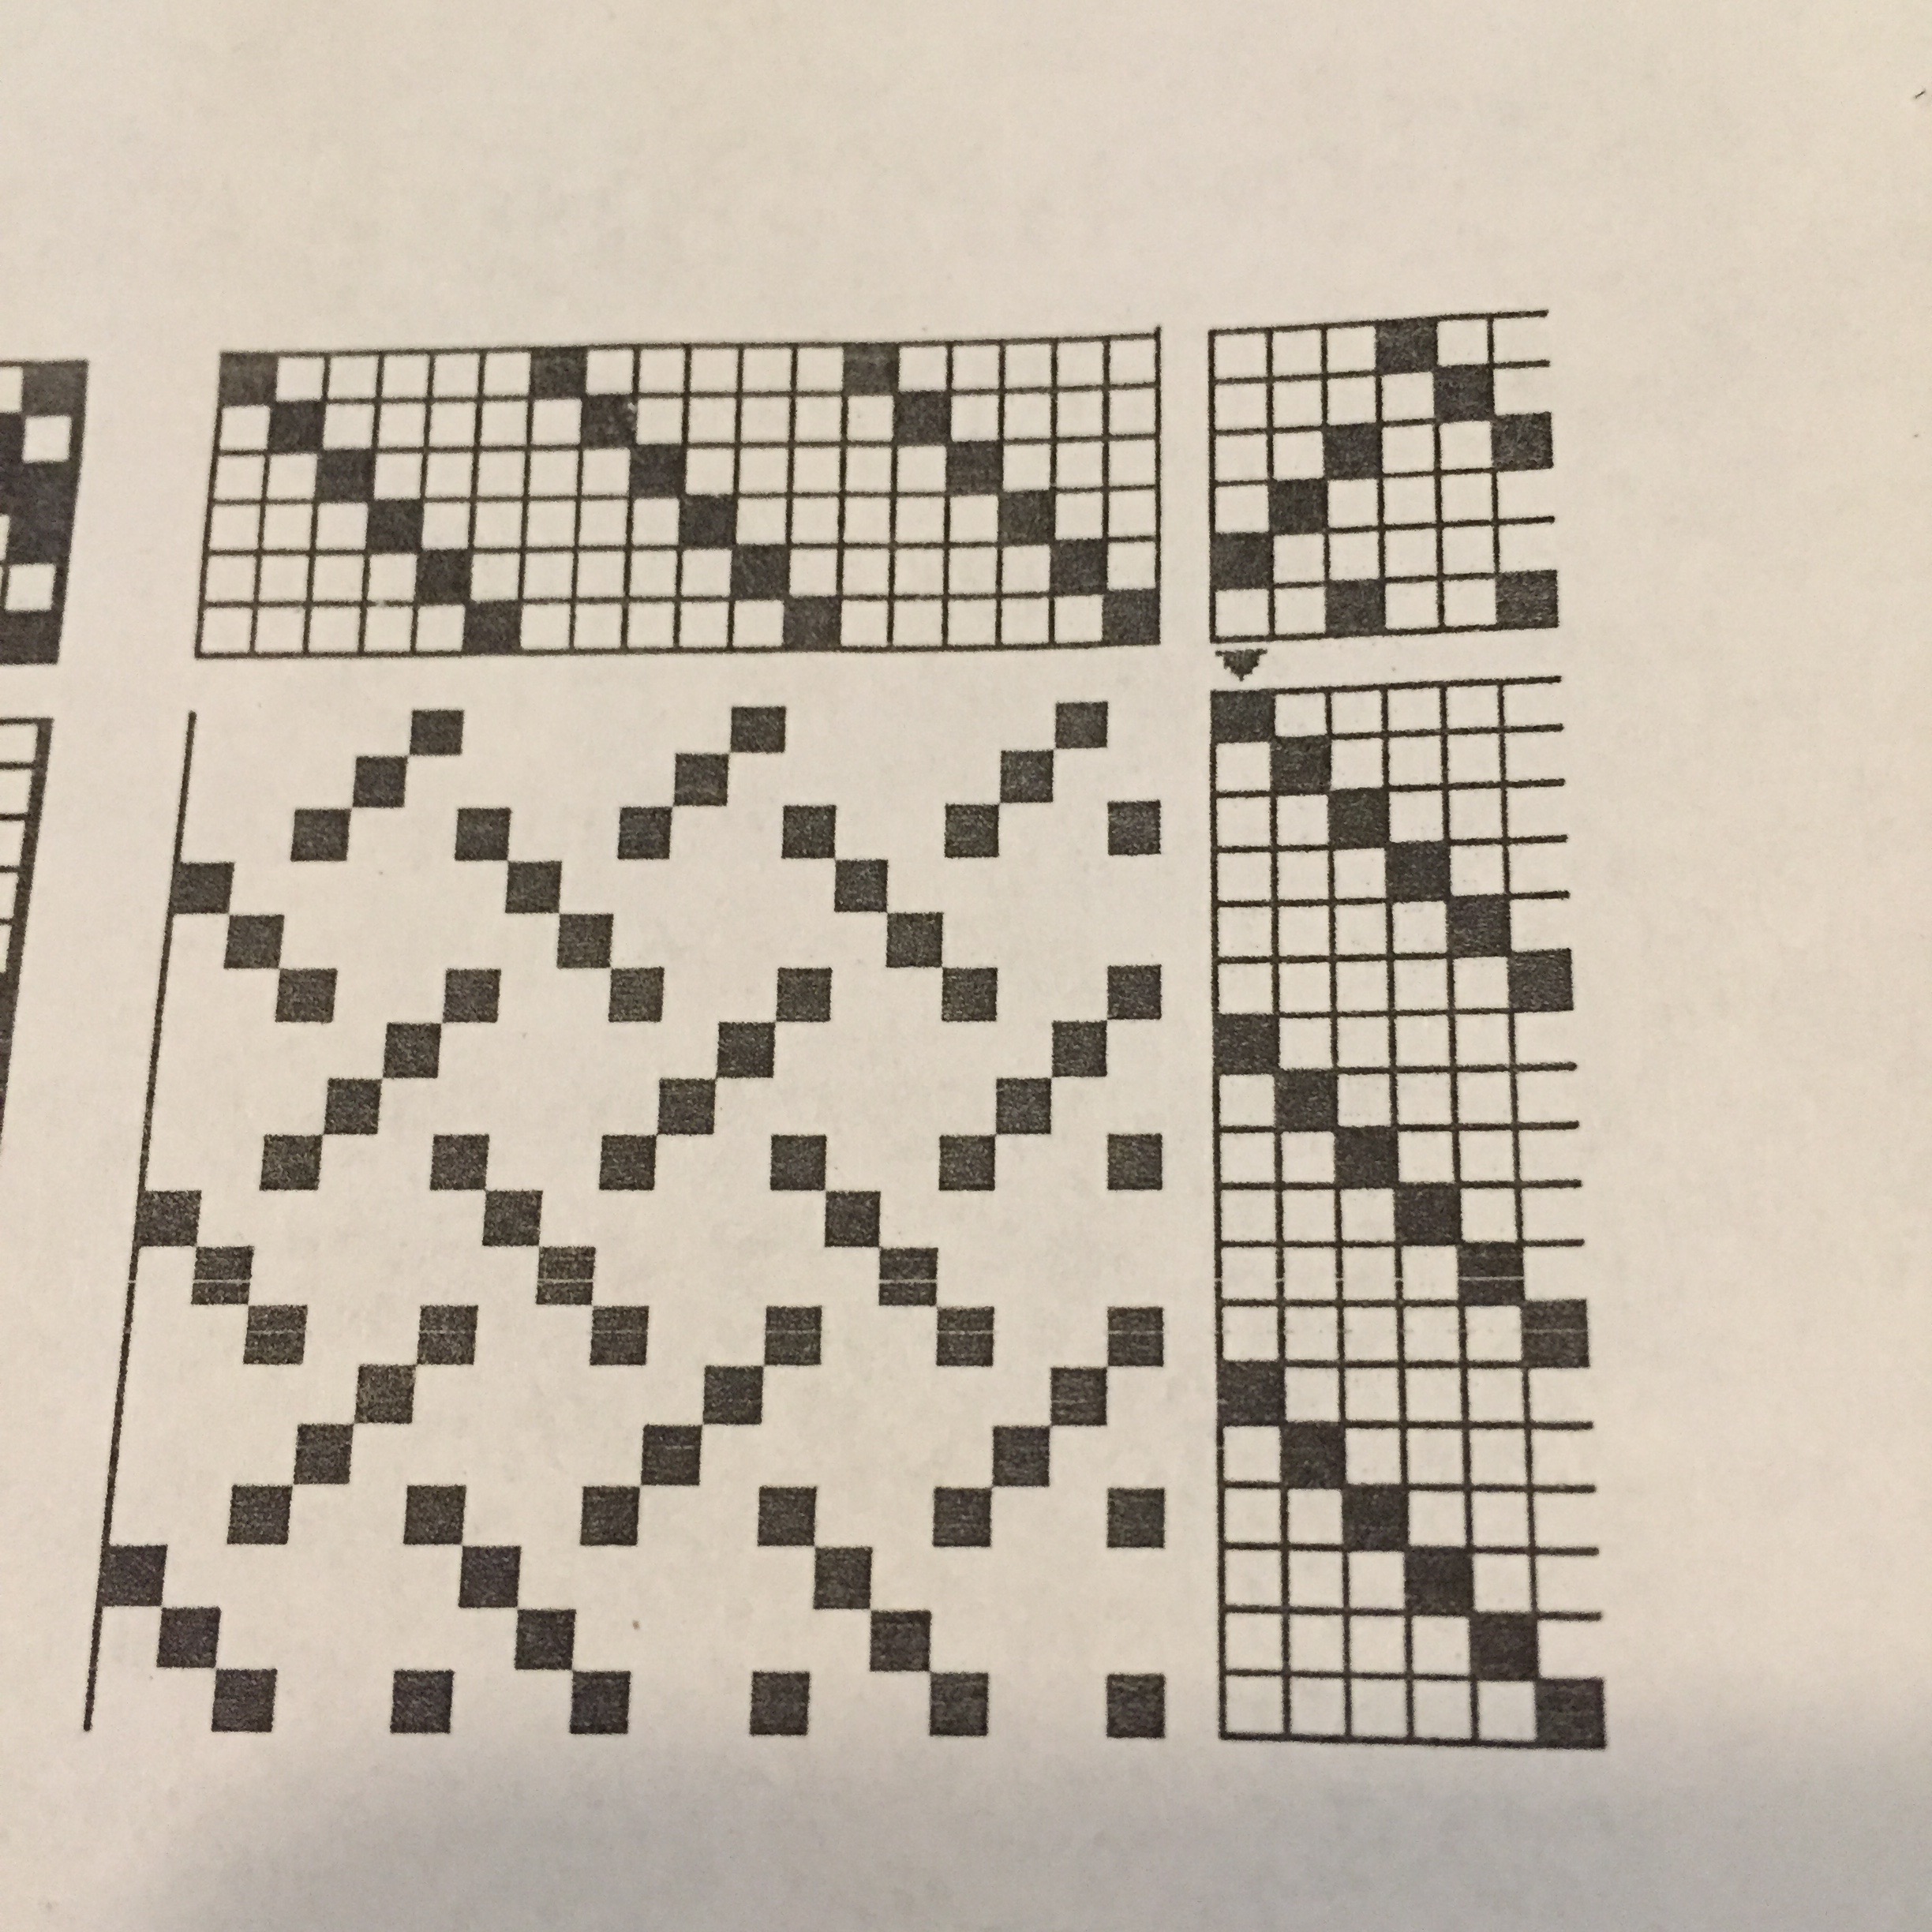
Here is the plaited twill draft that was used for the profile:
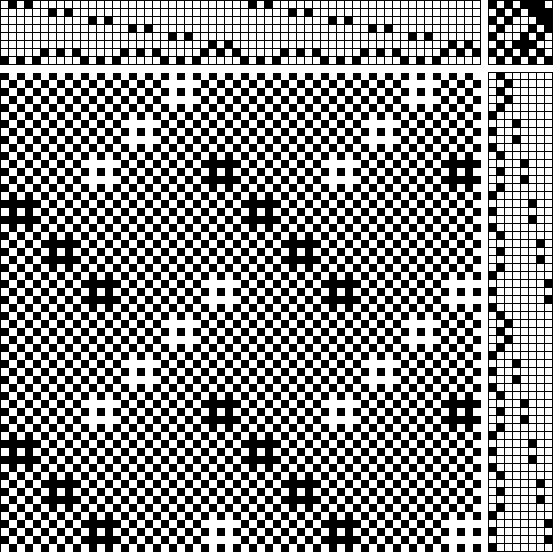
 Here is the draft. The huck draft of little sections of 5-thread repeats that create either a weft float or warp float are threaded according to the twill pattern above. There has to be a better way to say this, and when I find it I will rewrite!
I wanted a subtle woven huck fabric so for the warp I used three very close colors of 2-ply wet spun linen whose weight is a bit heavier that 16/2 linen. I’m sorry I cannot say exactly what it is. I have a large stash of unlabeled linen cones of linen and silk cones from a dear weaving mentor, and none of them are labeled!
WARP
Laurie recommended that I give the McMorran yarn balance information about the yarns I used. I have never felt confident in trusting this little device. When I perform the procedure on the same yarn multiple times I never get the same number! My three warp yarns gave me a range of yardages from 1325 yards per pound (ypp) to 1750 ypp. They are slightly different grists, so it is conceivable that their yardages would be somewhat different, but a difference of over 400 ypp is a bit untrustworthy to me. And here is another reason that it is hard for me to trust this little gadget! My cones of linen are thicker than 16/2 Bockens linen, yet they also look like they have less twist. That might make them lighter weight in spite of looking thicker. Yardage for 16/2 linen is 2700 ypp, and my ‘thicker’ yarns ranged from 1325 – 1750 ypp.
I made the warp by holding the three yarns together, separated between my fingers. I put the spools on a spool holder and ran the yarns up to a hook in the ceiling and then down to my finger tensioning technique. I made a 1 x 1 cross since the yarns are a little hairy and I didn’t trust having adjacent yarns in the same cross. My warp was sett at 12 epi, and sleyed 2-per-dent in a 6-dent reed. The warp was 25″ wide and I used my Baby Wolf for this project. The pattern repeat for this draft is 30 threads. At 12 epi with 10 repeats I needed 300 warp threads, which was 10 pattern repeats across the warp.
WEFT AND WEAVING
The weft is a single ply linen that is rougher than the warp. It has lots of thick and thin areas, so I think the McMorran yarn balance will be even less accurate. I measured three times and averaged my findings for a result of 1900 ypp. I wove to square the pattern. After weaving the necessary yardage for the front and back of the bag, I wove plain weave to the end of the warp for the handles and the top of my lining.
FINISHED FABRIC
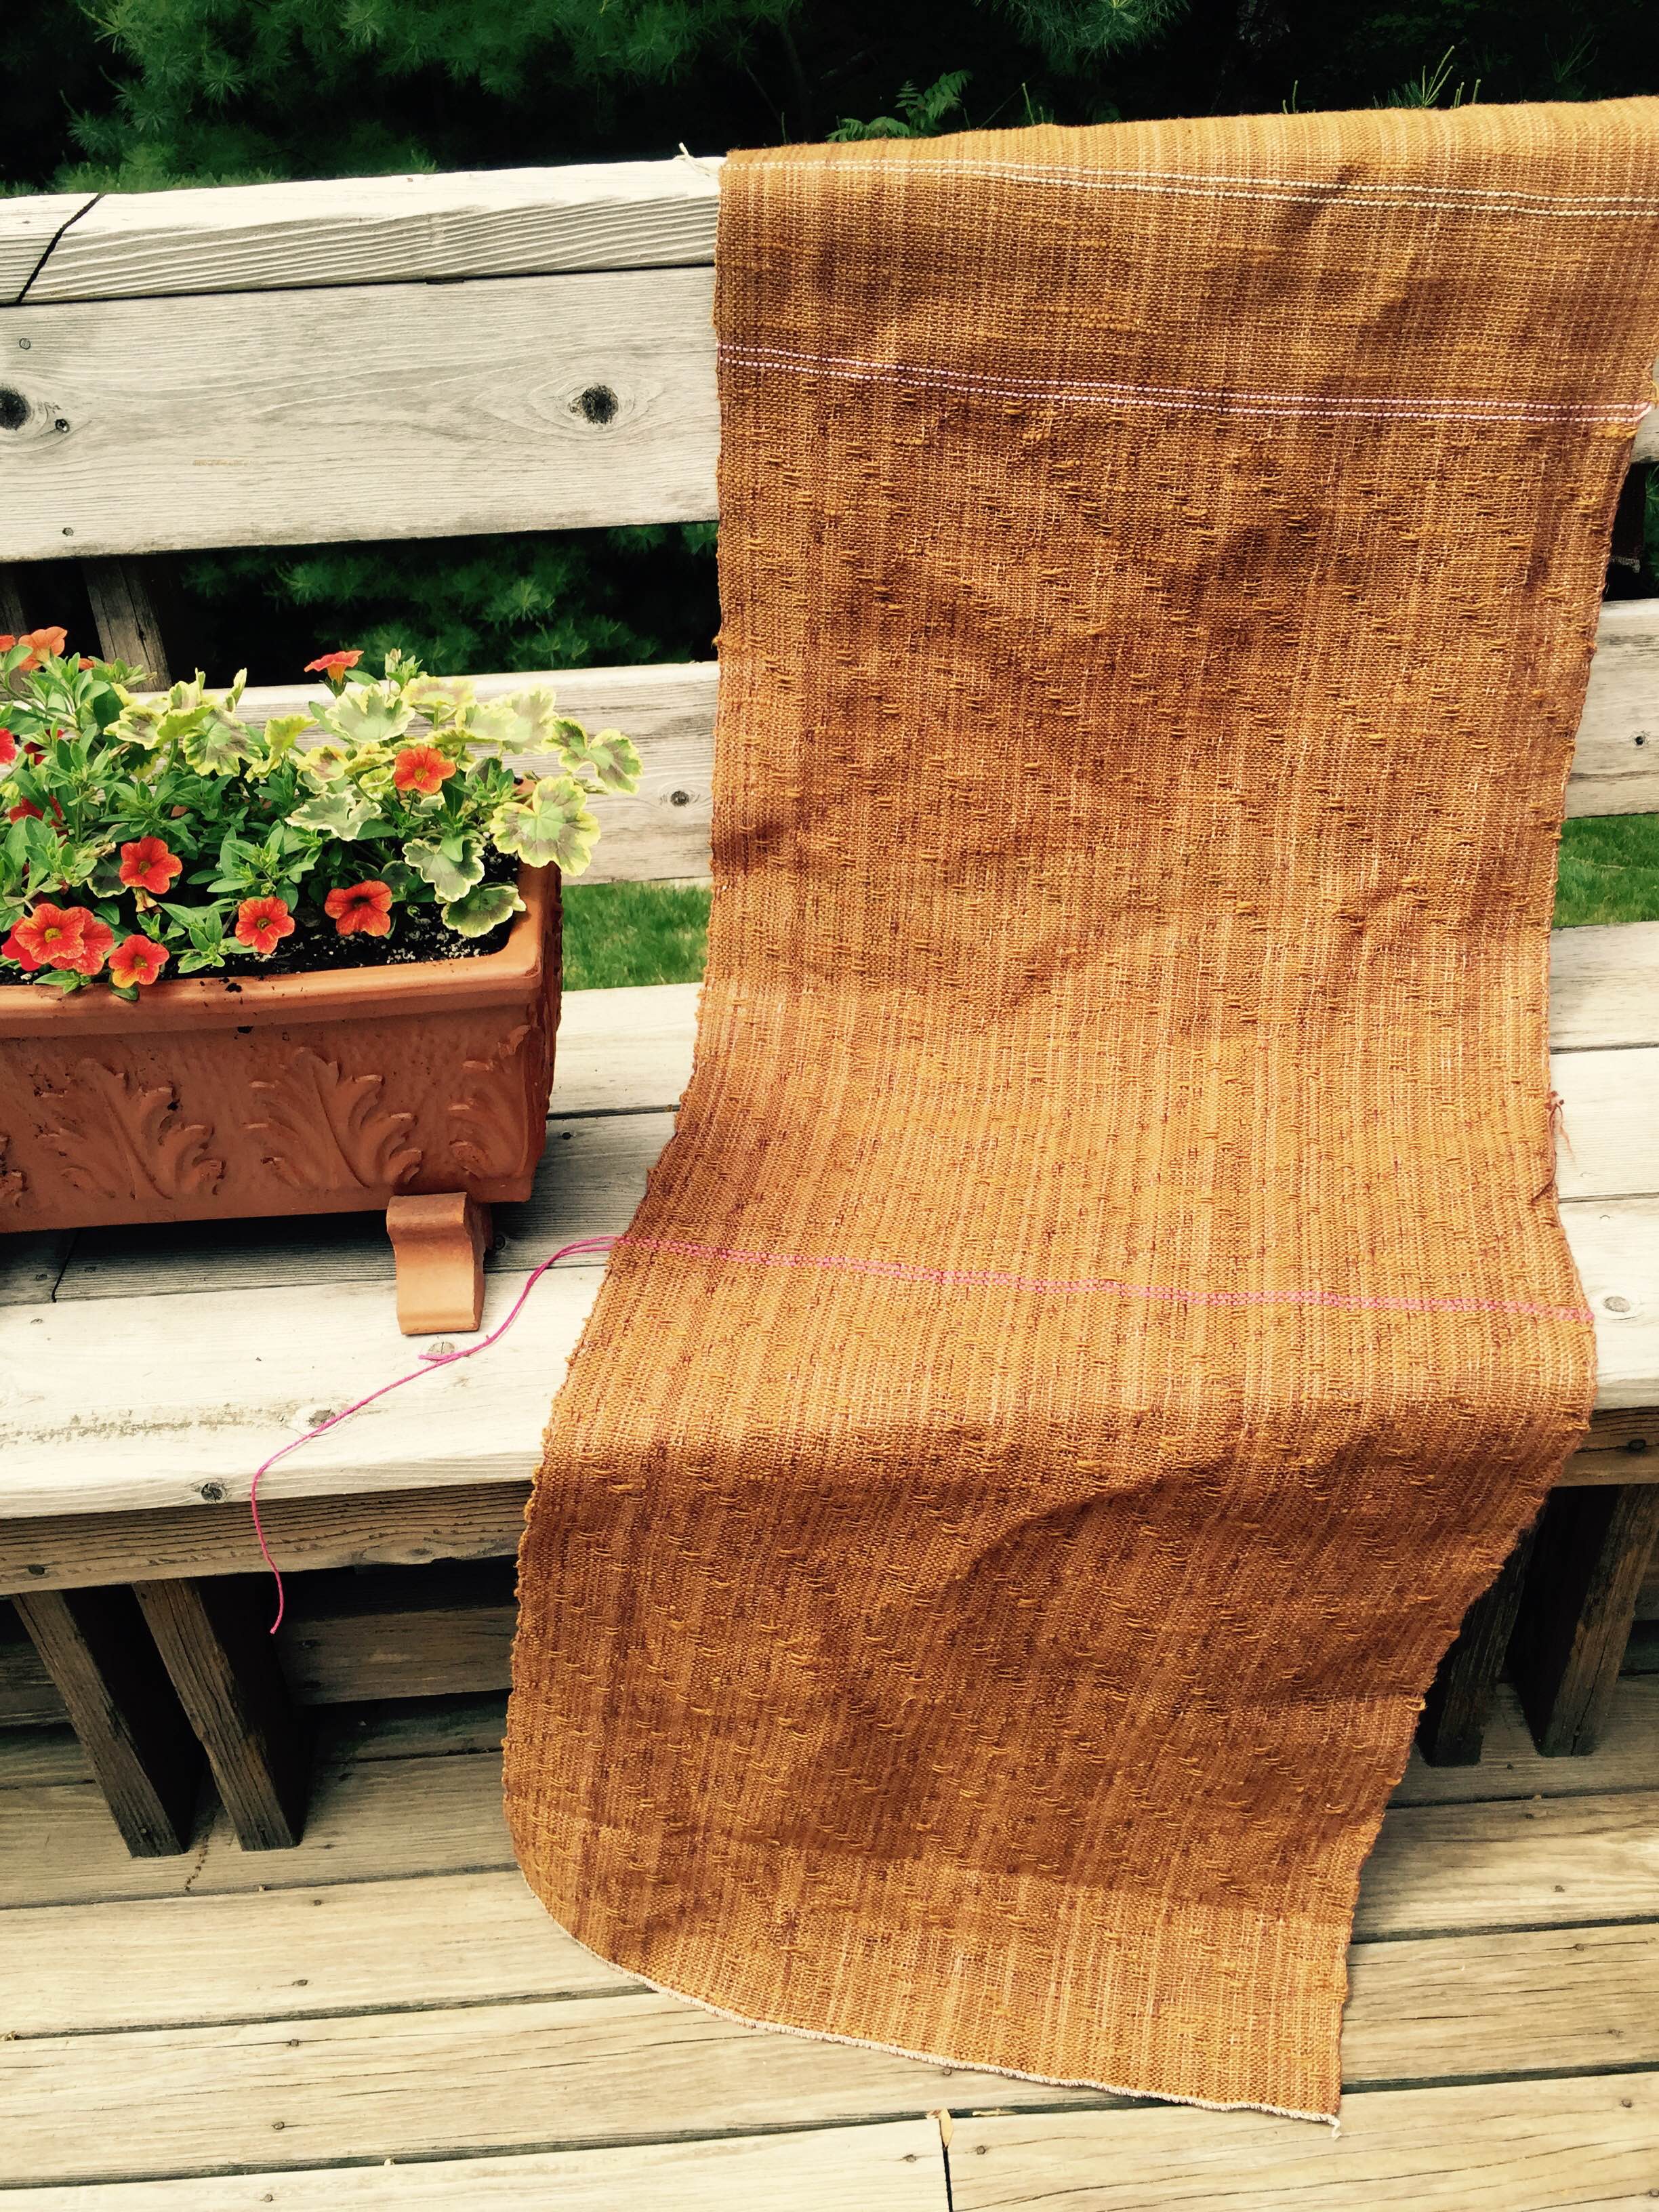
I wanted the front and back of the bag to be roughly square before doing the box corner at the bottom. I have a tote that I made from commercial fabric that I cut 24″ square to begin and I love the proportions of that bag. I knew I would not get a finished fabric 24″ wide on the Baby Wolf, so I thought I would just use whatever width I did end up with for making my size determination. After washing the width of the bag was about 20″. I put in cutting lines (two plain weave picks in a contrasting yarn) after weaving 24″. I thought the shrinkage would be greater lengthwise than in the width, but my cutting lines ended up longer than my fabric was wide. If I had not woven in these cutting lines, I could have changed the proportions of my bag. With the cutting lines I put in, the bag became somewhat taller than it is wide.
This photo was taken after I machine washed the fabric on a normal setting and set outside to dry. You can see the cutting lines and where I switched to plain weave (at the top of the photo) for the handles and part of the lining. I used a commercial linen fabric for the lining; it is brown/tan/black plaid that you can see in the little loop for the button in the next photo.
SEWING THE TOTE BAG
You can use the directions I wrote for the smaller tote bag that I made last summer, changing the size of the pieces you cut to match your fabric, roughly 20″ wide by 22″ long.
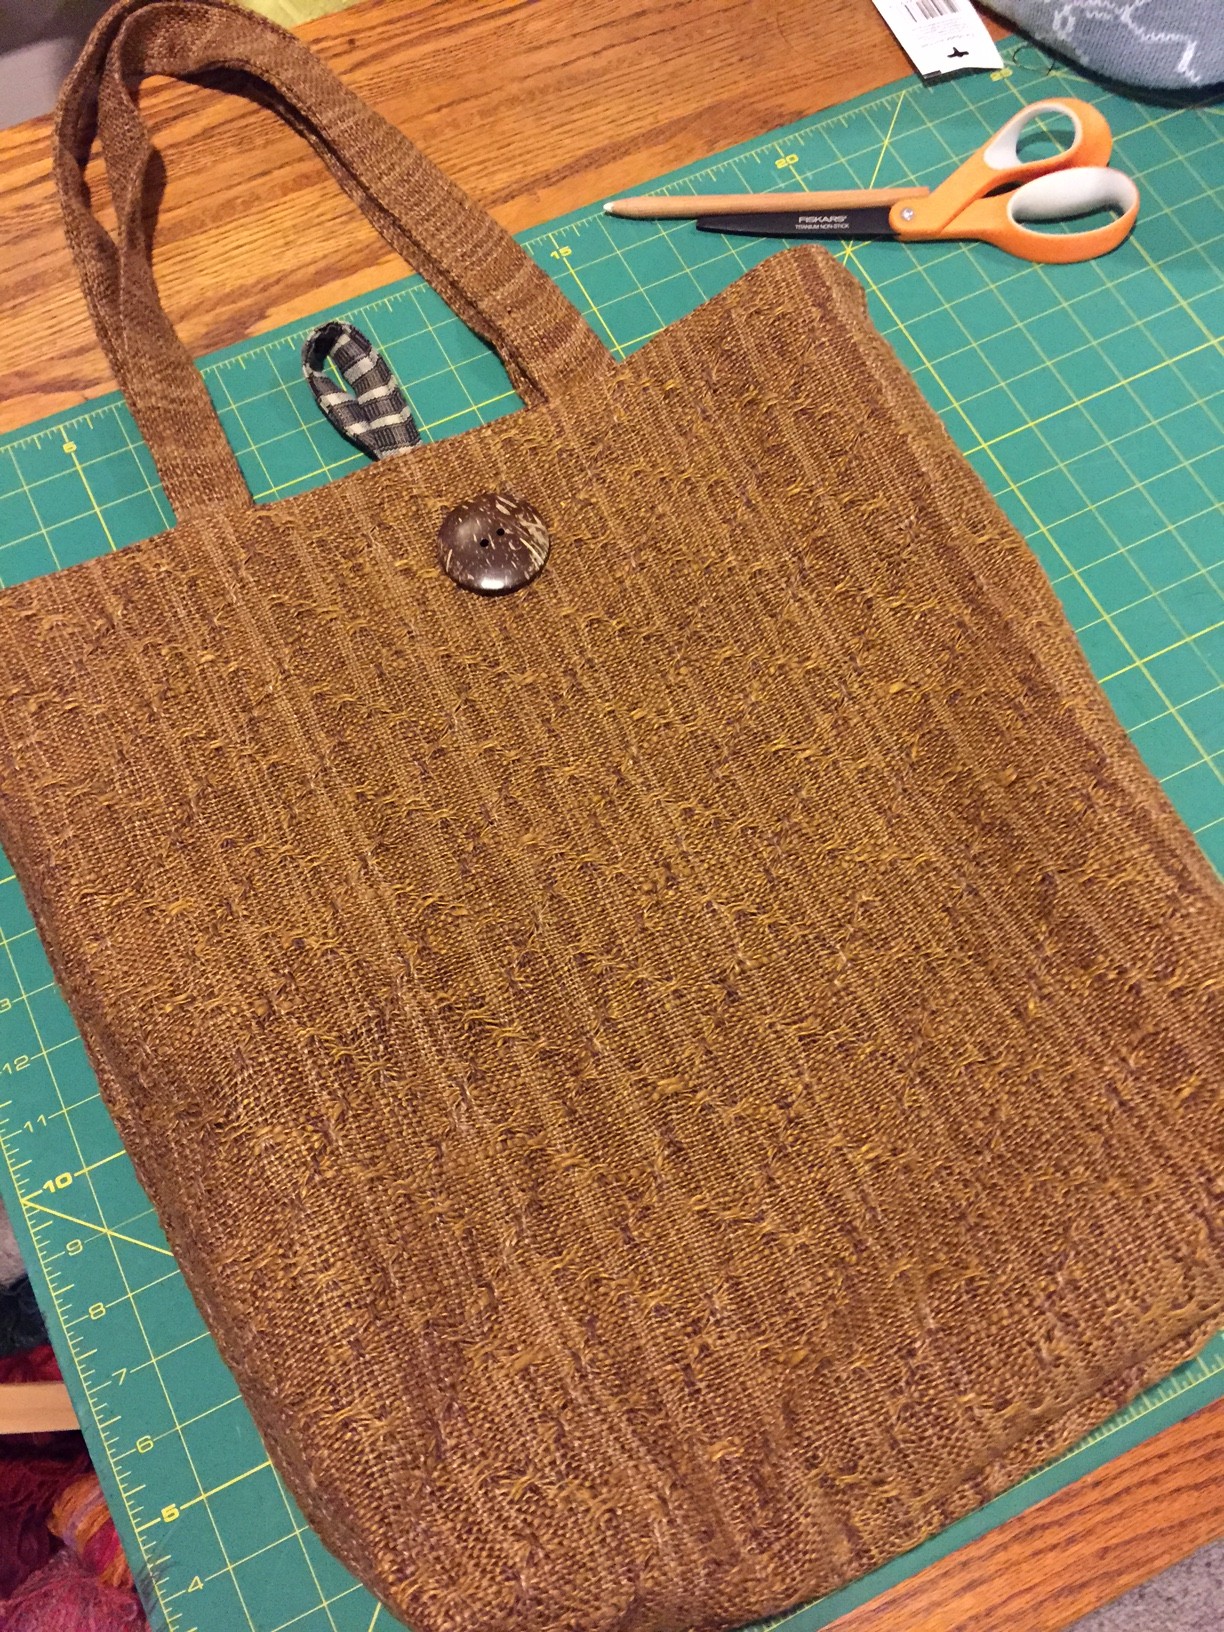
For this particular bag I used the directions below. After some thought (and because I did not have enough handwoven fabric!) I decided to omit the zipper that is detailed in the beginning of this video. I am now happy that I decided to omit the zipper since the bag opens wider with only a button and loop closure. The contstuction method for this bag has different order of sewing the pieces than my written instructions from the previous bag, and I just loved having the handwoven fabric at the top of the lining. I think that is more professional looking.

Thank you very much for posting this. Looking for appropriate fiber to start weaving one!
Thank you so much for putting up the instructions for plaited twill/lace pattern. I hope to use it soon. I love doing lace (my favorite weave structure) and have done plaited twill but never thought to put them together. I will probably make a shawl out of it using my hand painted silk or an alpaca/silk blend that has subtle shades of red.
Once again thank you for posting the pattern.