Weights and Measures Onboard
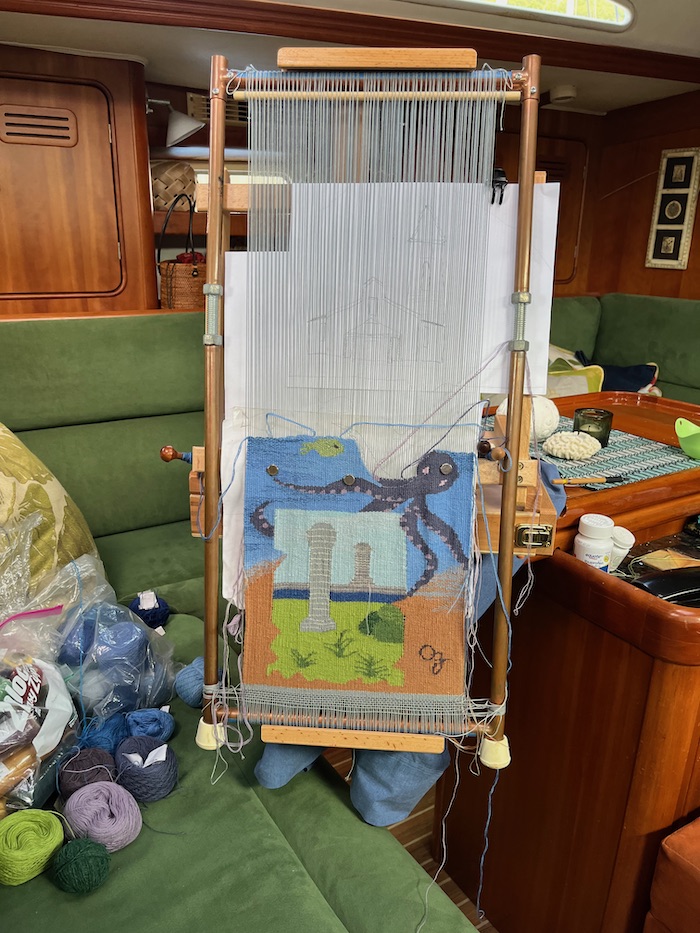
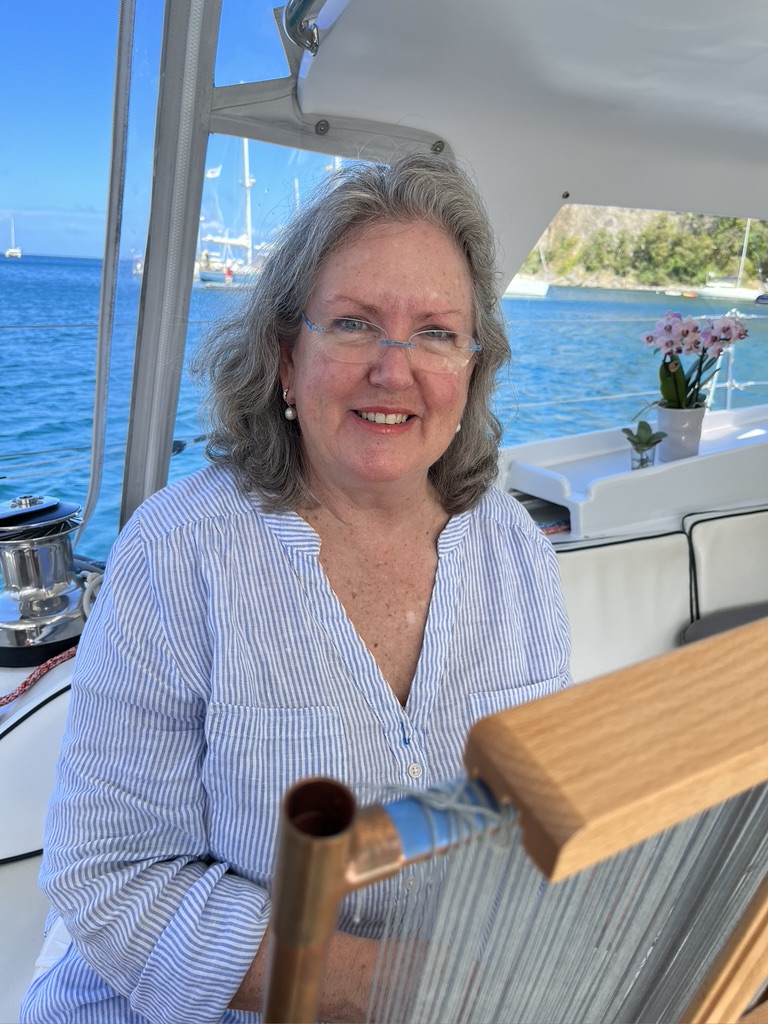
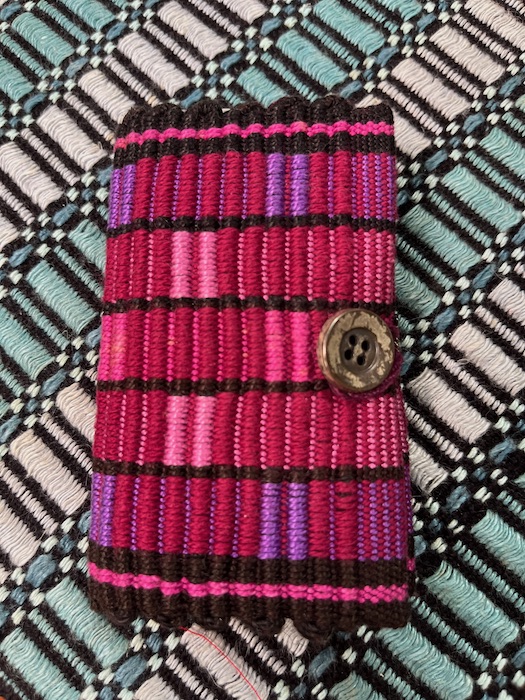
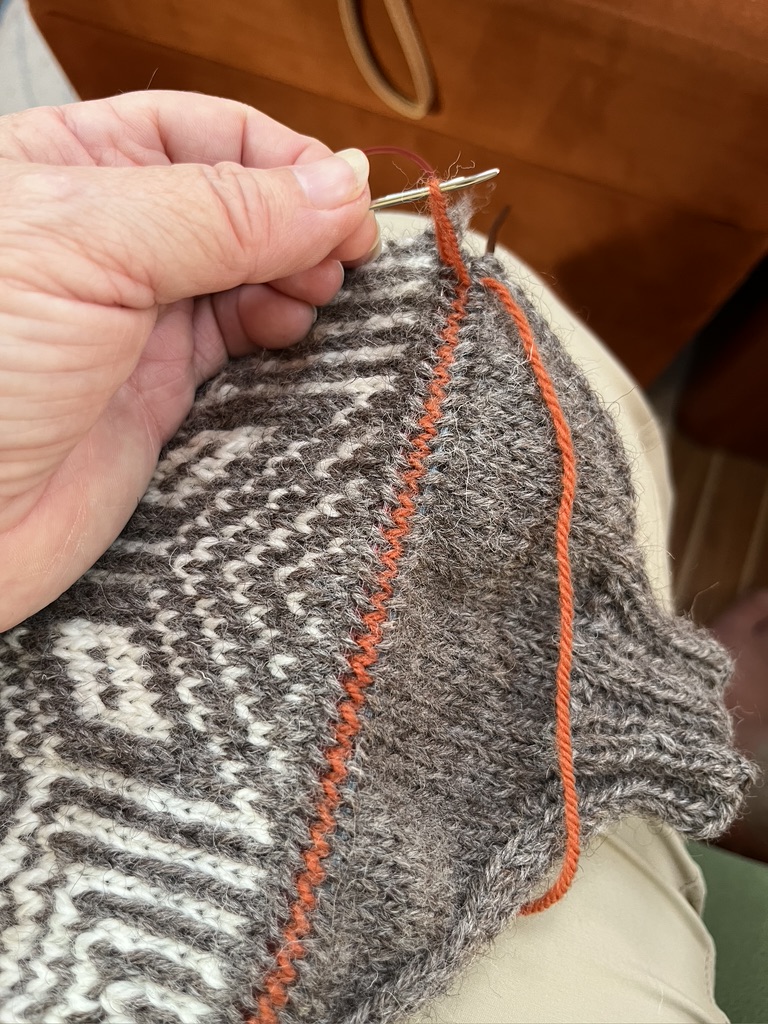
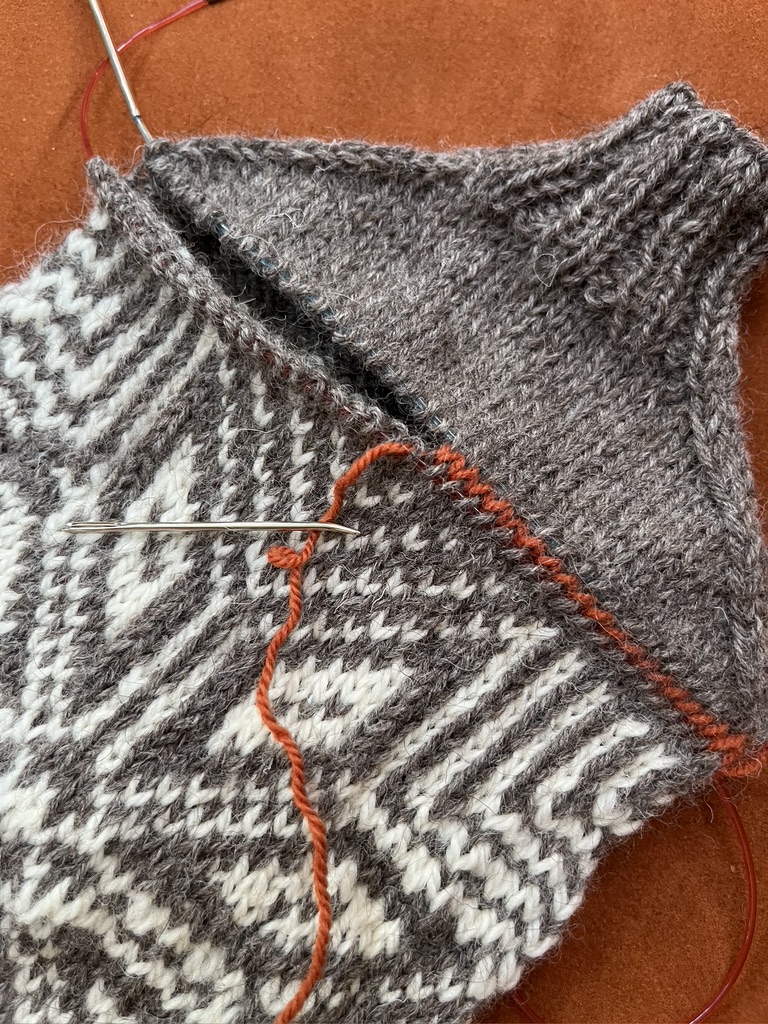
Here is my working space onboard. In yacht parlance it’s called the main saloon (I have always pronounced that ‘salon’), and it is the main living space down below on Pandora. It is connected to a small galley, and there is an aft cabin toward the stern, and a ‘main stateroom’ forward of this room. That’s a glamorous phrase for where we sleep. It doesn’t seem ‘stately’ at all.! I am very good at making a huge mess of our limited living space. We had a couple of days of calm conditions in Deshaies, and I took good advantage of it to finish the first part of this tapestry that I started in May of 2020–more than 2 1/2 years ago. My heart has not been in it, perhaps because of some bad memories of that year. The odd thing is, when I sit down and work on it, I enjoy it. Go figure.
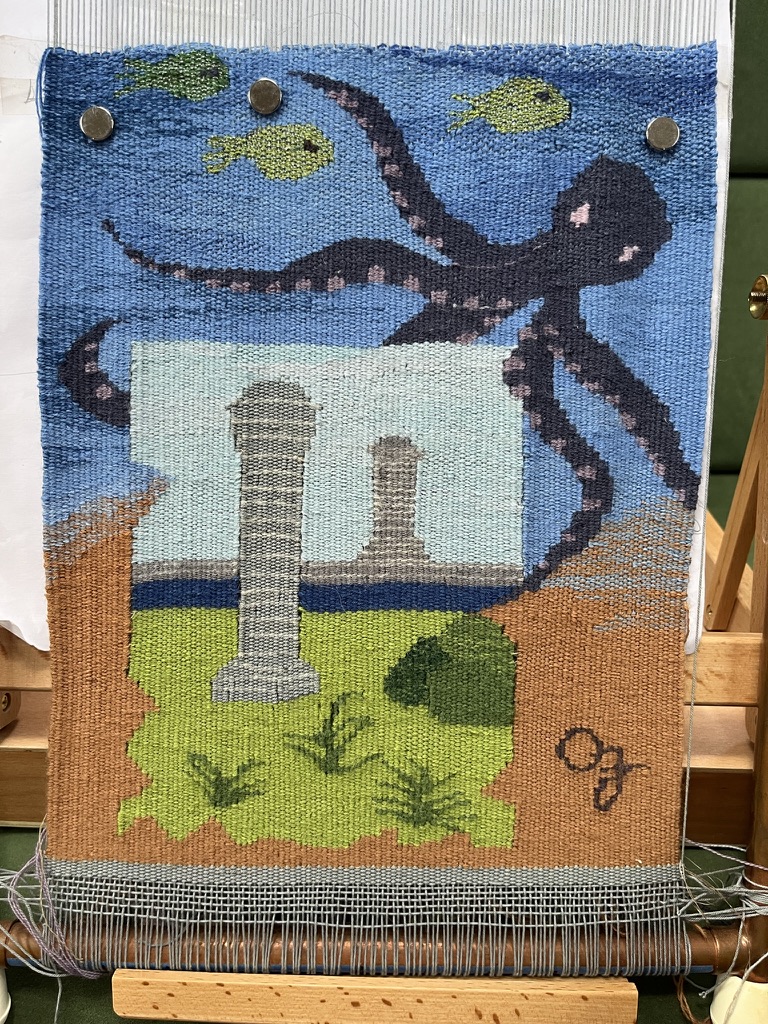
Now I am ready to slide the woven section partially around to the back of the loom in order to keep weaving. I hope to do that today, when I finish this post. The conditions in Les Saintes are not nearly as calm as they were in Deshaies, and that is why I have not gotten back to work on this piece. I’ve been lucky to knit, which was only once. Otherwise, I’m just trying to keep my balance onboard!
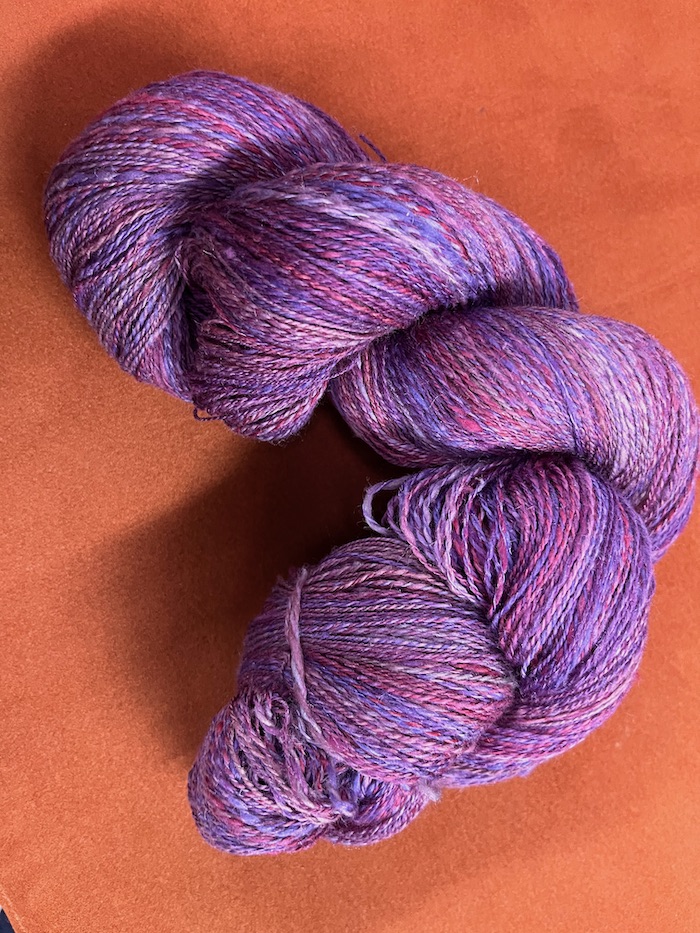
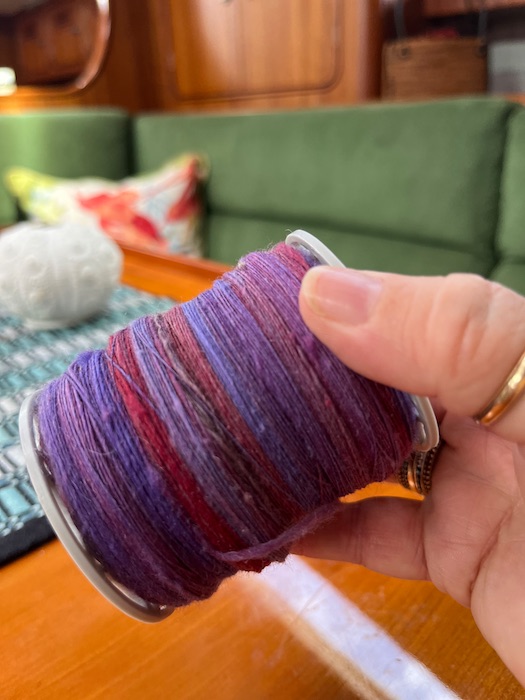
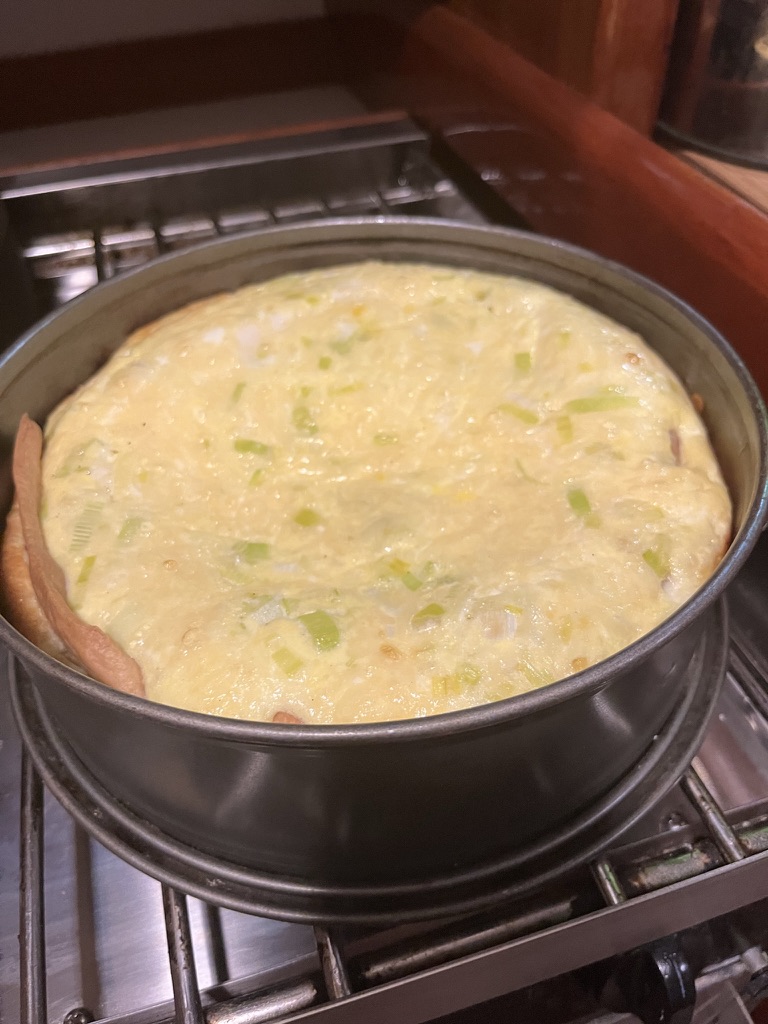
Weights and measures have factored rather significantly over the past few weeks. First I attempted to weight the merino/silk top I was spinning because I wanted to have an equal amount of singles spun on each bobbin in order to have equal amounts to ply together into finished yarn. Have you ever tried to weight something on a boat? The gentle, and not so gentle, up and down movements on a boat raises havoc with a scale. On the scale the read out for my merino/silk to cycled up and down by about 10 grams. I usually just try to pick the number in the middle. When baking a cake it’s far more important to get it right! Here was my guess for baking a quiche. It was not perfect, but we certainly thought it was good.
I also wanted to measure the length of that newly spun and plied yarn. Luckily Bob found PVC pipe at a hardware store just outside Falmouth, Antigua, and he made one that has a central arm of 18″. The yarn winds four times around that central core, for a total of 2 yards per single go ’round. I was able to measure that my merino/silk skein is 840 yards, plus or minus probably 10%. I can’t measure this accurately until I get home. Winding on a niddy noddy, or anything else, depends on the tension you use to wind. Too tight, and you’ve got quite a bit less yardage than you think. It’s hard to wind too loosely because of the nature of this repeated action. In general, we all tend to get tighter and tighter even when we are trying to avoid that. I took my time and tried to ‘stay loose.’ We’ll see.
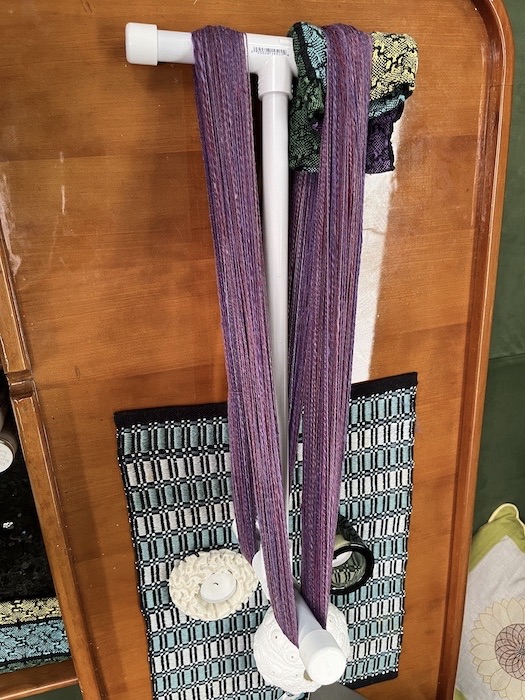
This niddy noddy absolutely will not come apart, even though it is not glued. I wonder if that is due to the heat and humidity of the tropics. I padded one of the arms with a folded napkin, hoping that would give me some ‘wiggle room’ to get the yarn off when I finished winding. It worked.
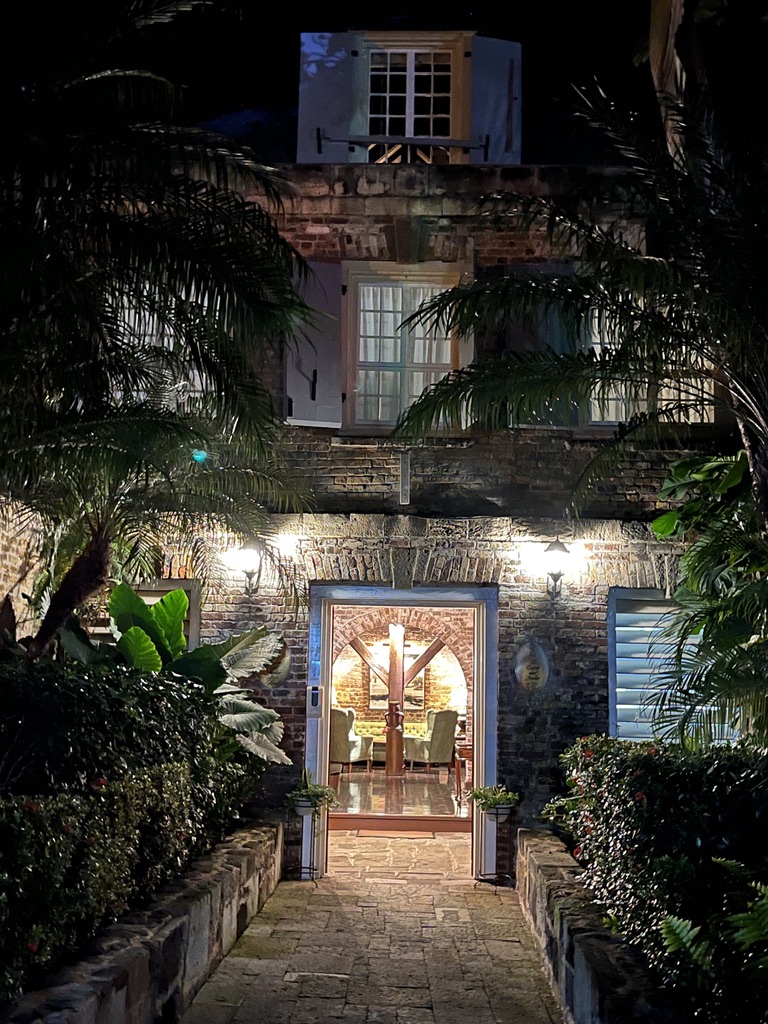
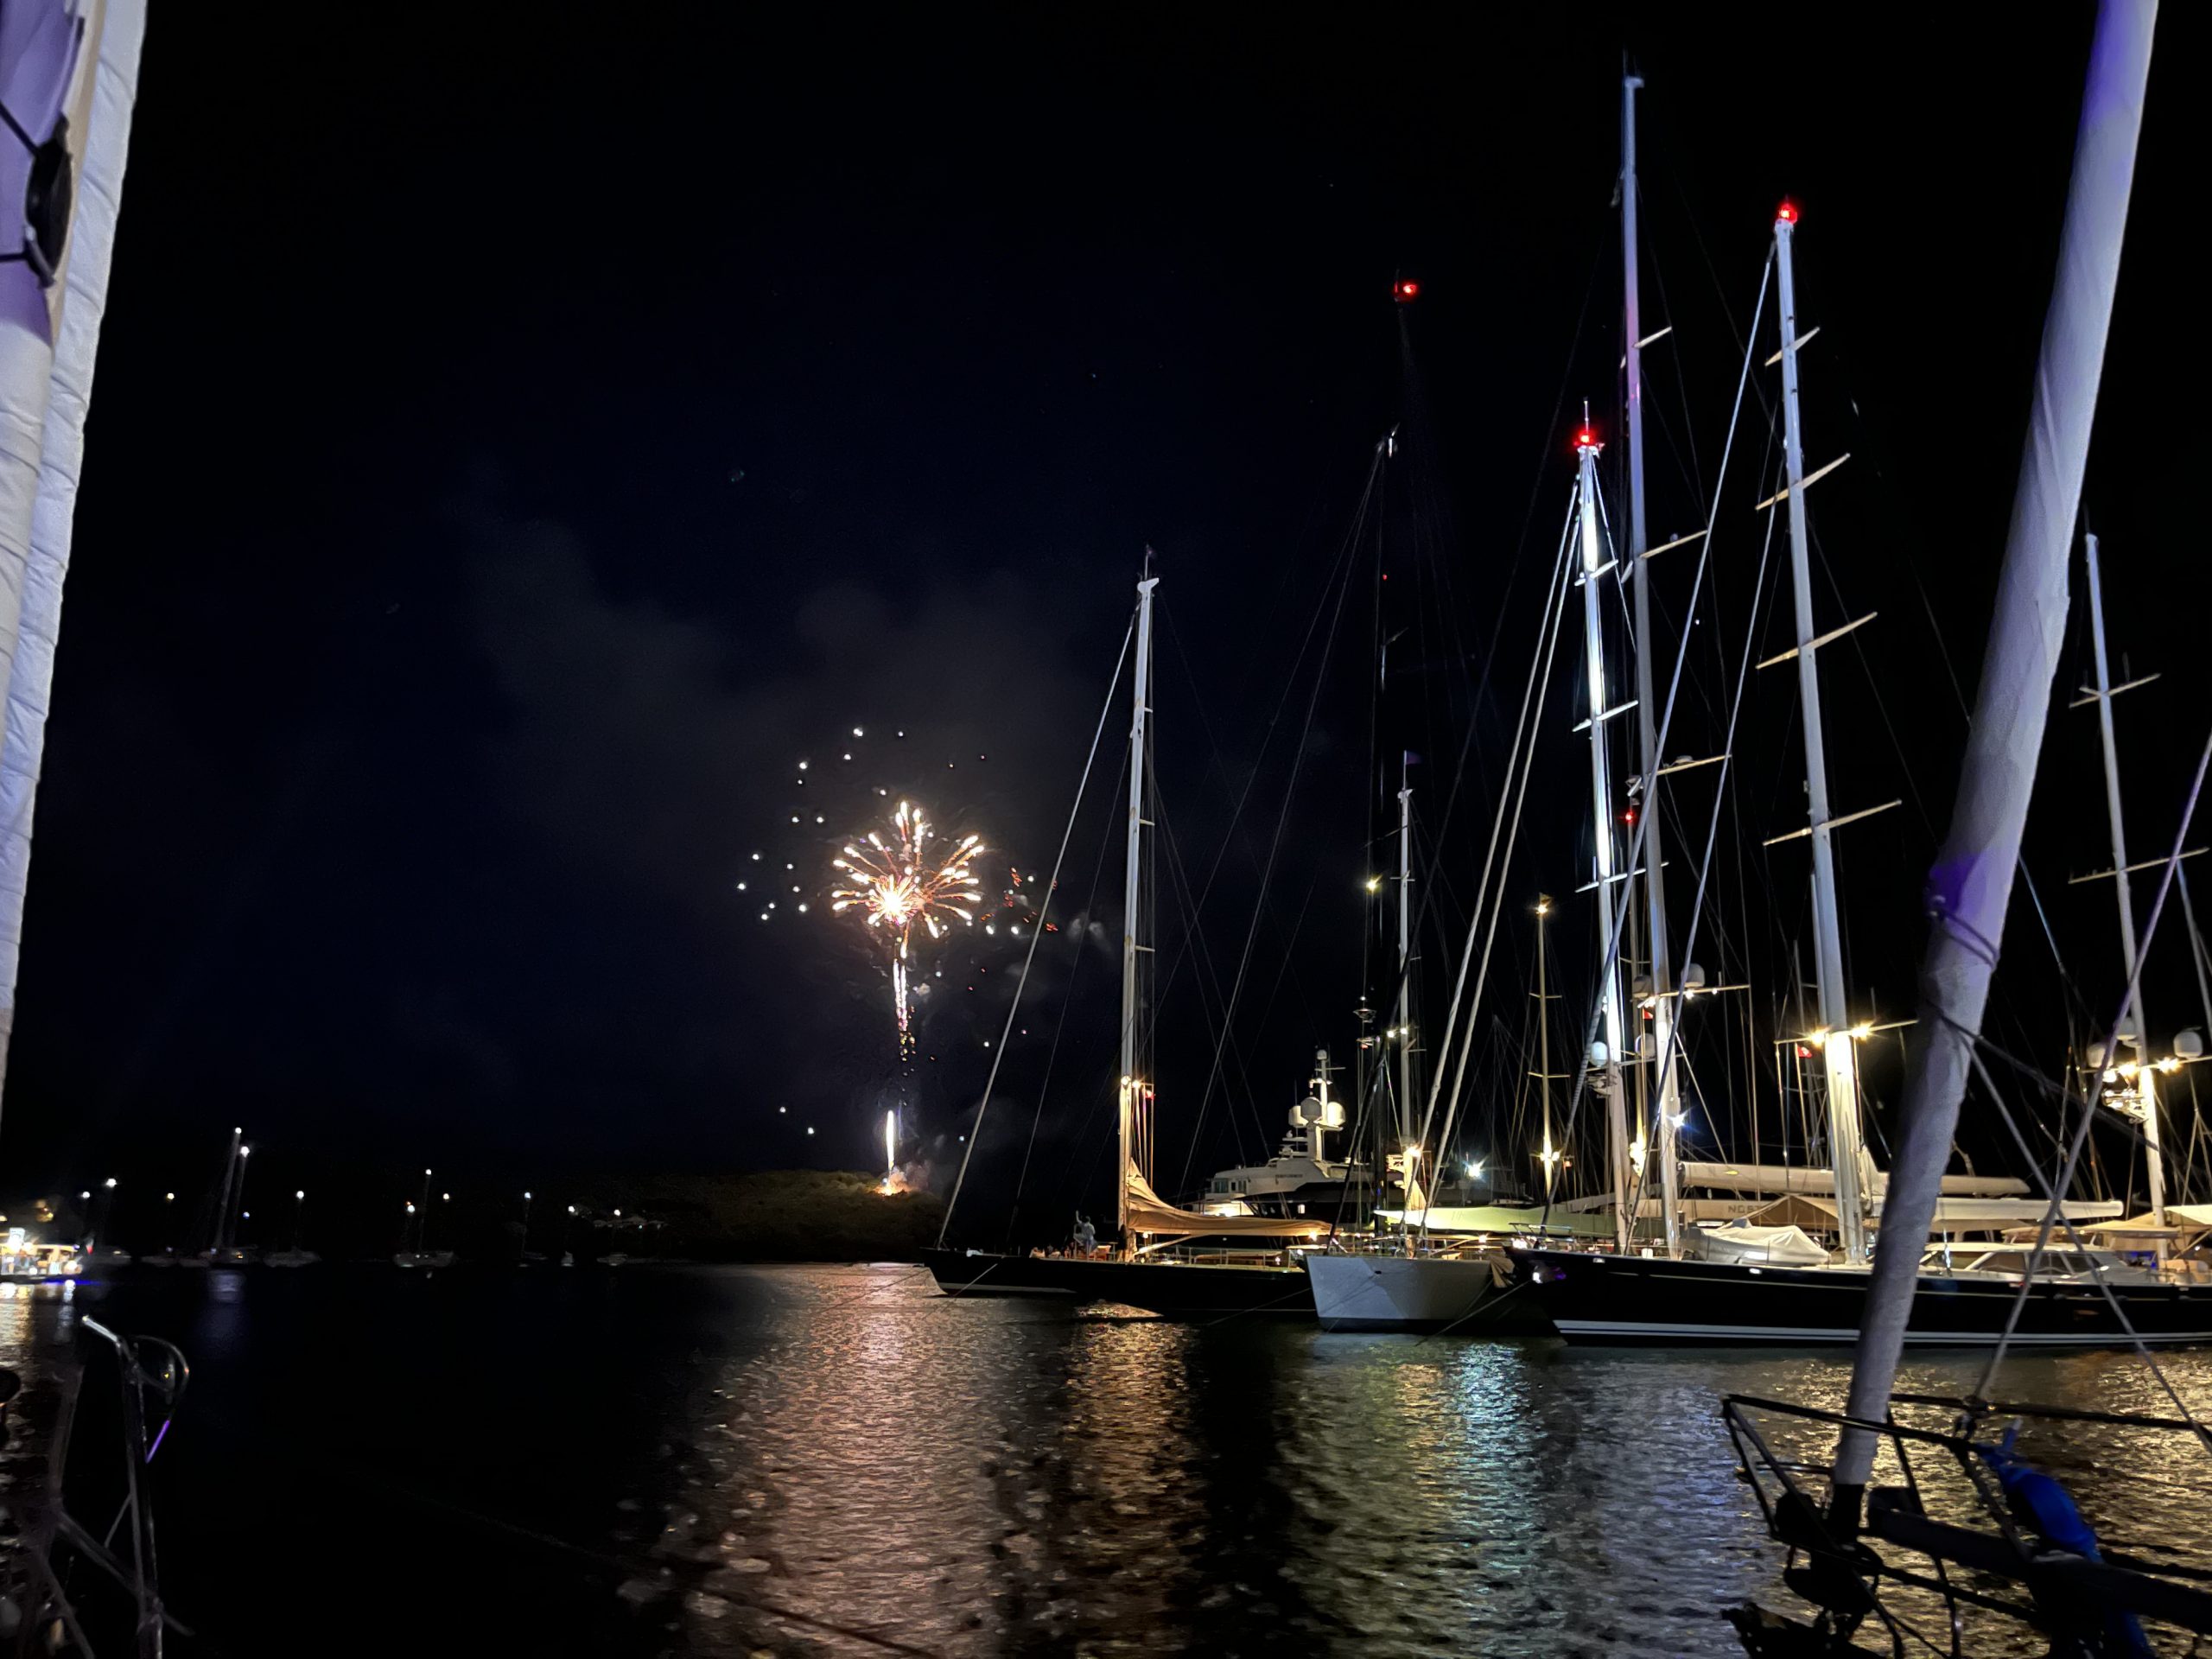
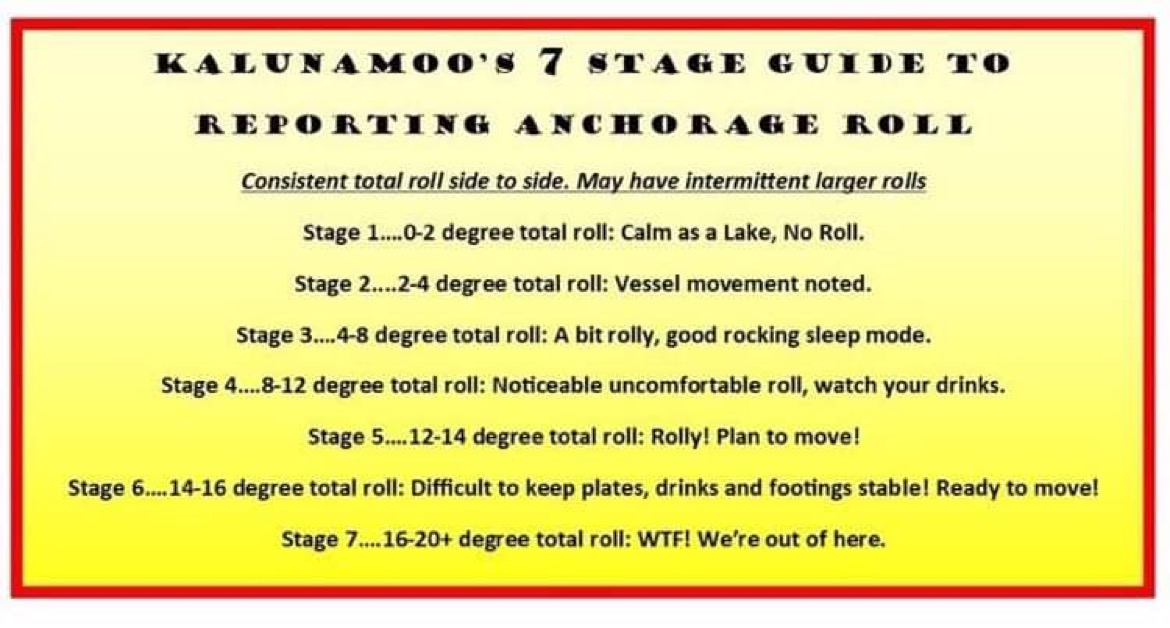
We’ve been in Les Saintes for three days. The conditions here are rough, but the place is scenic. You can’t have everything. Below is a chart that our good friend aboard Kalunamoo created to measure of how UNcomfortable the ‘harbors’ down here can be. Most places are not harbors at all, simply coves or bays in which you can throw down your anchor, but there is no protection from the sea conditions. In Antigua, we were in real harbors, both in Falmouth and English Harbour. That’s a great way to start a winter of sailing, and really quite a come down for the rest of the trip. Deshaies, Guadeloupe is between a 3 and a 4 on Bill’s chart. In Les Saintes, we rarely get a mooring ball right near the village on our arrival, so we have to spend at least one night anchored between the islands of this archipelago. The roll conditions are consistently between stage 5 and stage 7. It’s awful. One night while I was sleeping a book jumped right off the shelf above me and clobbered me in the head! It was a rude awakening. The next morning I discovered that my glasses came down with the book, and I had fairly mangled them by tossing and turning all night on top of them. Bill Woodroffe writes a great blog about the lifestyle of living on a boat here.
Luckily we only spent one night on anchor, and early the next morning we were ready to head closer to shore in the village (Haute de Terre) to grab a mooring from anyone who was heading out. We were on a mooring by 7am.
One thing I measure while we are traveling aboard each winter is the home ports of all the boats that are anchored or moored nearby us. Antigua had a predominance of Union Jacks, in all the varieties that signify the colonies and protectorates of the UK. There were some number of French flagged boats, as well as Canadian, and Norwegian/Swedish/Danish, with only a few Dutch flagged boats. I saw a few Swiss and German boats in the mix. The past decade of sailing in the Caribbean has honed my flag recognition abilities. In the French islands, the French flags outnumber the British, as do the Scandinavian boats. I’m used to looking up the variations of the Union Jack when I’m curious about exactly where some of these boats call home. Yesterday I saw a variation on the Norwegian flag that caught my eye. It is currently the most beautiful flag I have seen!
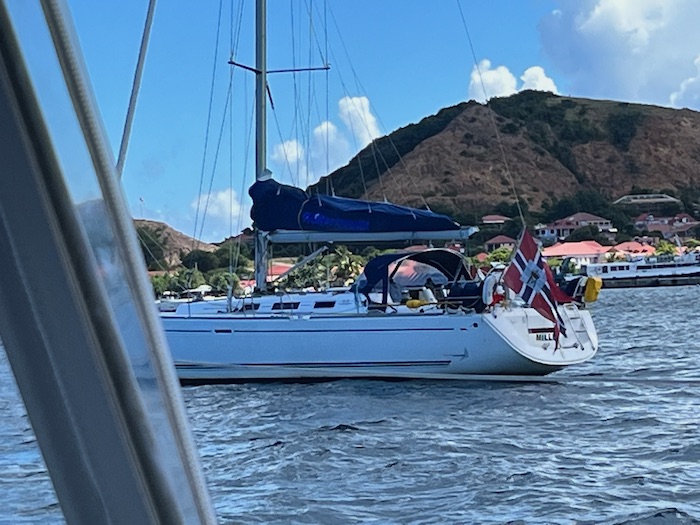
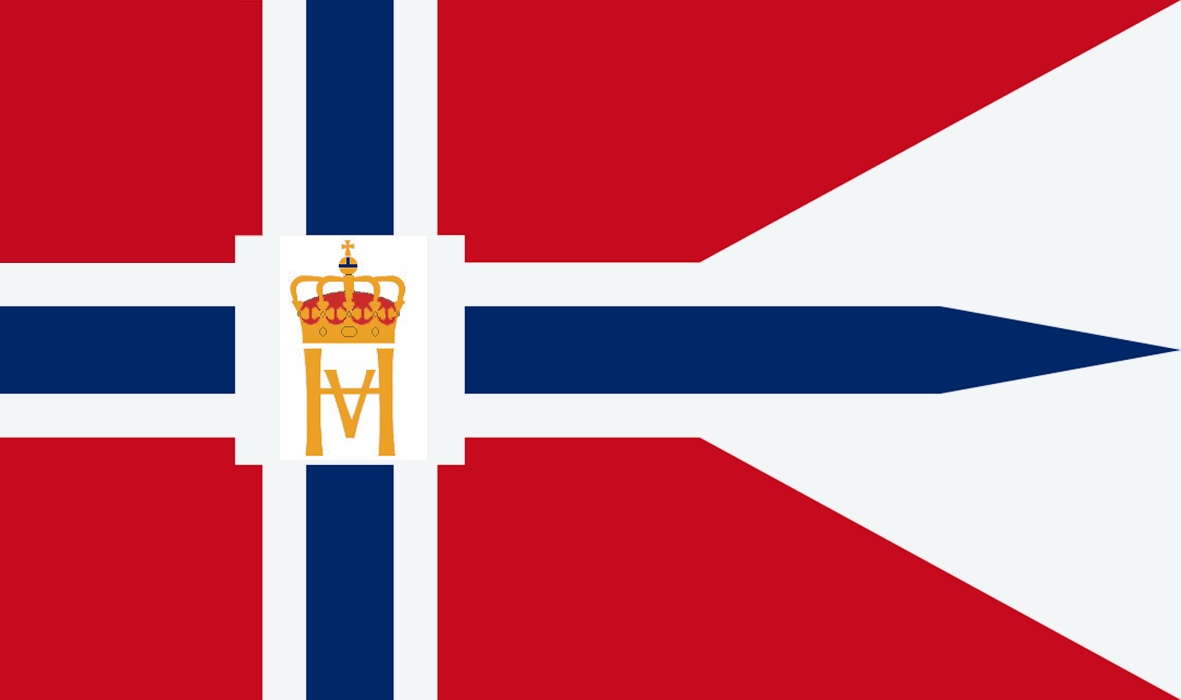
I know it’s hard to see the detail on the flag. It was waving in a fairly strong breeze, as I attempted to catch it mostly open. It’s a Norwegian flag with a triple swallow tail, something I’ve never seen before. Usually swallow tail flags are associated with yacht clubs. This flag is the ensign of the Royal Norwegian Yacht Club. It’s a beauty, even though the boat is not.
Identifying the flags of countries in all the places we visit keeps me entertained. In these islands not many natives speak English, so using my almost non-existent French keeps me on my toes, and is something I am attempting to improve–therefore, another form of measurement. Food words are somewhat easier than everything else, since I have a moderate familiarity (and love) for French food! Everything outside of food is quite a challenge for me!
Bob measures more things than I do. He’s constantly tracking how much electricity we have made with our solar panels and wind generator, and when we are motoring, how much power the engine made. He weighs that constantly against our usage. We now have a star link gadget for the internet and that is big energy guzzler. We need to make hot water for showers, we need to make that water (!), and we need lights at night and energy to run our gas stove to cook. It all adds up, and Bob spends a lot time measuring the input and output of energy. He says he enjoys living off the grid. I say give me a light switch and instant access to heat and electricity. It’s quite a process to start cooking on Pandora, not to mention taking a shower or any of the many things we want to do daily. I am not an ‘off the grid’ kind of girl.
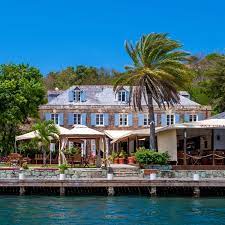
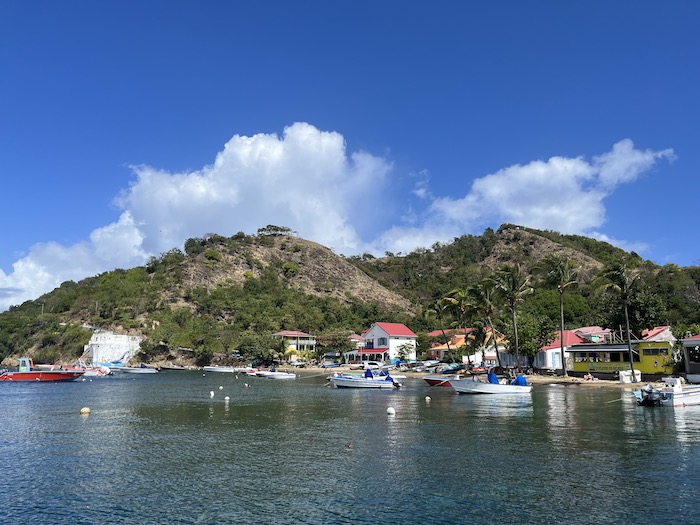
Here are some scenes from Haute de Terre, in Les Saintes. This was the view from our table at breakfast this morning.

Pandora is out in the distance. She’s light grey and just forward of the bow of the boat in the foreground

How about a close up?

This is an idyllic place, and it would be perfect without the wind and the rolling conditions. Photographs are also a measurement of sorts. We take the ones we love, and sometimes we share them. Au revoir for now.