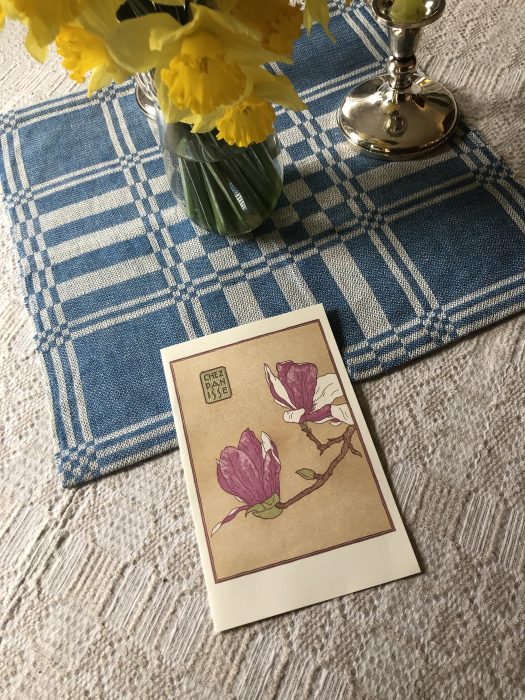
My Excellent French Adventure
Part I: Paris
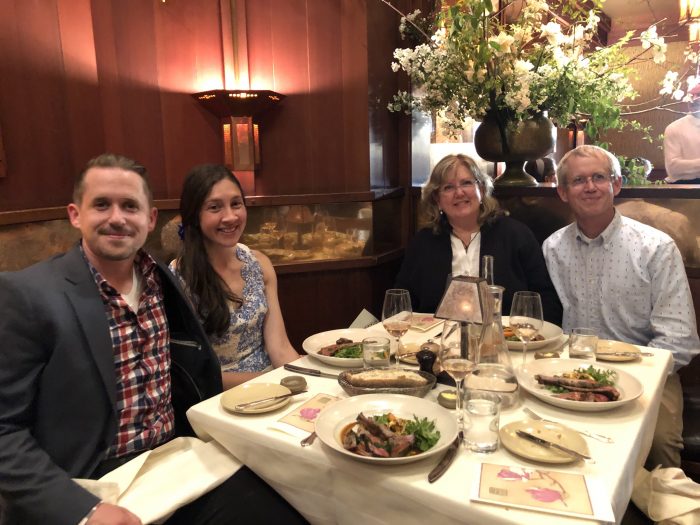
Yesterday Bob and I returned from two weeks in France. The idea for the trip started with an invitation from our son’s partner, Melody, to meet them in Paris before joining them on a jaunt to the wedding of one of Melody’s friends from college, who was getting married at her family chateau in a small village in the Loire region. No kidding!– a family chateau…first built in the 12th c. and renovated and expanded in the 15th and 17th centuries. Even the local church where the ceremony took place was from the 12thc. It was the stuff of fairy tales! It was also an opportunity to spend time together in magical places, like Paris, the Loire region, and Normandy.
Of course, I had an agenda. At the top of my list was seeing the Lady and the Unicorn tapestries at the Cluny Museum in Paris. In my heightened state of excitement about the trip, and clearly in my growing ‘feathery’ state of mind, I called this set the Unicorn in Captivity several times before I realized my mistake. Duh…. what can I say? I’ve known that this is the name of the final tapestry in the Hunt for the Unicorn series, so I have no excuse or even possible reason for my confusion. These moments do give me pause to wonder where I’m headed (mentally).
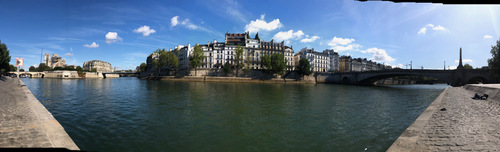
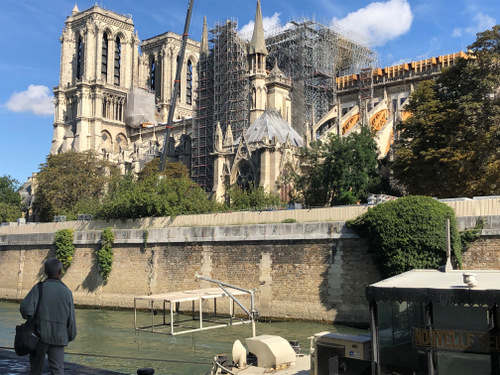
I thought I might spend most of a day at the Cluny , so I planned to do this before the kids arrived, in order not to bore them to tears. That was the first and biggest hurdle of a trip that had a few more hurdles. I have always had the experience that museums are closed on Mondays, so since Bob and I did not get to our Paris hotel until mid afternoon on the first Monday in September, I put off making the Cluny the very first thing we did. Instead, we took the afternoon and evening to travel on the Seine and enjoy floating by such famous monuments–Notre Dame, looking decidedly memorable after the terrible fire; the Louvre; the D’Orsay; the Grand Palais, the Eiffel Tower. It was amazing that we could sit in a boat and see so many beautiful examples of architecture from so many centuries pass by in the space of only a few hours.

First thing on Day 2, Tuesday, I was off to the Cluny, which is when I learned that many museums in Paris are closed on Tuesdays. They had all been open on Monday when I passed on going. Ugh. We learned the hard way–meaning a long walk and metro ride– that the L’Orangerie was also closed on Tuesdays. This a good lesson to check the guide books before making plans, but I may be too old a dog to have this lesson stick. There is more to come on that!
First thing on Day 3, after another trek to the Cluny, I learned the truly terrible news that the tapestries were not on view at the moment. That was the reason that entry to museum was free that day. Their gallery was having some minor work done. Can you imagine what a bitter blow this was? This was the #1 one attraction to me in all of Paris, and I missed it. To add insult to injury, I learned that the gallery with the tapestries would open again this morning–while I am now sitting in my kitchen, drinking bitter coffee. When I learned this, my first thought was to change my itinerary and pay whatever penalty was necessary to stay an extra day at the end of our trip to see these tapestries. A fine plan, but sadly, I will be starting to teach a course on tapestry this week, and I could not spare even one extra day. Somehow I managed not to burst into tears in public over this. It does seem outrageously absurd that in all the years I have hoped to see these works, I managed to finally get there during a brief time frame when they were not on view. And I’m trying not to beat myself up too much since I found no notice online of this short closing of the exhibit. It was just a phenomenal moment of bad luck.
So I bought a book on the tapestries, and some paper bookmarks to hand out to my students during the first class this week. What a pathetic consolation prize. Still, the book is a good resource, not just a book of pretty photos, so I’ve already begun to enjoy reading it. There were two tapestries from a later time period on view in one of the open galleries. Later that day, I did get into the L’Orangerie to see Monet’s large water lily series. A couple of years ago I read the book Mad Enchantment, which is about Monet’s last years, when he painted these large scale works as his contribution to the war effort. He wanted to leave behind something truly French since everyone believed that France would soon be lost to Germany. He was suffering from progressive cataract problems, he was aging, and he had bouts of extreme mood swings. Reading this book added to my knowledge of what went into the display of these huge works.
The Lady and the Unicorn tapestries (the six that are extant) were woven around 1500, the height of the Middle Ages. They were woven in a workshop in Flanders (now Belgium), where being a tapestry weaver was a well known occupation. The Hunt for the Unicorn series was woven about the same time. Scholars know that both sets were designed in Paris, but I have not found a reference for where the “Hunt” series is thought to have been woven. In fact, no one is certain that the seven tapestries now displayed together at the Cloisters (part of the Metropolitan Museum of Art in New York) are from the same set. No one can determine who commissioned the works. Both the “Hunt” series and the “Lady” series were rediscovered in the mid 19th c. The “Hunt” series had been looted from its Paris home during the French Revolution (first recorded hanging in the Rochefoucauld family residence in 1680), then rediscovered in 1850s, in a barn. The “Lady” series was discovered in 1841, also in disrepair, in a 12th c. castle in Boussac, in what is now the Nouvelle Aquitaine region.
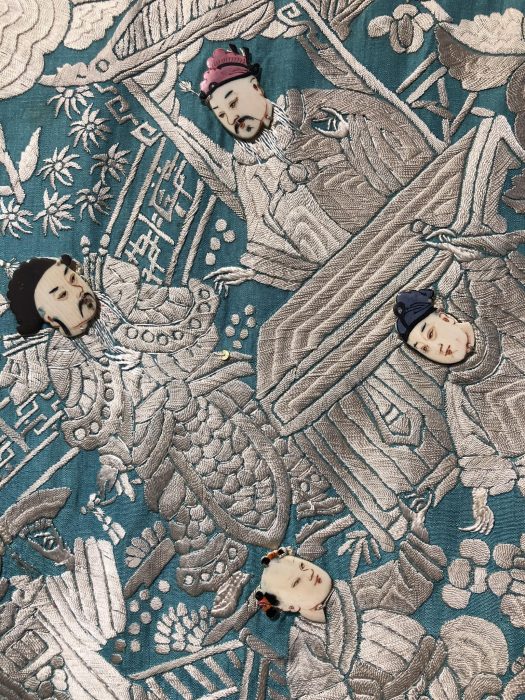
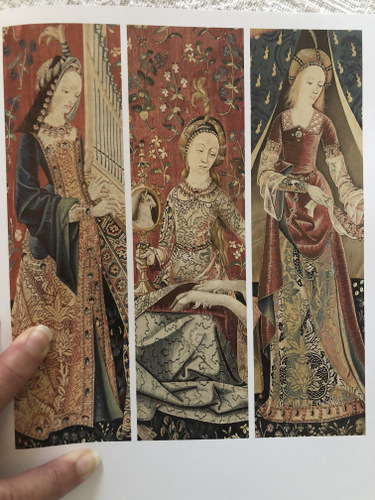
Here are the six ladies in the Lady and Unicorn series. Each one represents one of the five senses, plus one extra that is a bit of mystery. These first three, which I photographed from the book I bought (I certainly didn’t want to imply that I’d actually seen these beauties, so you can see my finger holding open the book) represent, from left to right, hearing, sight, and the mysterious one which is called ‘Mon Suel Desir.’ That roughly means heart’s desire.
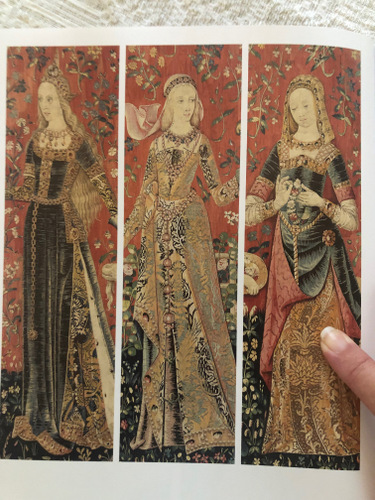
Here are the next three: touch, smell, taste. These are the most beautiful women in tapestry. Their clothing is exquisitely portrayed, although the Devonshire Hunt tapestries might be more exciting for examining how to weave garments. This is certainly the resource I’d turn to for examining faces. They are stunning!
There were two tapestries on display in the gallery of medieval art at the museum. One is called “The Bath,” from the 16th c. and shows a medieval lady in the bath with her ladies in waiting. I read on the nearby placard that bath scenes were a popular subject at this time. I certainly know that has been true for other periods of art, but this particular case is earlier than I expected. It seems to me that tapestries in the Middle Ages and the Renaissance were used for telling great stories, either from mythology or the Bible, or stories about the importance of the person who commissioned the work. The unicorn and his many layered representations of maidenhood and Christology was also a popular subject during the Middle Ages. The thought that so much work went into depicting a bath scene is pretty amazing to me!

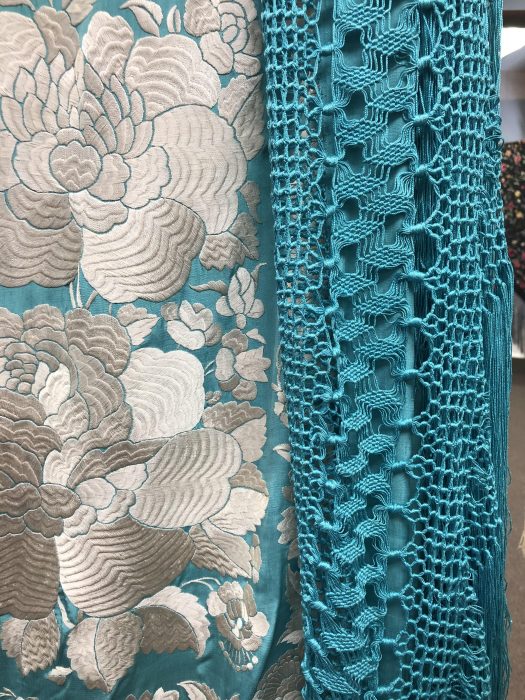
It was the second tapestry that really caught my attention. It is about a letter, but I was struck by the wonderful depiction of a woman spinning. There is a cat playing with the spindle and a dog in the woman’s lap who appears to contemplating the cat. It so wonderfully captures everyday life. Who knows about that letter the man is reading to her?….. is he reading it because she cannot read for herself? ….because nothing can distract her from her spinning?…..even a cat batting at her spindle cannot pull her away from her spinning. I love the possibilities!
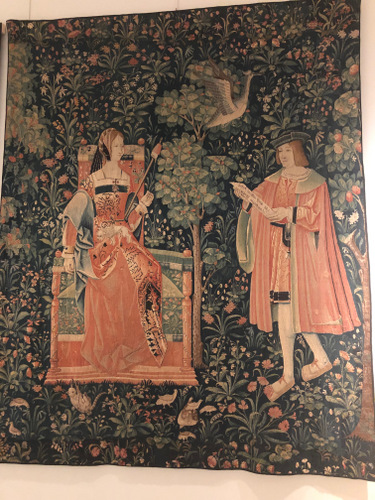
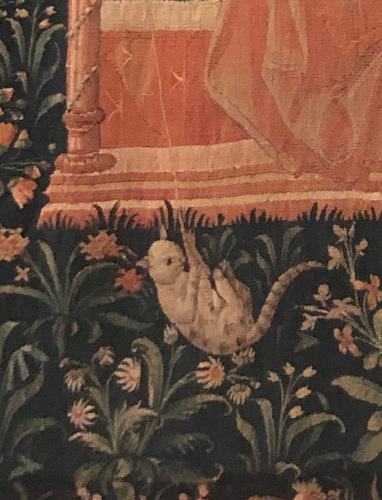
Look at her dress and the fabric on the chair. And of course, there is all the millefleur going on as a background. Have you ever wondered about that style, and why the weavers created such elaborate, busy backgrounds during this period? I can give you a short answer: when you are weaving a detailed image on a plain background, you are likely to run into a lot of tension problems between the many small shapes and the large background. Trust me on that one….but don’t take my word for it; ask any tapestry weaver. Also, imagine a group of weavers sitting at a loom together weaving an image. Would you want to be the one who is weaving a solid background while your companions are enjoying all the details involved in the woman’s face, her gown, the dog, the cat? Simple answer, but likely true. I can’t take credit for this. I learned it from Archie Brennan, who also believes that prior to the Renaissance the cartoonist was likely to have been an experienced weaver. I believe that too. I wonder if it will ever be proved.

And I can’t resist adding one more thing. The text in tapestries from the Middle Ages and the Renaissance was always quite elaborate. It happens to be easier and more effective to use angles and curves for letters than to weave block letters. Angles and curves allow you to create text that does not have as many slits that will not need sewing afterward. It looks more complicated but was actually more pleasant to weave, with less finishing work afterward.
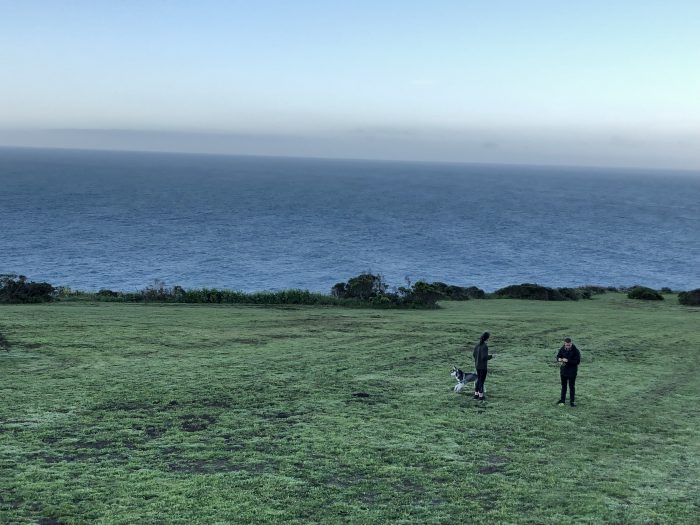
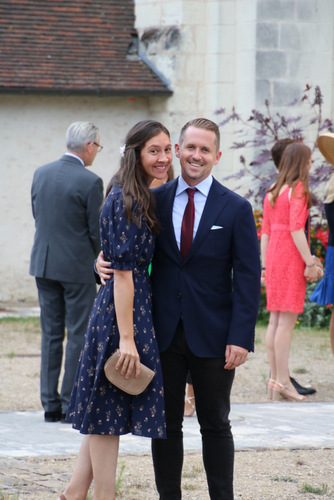
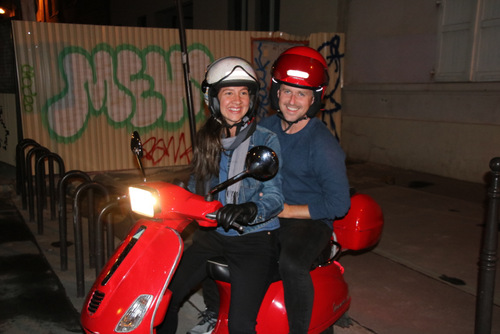
I can’t close without a glimpse of our adventurous companion, Melody. She has a motorcycle license and enjoys touring her vacation destinations on a bike. I spent Rob’s entire adolescence trying to keep him from getting a motorcycle. He got his license about a nano-second after he graduated from college. Now I have two motorcyclists to worry about.
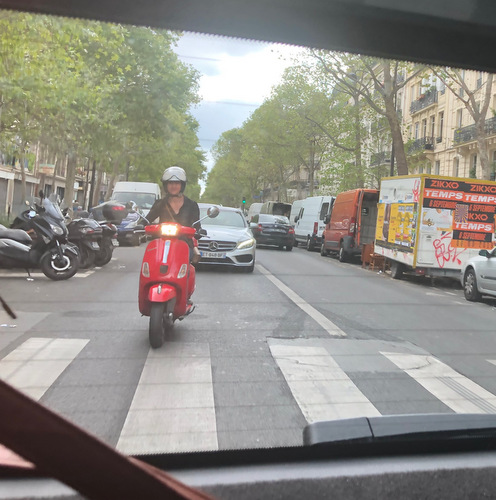
I had to hold my breath (and say prayers) when she drove in busy Paris traffic. It’s not a great shot, but I couldn’t give the photo my full attention since I was busy praying (and not breathing).
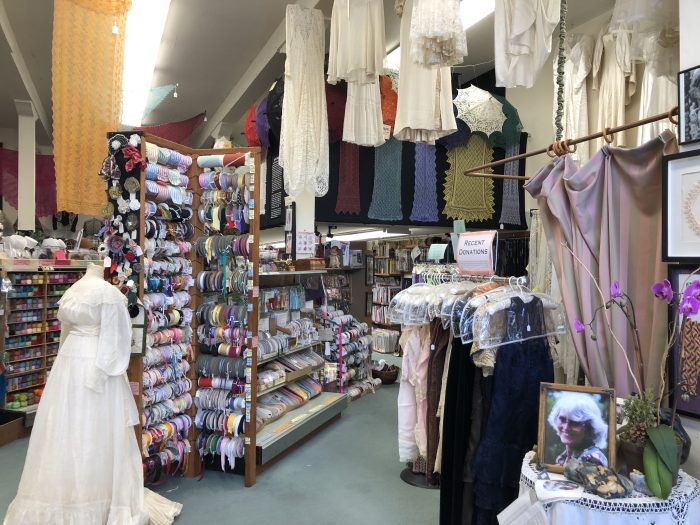
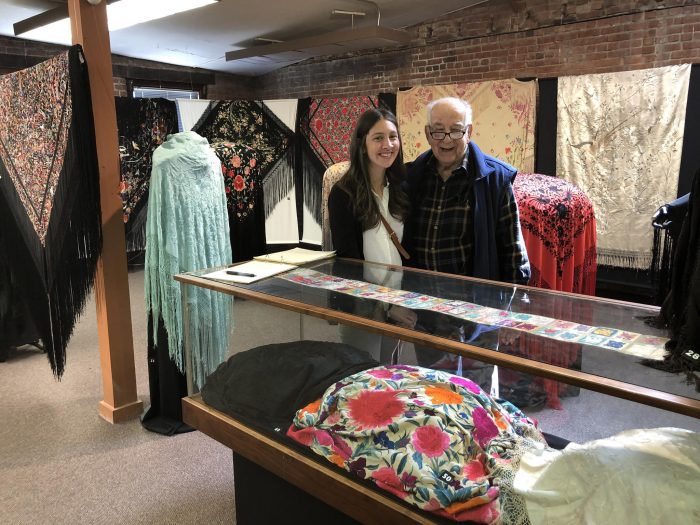
In spite of missing my most significant reason to be in Paris, it was still an excellent adventure. There is more to come, not only from our time in Paris, but also in the Loire region and Normandy. I had some excellent adventures in lace and other handwork along the way.