ArgoKnot

Fine Craft

A Weekend at Red Stone Glen

It was a near-perfect weekend for a long drive to central Pennsylvania, where two friends and I took a class at Tom Knisely’s new weaving studio called Red Stone Glen.  It’s a bucolic setting, far from the rush of nearby Harrisburg–except on Saturday nights when there is some kind of race car track nearby that makes quite a racket until about 9pm.  In the stillness of the woods it is quite a surprising background sound!

This is the main house, where the weaving classes take place and where you can shop.

IMG_1671

Isn’t this just the spot to have lunch and admire the view across the valley to the distant hills.

IMG_1672

IMG_1674

Julia, Clare and I were taking a class on the taka dai with Rodrick Owen and Terry Flynn, in the smaller farmhouse down the long driveway from the main house.  We had a large room for the three of us upstairs on the right side of the house.  The room goes from the front to back of the house.  We had a private bath in that room as well.  The mornings and nights were chilly, but I was determined to have coffee outside each morning–totally worth it!

IMG_1670

The back of the farmhouse has some lovely views as well.

IMG_1666

There was fog each morning.

IMG_1667

Oh yeah, and the class we took was great!  We were so busy working that I didn’t take enough time to get photos of that! This class took place in the farmhouse.

IMG_1660

Rodrick is watching Clare braid.

IMG_1661

One of the staffers took a photo of all of us together on Phyllis’ phone. Those are all of Rodrick’s braids on the table!

IMG_1665

Rodrick always travels with a treasure trove of the braids he has made over the years.

IMG_1658

IMG_1659

When you’re not working in class you can shop on the lower level of the main house.  These are the samples from the book 18 towels on Four Warps.

IMG_1673

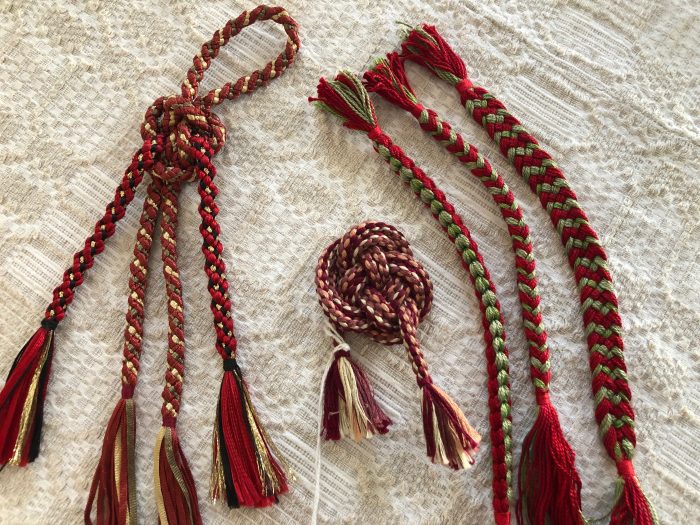
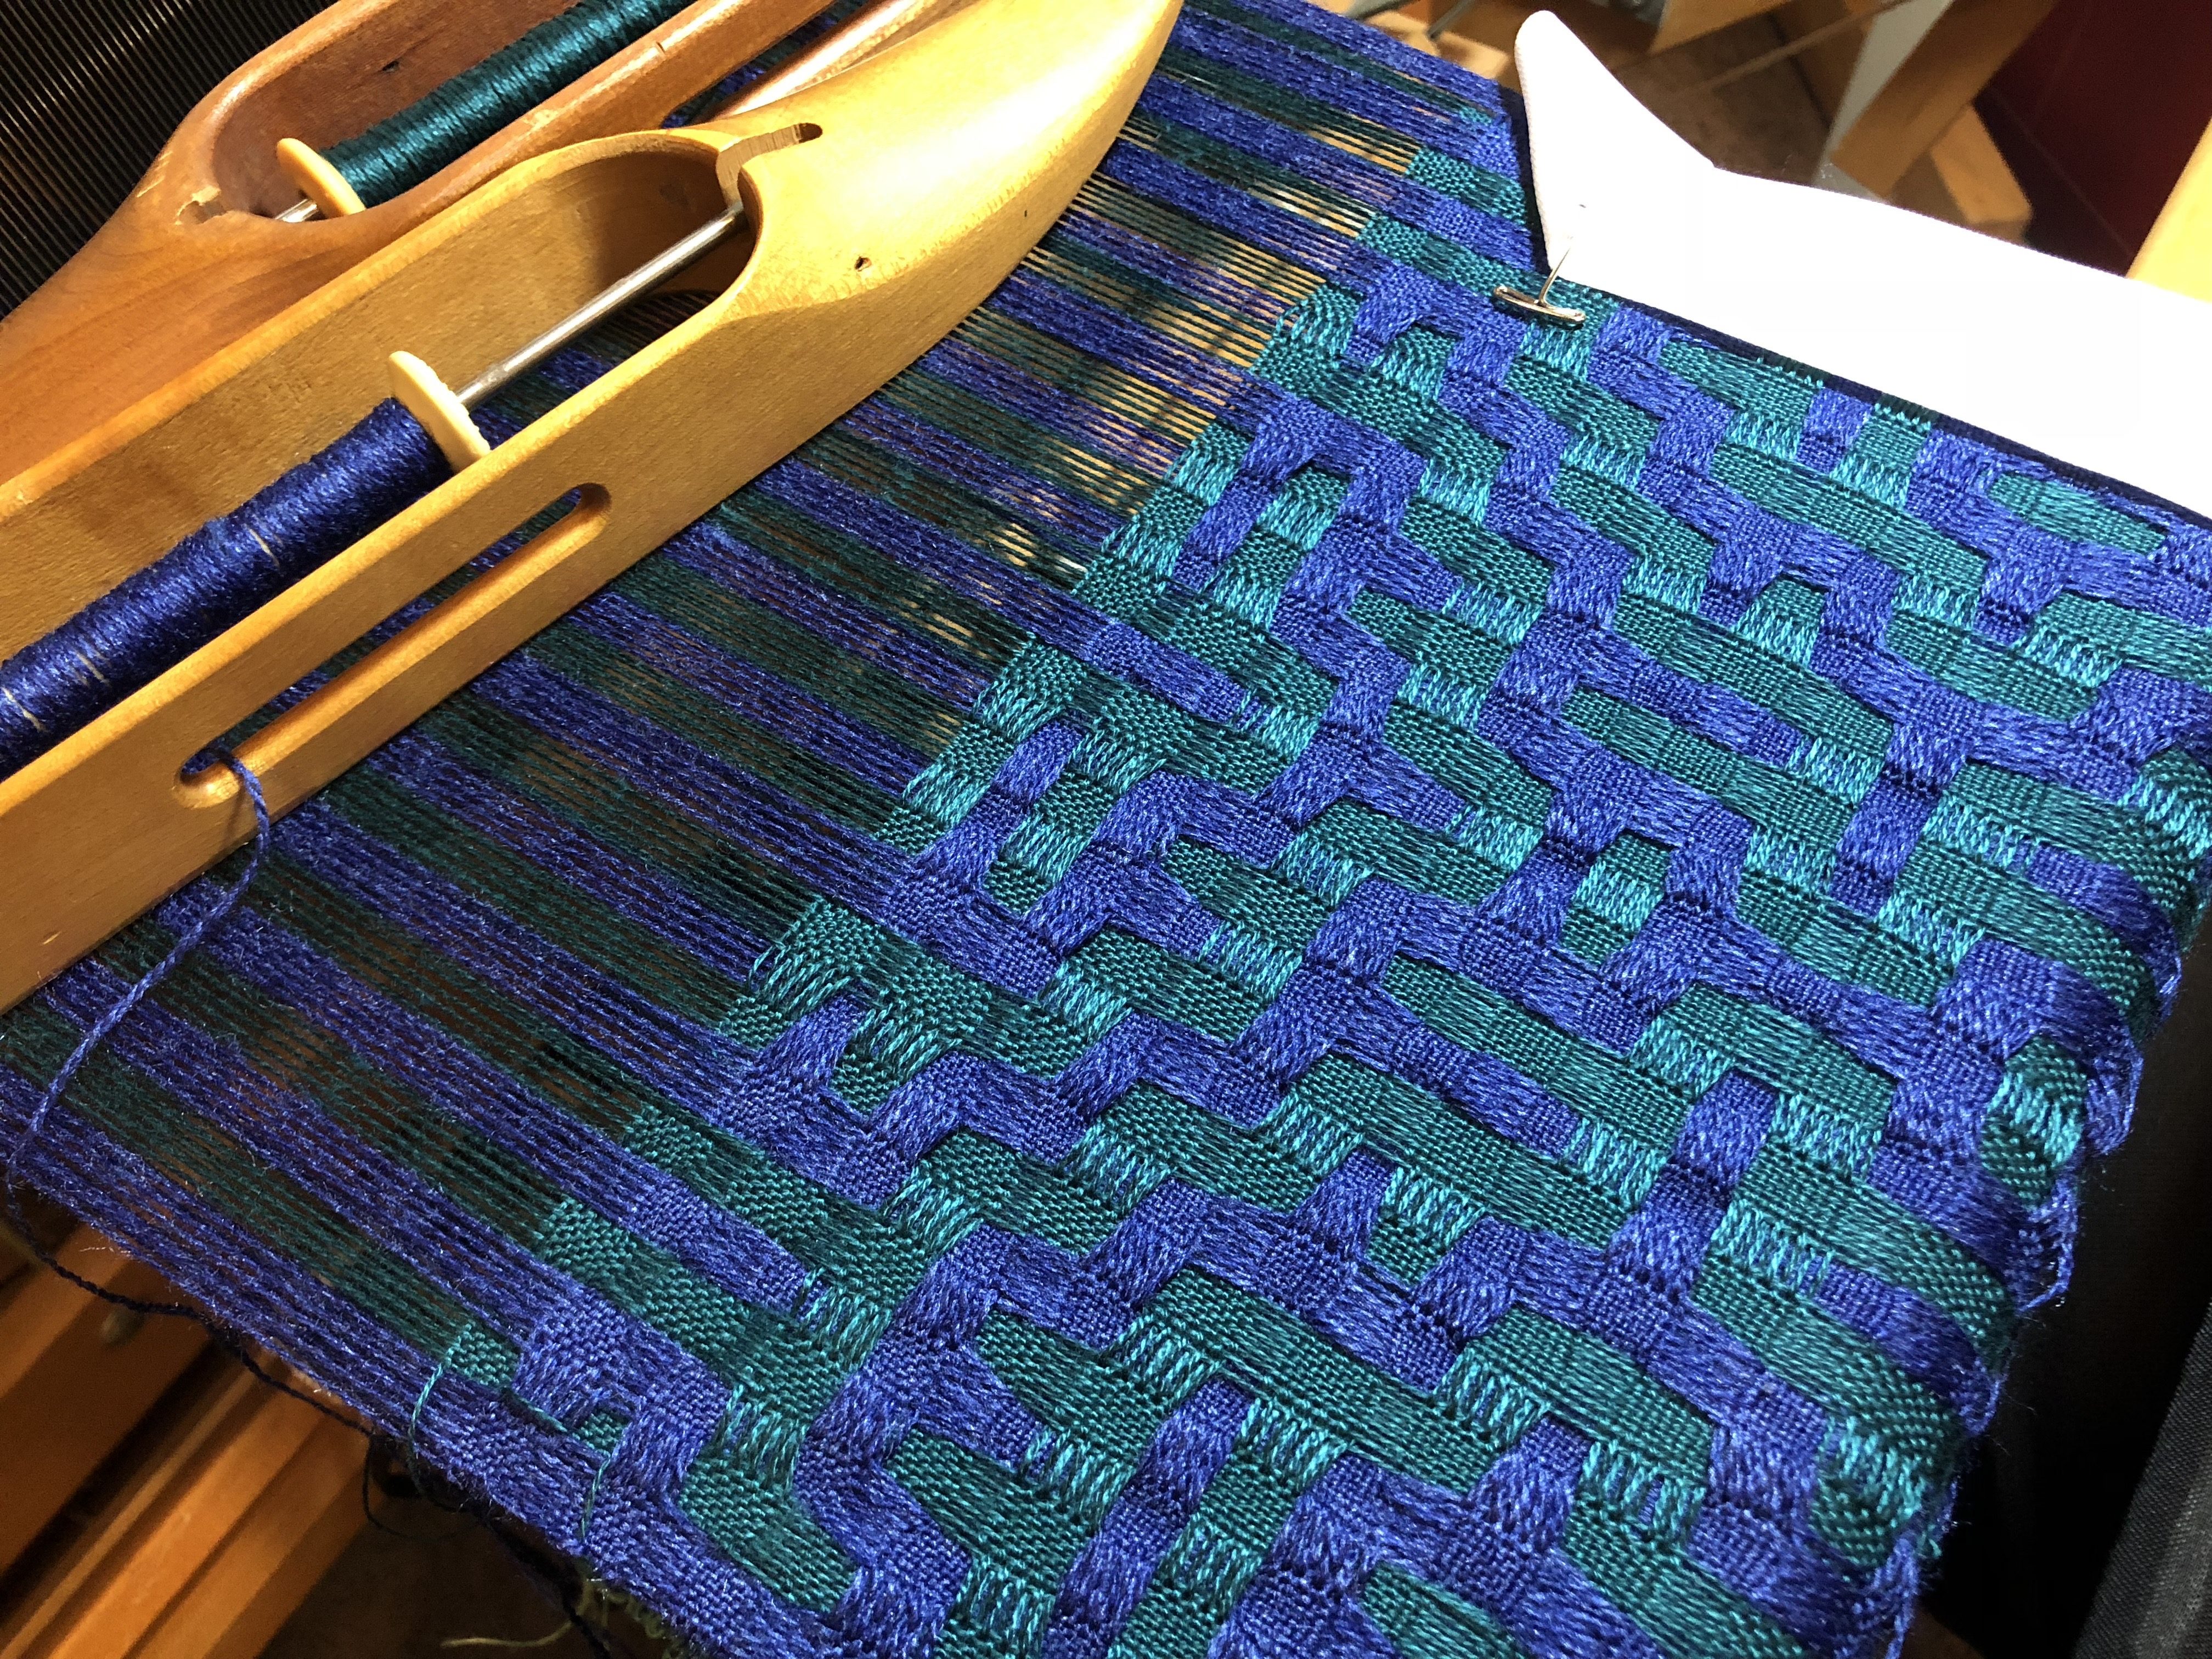
Here are three of the four braids I’ve made lately (one has gone awol, but I hope it’s still somewhere in my studio).  The braid on the left is one of the first braids to make since it is plain weave with a color and weave effect known as log cabin.  I made that on Clare’s taka dai during the summer.

The braid on the right is unfinished because I plan to put it back on the taka dai today to continue making it.  It is a twill such an interesting pattern.

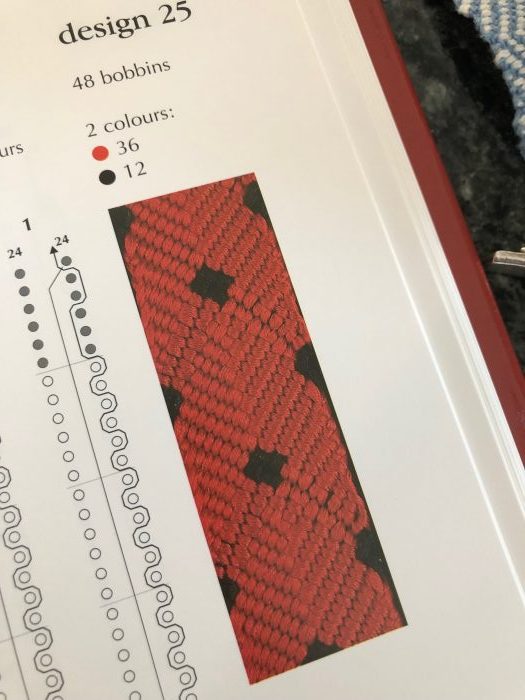
The middle braid was quite a bit harder.  I was making some weaving mistakes and getting an interesting pattern….you know the adage “a mistake made over and over is a new pattern!”  Well, I wanted to make the example in Rodrick’s book, so in the 2nd half of this braid I have corrected my mistake.  The beginning of this braid is a technique called braiding from the point so that there is no fringe at this end.  Terry Flynn helped me with that, and she also helped me learn how to do a hemstitch finish at the other end.  This is a technique that Terry figured out how to add to the ends of braids.

IMG_1675

This is a close up of the correct part of this braid.

IMG_1676

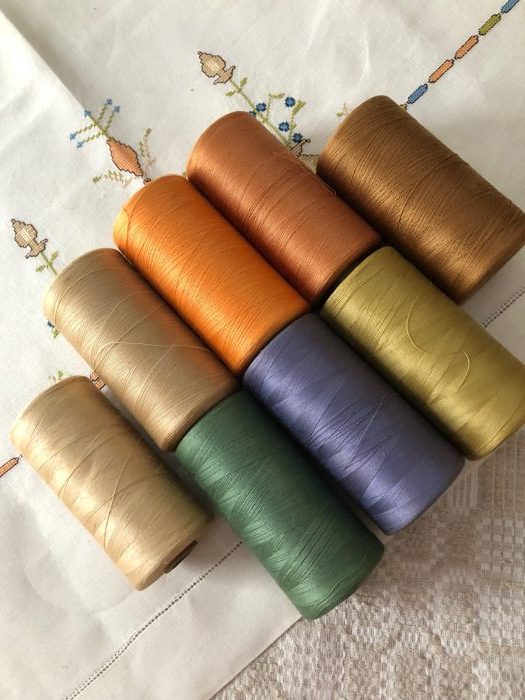
You can see how it has two lattice work areas in different colors that weave through the background color.  All these braids were made with 60/2 silk on cones from WEBs.  I don’t have a lot of color choices in my stash, and I was not particularly happy with these colors.

Figuring out how to get a wide variety of colors without taking out a 2nd mortgage is a challenge in making kumihimo!  For the moment I will have to make do with what I have!

Take a look at the Red Stone Glen website and see if you don’t find plenty of temptations in their class choices.  I hope to go back in March!

October Day at Six Paca Farm

Clever name, right?  Six Paca Farm.  Each new cria born on the farm gets named after a brew.  It was a soft October day, well ahead of the height of fall color, heavy with the coming rain.

IMG_1652

Joe introduced to us to some of the females and the quickly growing brood of cria.  Patriot is the youngest of the herd, born on Memorial Day.  He is a cutie!

IMG_1631

There are 37 alpaca on the farm at the moment.  They live in a bucolic setting in Bozrah, Connecticut.  Along with the farm, there is a nice shop full of alpaca things–from yarn to finished garments and hats/mittens/socks, and items from other local farms, such as cheese, milk, meat.  The owner Linda is a gracious host!  She set up tables and chairs under an awning for us to enjoy the lunches we brought, and she had coffee going, both at the farm and her mill that is just down the road.

The alpacas came out of the barn in small groups.  They weren’t entirely sure about visitors at first.

IMG_1628

They each had such unique features.

IMG_1651

Eventually they all came out and enjoyed some attention.

IMG_1653

It’s clear that Joe loves these animals, and they love him.

IMG_1634

IMG_1648

He told us so much about raising alpacas–their life span, what they eat, how to keep them healthy on a farm, pregnancy and gestation (11 months!), weaning the babies, and breeding for soft fiber and color.

IMG_1639

Prior to visiting the farm, we met at the mill down the street.  Linda owns the mill and the farm, and she started the mill about 9 years ago, when she was tired of waiting for her fiber to be processed at outside mills.  Back then it might take as long as 9 months to get her alpaca yarns back from a mill.  Now that she takes outside orders at her own mill, she says it sometimes still takes about 9 months to get her own fiber processing done.

Linda (behind the desk) is giving us some background information before go into the mill.

IMG_1610

All her mill equipment is brand new.  She bought equipment from all over the world and learned to use it as quickly as she could.  The picker is from New Zealand.  The carder is from Italy.

This is a pretty fancy washing station.  There are seven separate bins, each with a heating element and a drain.

IMG_1612

Freshly washed fiber is about to go through the carder.

IMG_1615

She dyes fiber as well.

IMG_1613

Her carder produces a semi worsted roving.  These rovings are being sent through the pin carder.

IMG_1617

Then comes spinning….IMG_1620

…and plying

IMG_1622

We couldn’t resist fondling the end product, even though we were told that this particular yarn was not the best quality alpaca fibers.  It was still soft!

IMG_1624

Last week I dyed two onesies to give to our grand-twins, Emme and Rhett.  Barbara from my small weavers’ group gave them to me when we all met for our annual dye day.  I was not able to stay and dye, so I brought them home.  In my dye stash I have a color I love called ‘wasabi.’  It’s a ProChem MX dye.  I thought it was the perfect name–and color– for a couple of babies who are peas in the same pod.  This is Emme’s.

IMG_1591

and Rhett’s too.

IMG_1593

When we got back from our visit to the kids and grandkids, I decided to make a project I’d once made ages ago.  A few decades ago my embroidery guild in New Jersey asked each member to make a tote bag for small projects. It was so clever.  You start with a store-bought placemat and coordinating napkin.  It’s a quick project and feels a bit like a magic trick when it’s done.

IMG_1604

I’ll post more photos and the instructions for this when I return from my next jaunt.

I’m heading off again for another fun workshop.  I’ll be at Red Stone Glen for the weekend to take a class with Rodrick Owen on the taka dai.  Remember my practice pieces from the summer in preparation for this class?  If not, you can see them here and here.  I haven’t seen Rodrick in 20 years.  It’s going to be fun, and I only have about a year left to wait for me own taka dai.  Patience….
Finishing a Tapestry

The finishing procedure for mounting a tapestry is my least favorite activity.  I think most tapestry weavers would agree.  Yet it has to get done.  I can’t say the results make the drudgery worth it, but the resulting finished piece is a wonderful thing!
First, I turn the tapestry to the back side and trim the longer weft ends to shorten them.  It looks like I was not yet done doing that on this piece.  With weft ends that sit close to the selvedges on the side, I try to tie them to a weft end that is further in from the selvedge, in order to keep them from sticking out the side and being visible.  If I’m going to mount the tapestry, I can make sure all weft ends along the selvedge edges are well tucked to the back as I sew the tapestry to the frame.

In this photo I am turning down the warp threads along the bottom of my piece and using backstitch to capture and constrict the warp threads on the back.  This is the technique that Archie Brennan uses taught to members of the Wednesday Group. I am capturing two warp threads with each backstitch, and then moving forward by one warp thread as I work my way from left to right across the piece. (I am left-handed.)  I know this is hard to see.

IMG_1139

Here is a video from DMC showing how to do backstitch (right handed).


Imagine that these stitches go around your warp threads and catch a bit of the weaving– just do not let your needle go all the way to the right side of the tapestry.  Just catch a bit of weft while encircling the warp threads that you’ve folded to the back of the tapestry.  When you tighten each backstitch, it constricts the warp threads you’ve captured in the stitch.  When you’re done you can take a small pair of pliers and, while holding the tapestry for resistance, you can use the pliers to pull each warp thread snugly to the back of the piece.  Just be gentle when doing this!

This piece I’m finishing happens to have a shaped edge, so I’ll show you that I still do a running backstitch to capture the warp threads along the shaped edge.  It’s the same as doing a straight edge of warp threads.

IMG_1141

Here is my piece, with both edges finished.  I am using a cutting board with a 1-inch grid as a work surface.

IMG_1143

After measuring my finished piece I can decide how to mount it.  In general, smaller pieces hang better if mounted in a way that keeps them firm and stationery.  I often use stretcher frames for paintings.  I buy them from art supply sources.  Where I currently live, Jerry’s Artorama is my closest choice, and I can order them online without having to drive there.

I have skipped showing how to cover your stretchers with fabric.  This is an individual choice.  I usually use two layers of fabric.  My outer fabric is usually linen.  This has two benefits:

1.  Two layers of fabric will protect your tapestry from any damage that could happen from coming in contact with wood.

2.  Two layers of fabric allows you more choice for your outer fabric.  It is no longer necessary to find something quite as sturdy if there will be two layers.

Linen is my preference because it’s a sturdy, natural fabric that works well with the varied weft materials I use in my work.  For this piece I’ve used a medium weight, navy blue linen.  Underneath it is a layer of heavy natural linen.  My husband does a great job of stretching the linen on the frames for me.  He gets a neat edge.  I will add that you want the tucks of fabric in your corners to be at the top and bottom of the piece.  When the tucks, or folds, are on the sides, you will see them when the piece is hung on a wall.  No good!

IMG_1192

In the photo above, and the one below, I am making guide lines to help me place my tapestry on the frame.  This is what Susan Martin Maffei taught me, and I think it’s brilliant! As you can see, on the back of the frame I have inserted push pins at the borders of where I want my tapestry.  For this piece I want the tapestry to fit 1″ away from the side edges, and 1.5″ inches in from the top and bottom.  I make these measurements on the back of the frame and insert a push pin in each corner at that spot.

Then I can take some tapestry warp and wrap a line from the pushpins on the back across the front, both top and bottom, and across each side.  When I’m done the front looks like this.  I still have one guide line to add at the top of this frame.  The warp thread is tied to a pushpin, then wrapped the front of the frame and tied to its coordinating pushpin on the back.  Now I have guidelines for sewing my piece to the frame!

IMG_1193

With the guidelines in place I can now pin my tapestry to the frame.  I have used t-pins for this.

IMG_1195

I prefer to use a curved needle for sewing the tapestry to the frame.  I also use thread that matches the weft, and that means that I may have to change thread color a number of times during the sewing process.  I catch a bit of tapestry and insert the thread through the backing fabric.  It’s slow….

IMG_1196

When done, I add a hanging device on the back, which is usually two small eye screws and a length of picture hanging wire.  Done!

IMG_1415

You may notice a butterfly of yarn and some ’embroidery’ on the piece that wasn’t in the photos previously.  Originally I used the ‘flying shuttle’ technique to weave in something resembling a lowercase, cursive ‘z.’  Then Susan Martin Maffei and a few others in the Wednesday Group asked me to consider hanging the whole piece in the other direction–with the shaped edge at the bottom.  After some time I removed the flying shuttle ‘z’ and left that extra weft hanging on the back of the piece.  A couple of years went by.  This piece was pinned to my big bulletin board.  In the long run, I wanted the piece as it was originally.  So I took that bit of weft still hanging on the back and tried to work it back in where it had been.  Of course, now that is not officially ‘flying shuttle’ anymore, but I feel that it still counts since I’d done it originally.  I finished off with the butterfly.  Don’t you have spools with extra thread/yarn stuffed into the center of the spool?  I have lots of those!

Done!

Some things take a long time to finish.  This little piece was one.  I wove it mostly while onboard Pandora for the winter.  For a couple of years in a row we encountered Portuguese Men of War while we were sailing in warm waters.  This tapestry is from the second sighting.  We were in Lake Boca, on the eastern side of Florida, and a few of these had been pushed into the harbor by strong winds.  I think it was just after a long session of strong easterlies that blew them inshore.  Normally they float up the Gulf Stream (which was our first encounter with them, which is another story entirely).  The one I’ve chosen for this tapestry had been blown into the harbor, and Bob and I motored right near it when we headed ashore in our dinghy.  I spotted this creature floating closer and closer to the dock.  I don’t think it had much longer to live in the murky harbor water.  It was strange to see this, when I associate these creatures being in the clear, pure waters of the ocean.

It is mounted on green dupioni silk that matched the murky green harbor water.  I felt it needed a braid, but I cannot tell you why.  It took me several months to decide what kind of braid.  This is a 16-tama braid called Hira Kara, which Claudia Wollny demonstrated in a 3-color placement that she calls a snake braid.  Although it does resemble snake skin, there is something about the color placement and design that seemed to go well with my little Portuguese Man of War.   Sometimes there is no reason, there is just a strong sense of this is it.

It now hangs on the wall in my weaving studio.

IMG_1484

Lace, Large and Small

The “Lace, Not Lace” exhibition opened at Hunterdon Museum on Sunday afternoon.  There were crowds there….a line to get in the museum, a line to buy the catalog, a line to get into the room with the full size, bobbin lace carriage made of copper wire, and quite a traffic jam at the stairs.  All the lines were worth it.

IMG_1523

The Urchins were, of course, the largest scale pieces in this exhibit.  But there were other large pieces inside.  This piece by Pierre Fouche is a mixture of bobbin lace and macrame.  The shadows were fascinating, even though it’s now hard to tell the piece apart from its reflection on the wall.

IMG_1538

This might be the tiniest piece.  Three little vehicles–a catboat, a yellow cab, and an airplane, all done in needle lace– suspended by thread across a corner, casting larger than real shadows on the two walls.  Dorie Millerson has a lot of miniature needle lace items that often cast HUGE shadows.

IMG_1529

Here are a couple of other lace pieces done on a typically small scale.  First is a piece by Dagmar Beckel-Machyckova, a series of bobbin lace dwellings, called “Habitats of Hypocrisy.”

IMG_1528

Lenka Suchanek has two pieces in this show that are very different.  The other piece is an elaborate silver wire neckpiece embellished with garnet beads.  While it is extragavant and exquisite, this piece has such beautiful form, it was the one I had to capture.

IMG_1527

This piece is so elegant and mysteriously UNdecipherable.  In the catalog, Veronika Irvine gives her math equation that helped her design this piece.  It’s pretty daunting–like a moebius on steroids.  She marvels that 17th and 18th c. lace display “an astounding mathematical complexity, although made by an entirely illiterate workforce.” Her website give more information.

IMG_1539

And here is the piece shown on all the promotion materials for this exhibit:  Lieve Jerger ‘s “Carriage of Lost Love, 1977-2018.”  It was housed in its own room, where the shadows cast on the walls and ceiling by this bobbin lace construction of copper wire was lit from within.  A staff member of the museum stood at the entrance to limit the number of people entering at one time.  It allowed all of us to see this work and enjoy the shadows cast all around us.

IMG_1533

IMG_1532

IMG_1531

IMG_1530

At the end of opening we were led outside to hear Choi and Shine talk about designing and creating the large Urchins.  Each one is crocheted from one long length of cord, and Jin Choi told us about her design challenges in creating these orbs.

IMG_1545

At the end of the talk, we were all invited to enjoy live music and dinner from two food trucks, while we waited for the lighting at dusk.

IMG_1546

The view from the museum across the spillway.

IMG_1540

Dusk at last!  Beautiful!

IMG_1549

And then it was fully dark, on a night that included a 2-days-short-of-full moon.

IMG_1550

IMG_1551

IMG_1553

The “Urchins” will only be on display for two weeks, so if you want to see them, better get on the road right now! The rest of the exhibition will continue through January 6, 2019.

Three good friends joined me for this adventure, and sharing something like this is definitely multiplied by enjoying it with like-minded compatriots!  We sat in a cafe along the river to wait for dusk to arrive and the lighting of the “Urchins.”  It was a memorable excursion that we’ll remember for decades to come.

In other life news, I got this card in the mail from a friend on the West Coast.  It just makes my day every time I see it!  I think I’ll frame it so it can be a ‘memo to self’ that it’s not always about the outcome as much as it is about the dream and the journey.

IMG_E1508

Lastly, I need to show you my grandchildren!  First, two wonderful photos of Tori.  In this photo, she’s a magical princess in a fairytale land created by a local photographer who has documented the arrival of the twins.

IMG_1509

And to balance– here is ‘real life’ Tori, helping her Daddy with some yard work.  She loves to help outside, so he bought her some hearing protection.  He’s such a thoughtful daddy.

IMG_1522

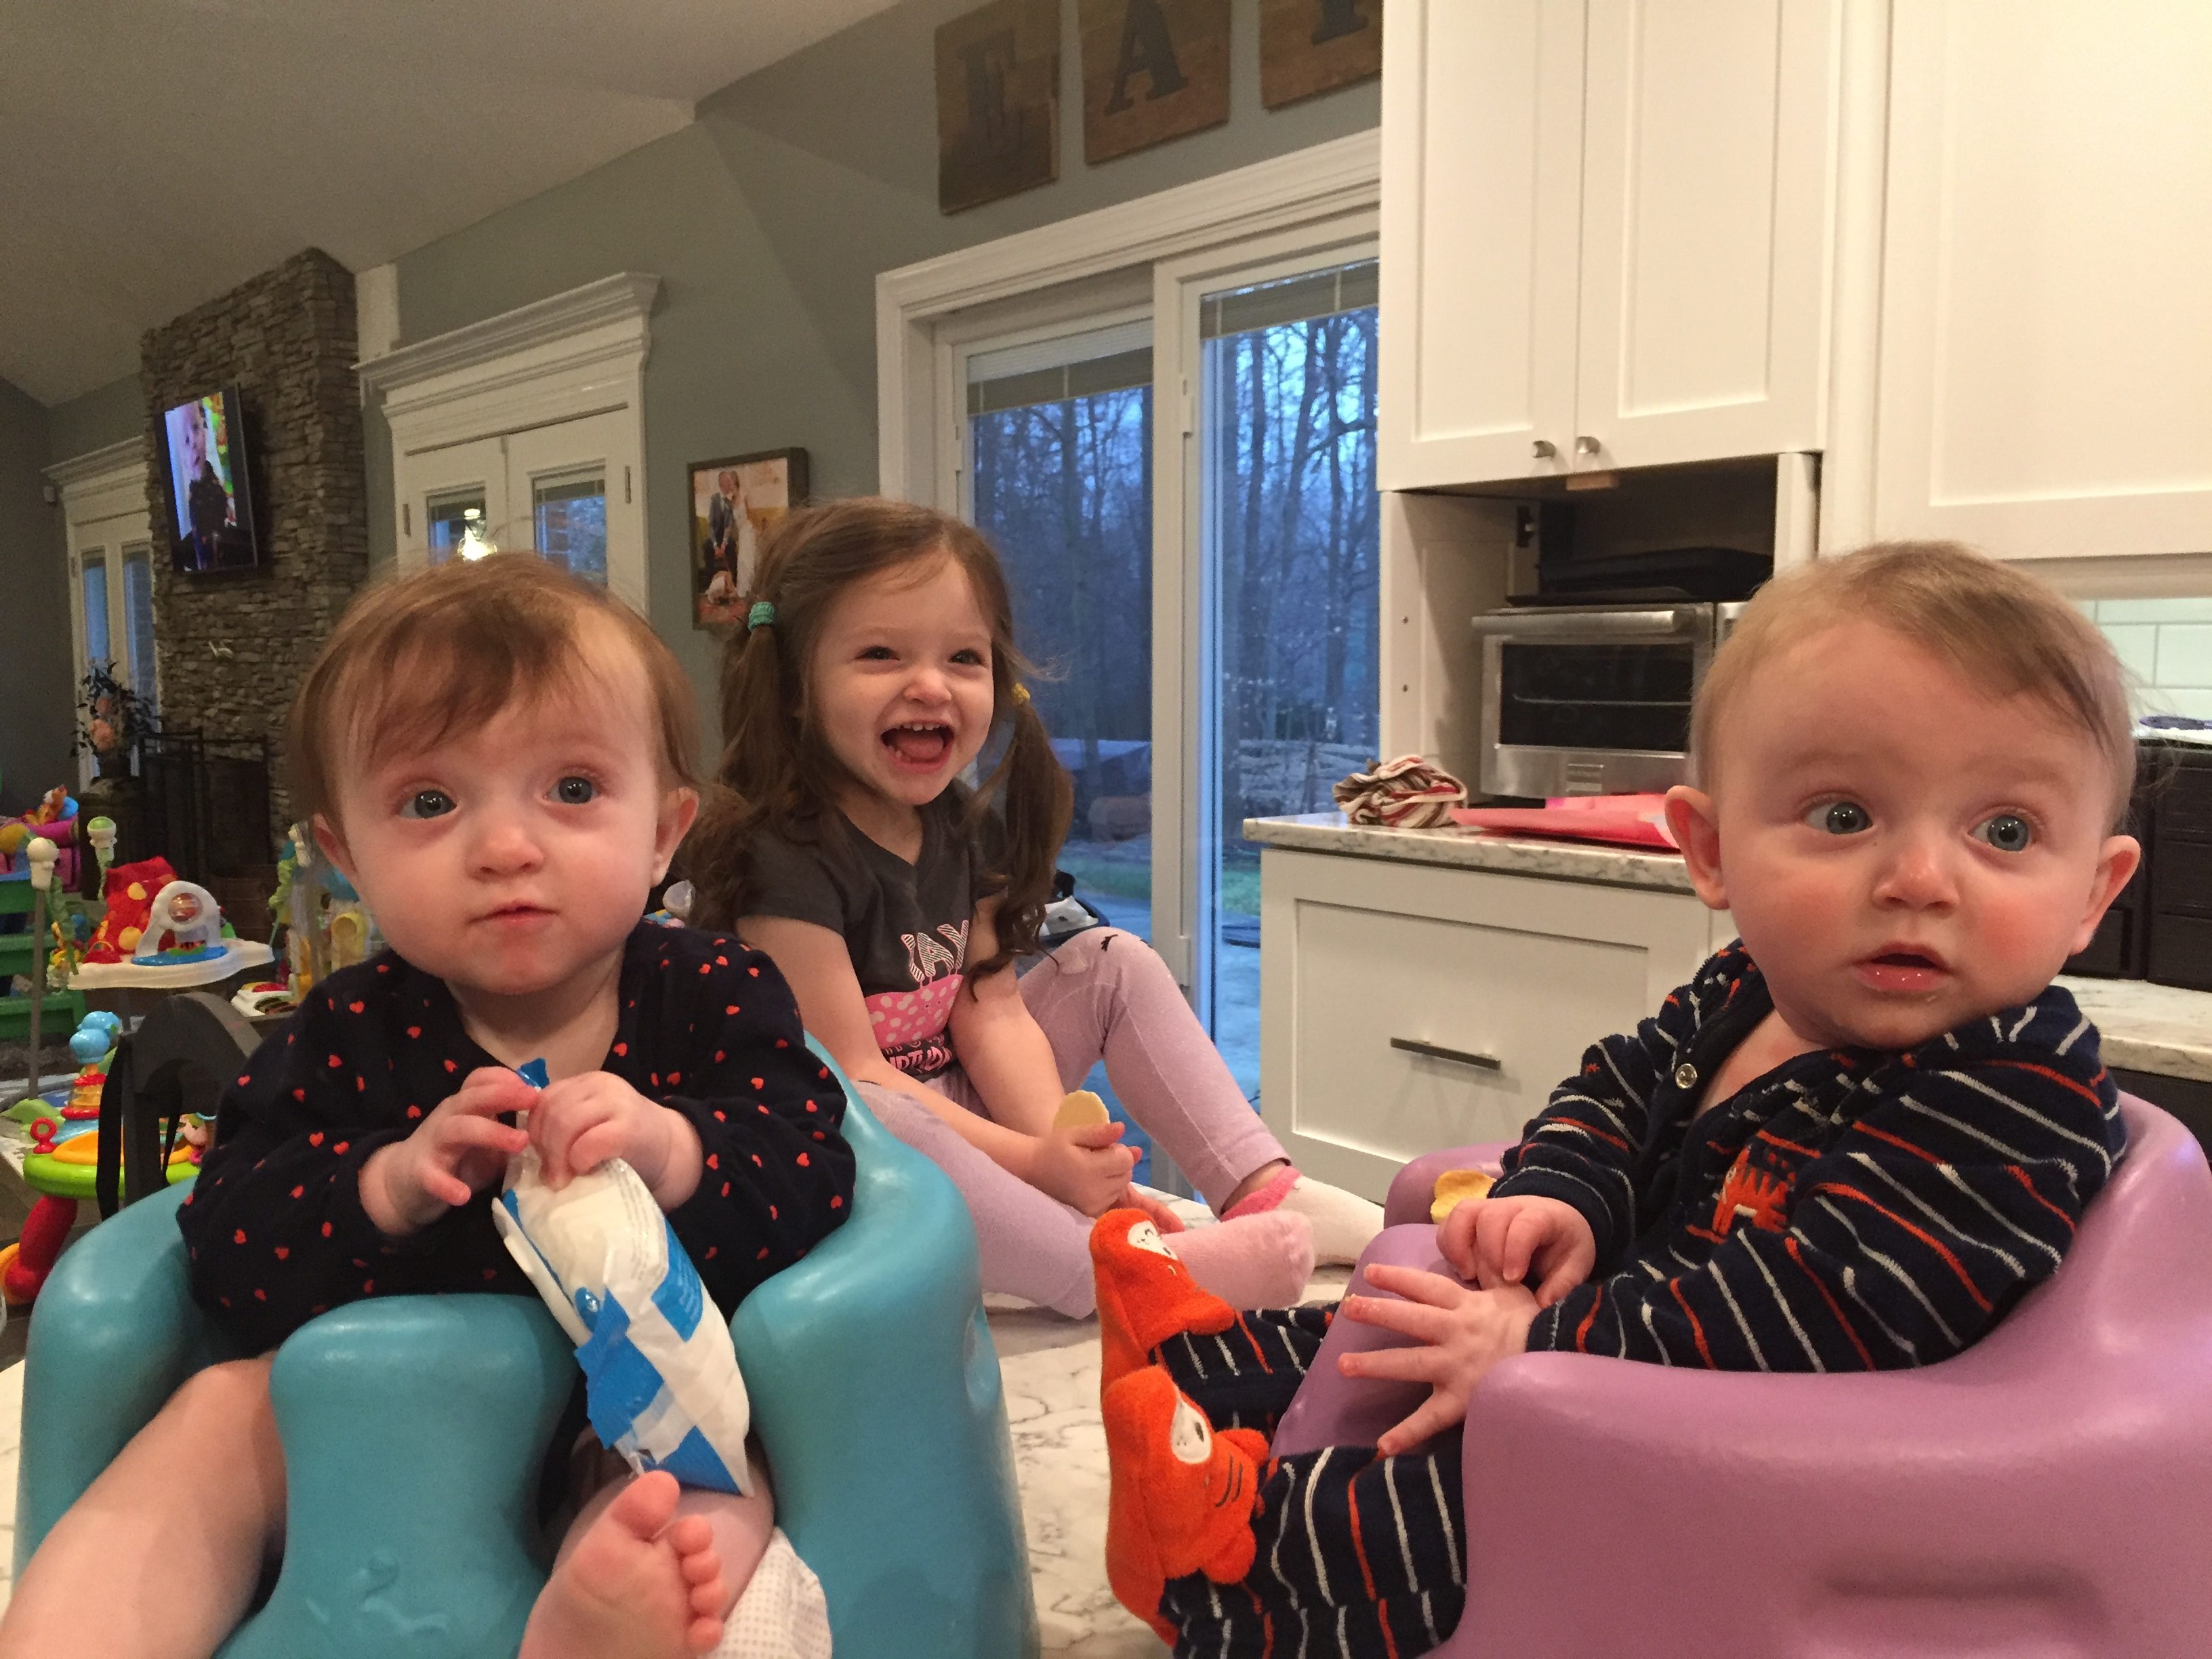
This week the twins visited the pediatrician for their first vaccinations.  Emme needed some support from little Rhett so she grabbed his hand….or maybe she wanted his cute binky holder.  I’m going with the former.

IMG_E1515

And a little frosting on the cake for last week! — Bob has put a beautiful finish on my new Jensen wheel.  It spins like a dream.

IMG_1513

And my good friend, Susan, has cut fabric off her loom that she wove for me!  She is now making me a tote bag and napkin that was a guild project a couple of years back.  I don’t care how long I have to wait!  The fabric is gorgeous, so I don’t mind waiting a bit longer for the tote bag and napkin.  Lucky, lucky me.

IMG_1518

Life is full of so many wonderful textiles, isn’t it?  Lace is only one wonderful piece of it.


Scroll to Top